
Night 1:
-Uninstalled all nuts (There are 14 to be exact)
-Removed the dash pad and vents unintentionally
-Sanded the dash down
- To get to all 14 nuts two things must be done. First, remove your gauge bezel. After removing the bezel you should be able to easily reach 7 of the 14 nuts. 3 are on the back wall, 3 are on the front portion of the dash and one is tucked away in the front left corner of the dash (This one is a slight annoyance, or was for me.) After removing those 7 take out the glove box sleeve. After removing the sleeve you can reach 7 easily but can access up to 9 (I'd stick with removing the 7 if you don't want cut marks all over your arms. Lesson learned for me!) This side has nuts in the exact locations as the bezel side except you have to deal with getting behind your stereo. There are two nuts behind the stereo unit that can be easily reached by hand but are a slight annoyance when trying to use a 1/4" ratchet. (I'd suggest trying to loosen the nuts by hand first since most are hand tight).
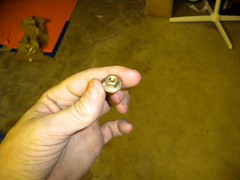
Photos of this step:
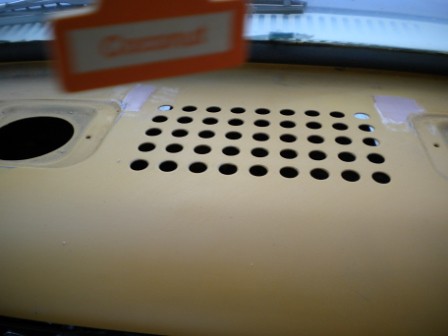
Nuts you are looking for:
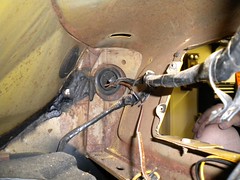
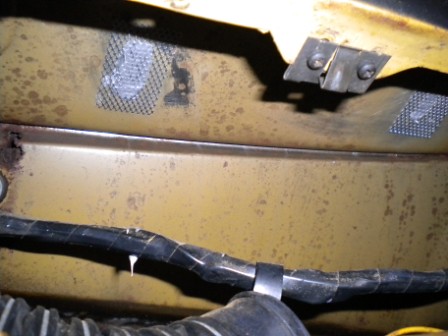
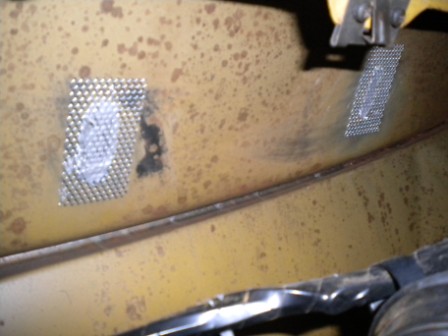
Slots Nuts are located in:
Back-Side slot
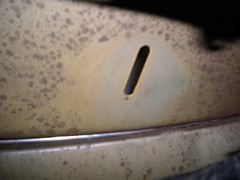
Front-Side slot
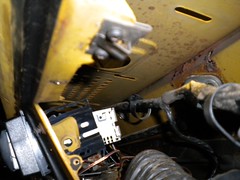
Slots behind the radio
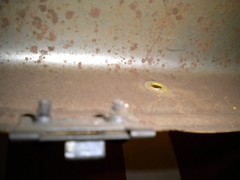
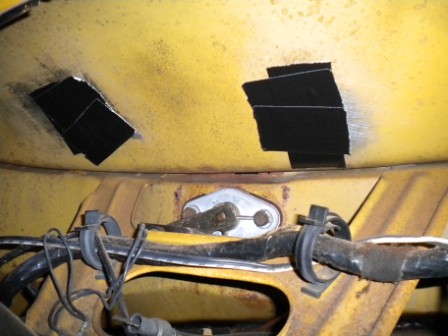
Shot of corner slot (Make sure you dont miss this. I tore my dash pad trying to take it off due to not seeing this)
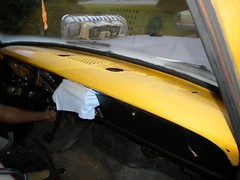
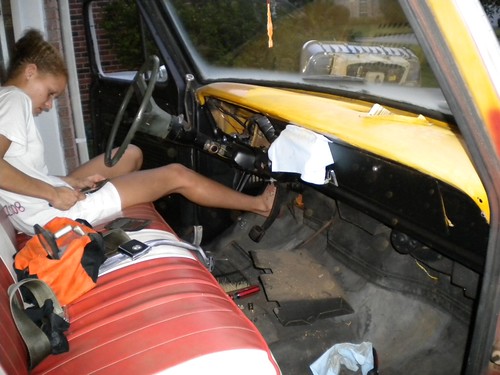
Once all 14 nuts have been removed it is time to remove the dash pad. This step is slightly tricky. Since I was not concerned with damaging the dash pad or not I removed it from the front first and then slid the back out. I would not recommend that if you are planning on putting the pad back in or selling it (It caused a lot of damage to the warn out pad.) Although it is 10x harder to do it this way I would suggest removing it from the back first and then sliding out the front. If your dash is stuck to the metal I'd suggest using something flexible and flat to slide under the dash around the edges to break apart the stuck areas if at all possible. Once the dash is removed you will have a beautiful looking metal dash with (hopefully) no rust since it was protected all those years!
Photos of the dash off:
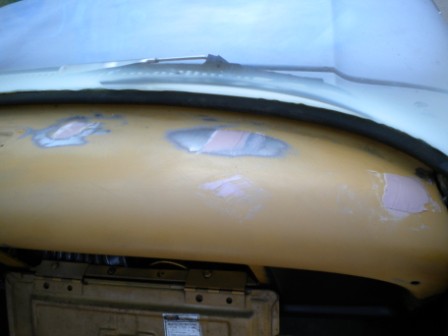
Dash on still:

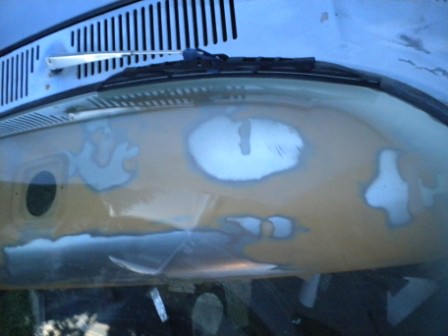
Dash off:
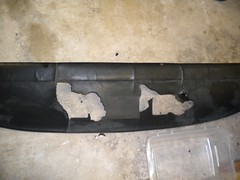
Clean metal Dash:
As you can see I demolished my old dash. The vent holes for the heater stayed stuck to the dash when I tore it off!
To complete those steps takes about an hour at max if you don't run into snagging problems or stripped nuts or anything else that is bound to happen to a project that should be so simple! The next step is to fill in all of the holes that the dash pad was bolted to. I will update the project in the next two days with what has been done. Hope this helps the few people that plan to go with a metal dash!
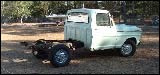
EDIT: This project is for a 1971 Ford F-100 I do not know if dash's are different for other years.


