Finally back around to my 72 F100

Post progress reports on your project truck(s)

Moderator: FORDification

User avatar
MAK
Blue Oval Fan
Blue Oval Fan
Posts: 515
Joined: Tue Dec 21, 2004 9:35 am
Location: Georgia, Blairsville - Florida, Flagler Beach
Contact:

Re: Finally back around to my 72 F100

Post by MAK »

hfdco4 wrote:Any updates MAK?
No, we have been down in Florida a lot and when we were last up for a while it had already gotten too cold for me to be able to attempt any of the work i need to do with body filler or spraying more epoxy when I expose bare metal. Hoping to get a few more work spurts in during the spring and summer during our time up in GA.
It’s depressing to see my lack of progress and realize how long this has been dragging out.
User avatar
hfdco4
Blue Oval Guru
Blue Oval Guru
Posts: 1289
Joined: Mon Apr 01, 2013 1:45 pm

Re: Finally back around to my 72 F100

Post by hfdco4 »

Did you flee Florida for GA? Hope you are both well.
Paul
:fr: FE390PC
1970 F250 4x4
2016 F150 4x4 2.7 ECO
Gone 1997, 1999 & 2003 F150 4x4s
Gone 1988, 1989 & 1991 Broncs
User avatar
MAK
Blue Oval Fan
Blue Oval Fan
Posts: 515
Joined: Tue Dec 21, 2004 9:35 am
Location: Georgia, Blairsville - Florida, Flagler Beach
Contact:

Re: Finally back around to my 72 F100

Post by MAK »

hfdco4 wrote:Did you flee Florida for GA? Hope you are both well.
We actually just got back to FL today. We typically bounce back and forth, spending about a month or so at each location. Was lucky that this last hurricane lost strength and stayed far enough off the coast from us. Barely got any rain or wind. Was really odd for one so close.
I’m at that stage now where I feel like I’m making no progress. I am, but it just doesn’t look like it, and can get sort of discouraging. That’s sort of hurting the motivational factor...
In April I did some of the remaining body work and sprayed another coat of epoxy. Started block sanding and identifying additional high and low spots I had so far missed. The roof and hood had lots of low spots so I hit them with three coats of SlickSand. This past trip I worked on trying to get the metal back straight on the underside of the front the hood. Previously perfect but I dropped it when trying to turn it over by myself and it got unbalanced and caught me by surprise. Then just a lot of block sanding everywhere trying to find the final areas that may need a super thin layer of filler or thick layer of epoxy... Most of the SlickSand was sanded off and I’m back to areas of bare metal, etc.
the nice thing about the epoxy primer is the shiny surface that acts as it’s own guide coat while you block sand. You quickly get a nice dull finish and anywhere that remains shiny is low... I didn’t get a lot of photos this year but do have to upload the ones I have.
User avatar
MAK
Blue Oval Fan
Blue Oval Fan
Posts: 515
Joined: Tue Dec 21, 2004 9:35 am
Location: Georgia, Blairsville - Florida, Flagler Beach
Contact:

Re: Finally back around to my 72 F100

Post by MAK »

Image
Image
Image
Image
Image
Image
Image
Image
Image
User avatar
jzjames
100% FORDified!
100% FORDified!
Posts: 1765
Joined: Sun Jan 09, 2005 2:59 pm
Location: Washington, Windy Point

Re: Finally back around to my 72 F100

Post by jzjames »

Thats gonna be a sharp truck! Classy color.

Like your little patches on the sheetmetal, wish I could find someone to do a couple on mine.
How did you treat the bed floor?
User avatar
MAK
Blue Oval Fan
Blue Oval Fan
Posts: 515
Joined: Tue Dec 21, 2004 9:35 am
Location: Georgia, Blairsville - Florida, Flagler Beach
Contact:

Re: Finally back around to my 72 F100

Post by MAK »

jzjames wrote:Thats gonna be a sharp truck! Classy color.

Like your little patches on the sheetmetal, wish I could find someone to do a couple on mine.
How did you treat the bed floor?
Thank you. And hey, buy yourself a mig welder and practice until you can get it done. A whole lot cheaper than hiring someone and maybe you have floor plans or somewhere out of sight you can practice on first after you graduate from scrap. Butt welding good full-thickness sheet metal isn’t all that hard once you get it figured out. My biggest problem to this day is that I don’t cut back enough of the rusty areas before I start. By the time I have all the rust ground or blasted off, the metal is thin and super hard for me to weld without blowing holes in it and then chasing those holes around all day... if I would just cut all the way back to full-thickness metal every time then life would be so much easier.
Everything so far is black Epoxy primer. I’m going to do a single stage original Blue for the top coat if I ever get the panels as flat as I want.
The bed was sandblasted and that too has three coats of Epoxy primer. Once done I think I will go have Line-X sprayed in the bed.
User avatar
jzjames
100% FORDified!
100% FORDified!
Posts: 1765
Joined: Sun Jan 09, 2005 2:59 pm
Location: Washington, Windy Point

Re: Finally back around to my 72 F100

Post by jzjames »

Oh, ok. :oops:
I thought you were doing satin black which I really like on classic vehicles. Especially really straight panels like your truck is.
User avatar
jzjames
100% FORDified!
100% FORDified!
Posts: 1765
Joined: Sun Jan 09, 2005 2:59 pm
Location: Washington, Windy Point

Re: Finally back around to my 72 F100

Post by jzjames »

MAK wrote:Image
User avatar
MAK
Blue Oval Fan
Blue Oval Fan
Posts: 515
Joined: Tue Dec 21, 2004 9:35 am
Location: Georgia, Blairsville - Florida, Flagler Beach
Contact:

Re: Finally back around to my 72 F100

Post by MAK »

It’s SPI epoxy. It actually shinier than it looks in the pics. After block sanding, it turns that dull gray color you see in some of the last pics where there is exposed metal and filler again. Makes it easy to find the high and low spots without a guide coat...
SPI (Southern Polyurethanes) has a really good web site and forum for paint and bodywork. A lot of the guys who want the flat or satin black paint just use the Black Epoxy as a top coat. It would look good. I thought about going that route at one time, but decided I wanted to go back to the original color I remember it being as a kid. They sell an additive to dull the finish to get just the look of flat/satin that you want.
User avatar
hfdco4
Blue Oval Guru
Blue Oval Guru
Posts: 1289
Joined: Mon Apr 01, 2013 1:45 pm

Re: Finally back around to my 72 F100

Post by hfdco4 »

Looking great!
Paul
:fr: FE390PC
1970 F250 4x4
2016 F150 4x4 2.7 ECO
Gone 1997, 1999 & 2003 F150 4x4s
Gone 1988, 1989 & 1991 Broncs
User avatar
MAK
Blue Oval Fan
Blue Oval Fan
Posts: 515
Joined: Tue Dec 21, 2004 9:35 am
Location: Georgia, Blairsville - Florida, Flagler Beach
Contact:

Re: Finally back around to my 72 F100

Post by MAK »

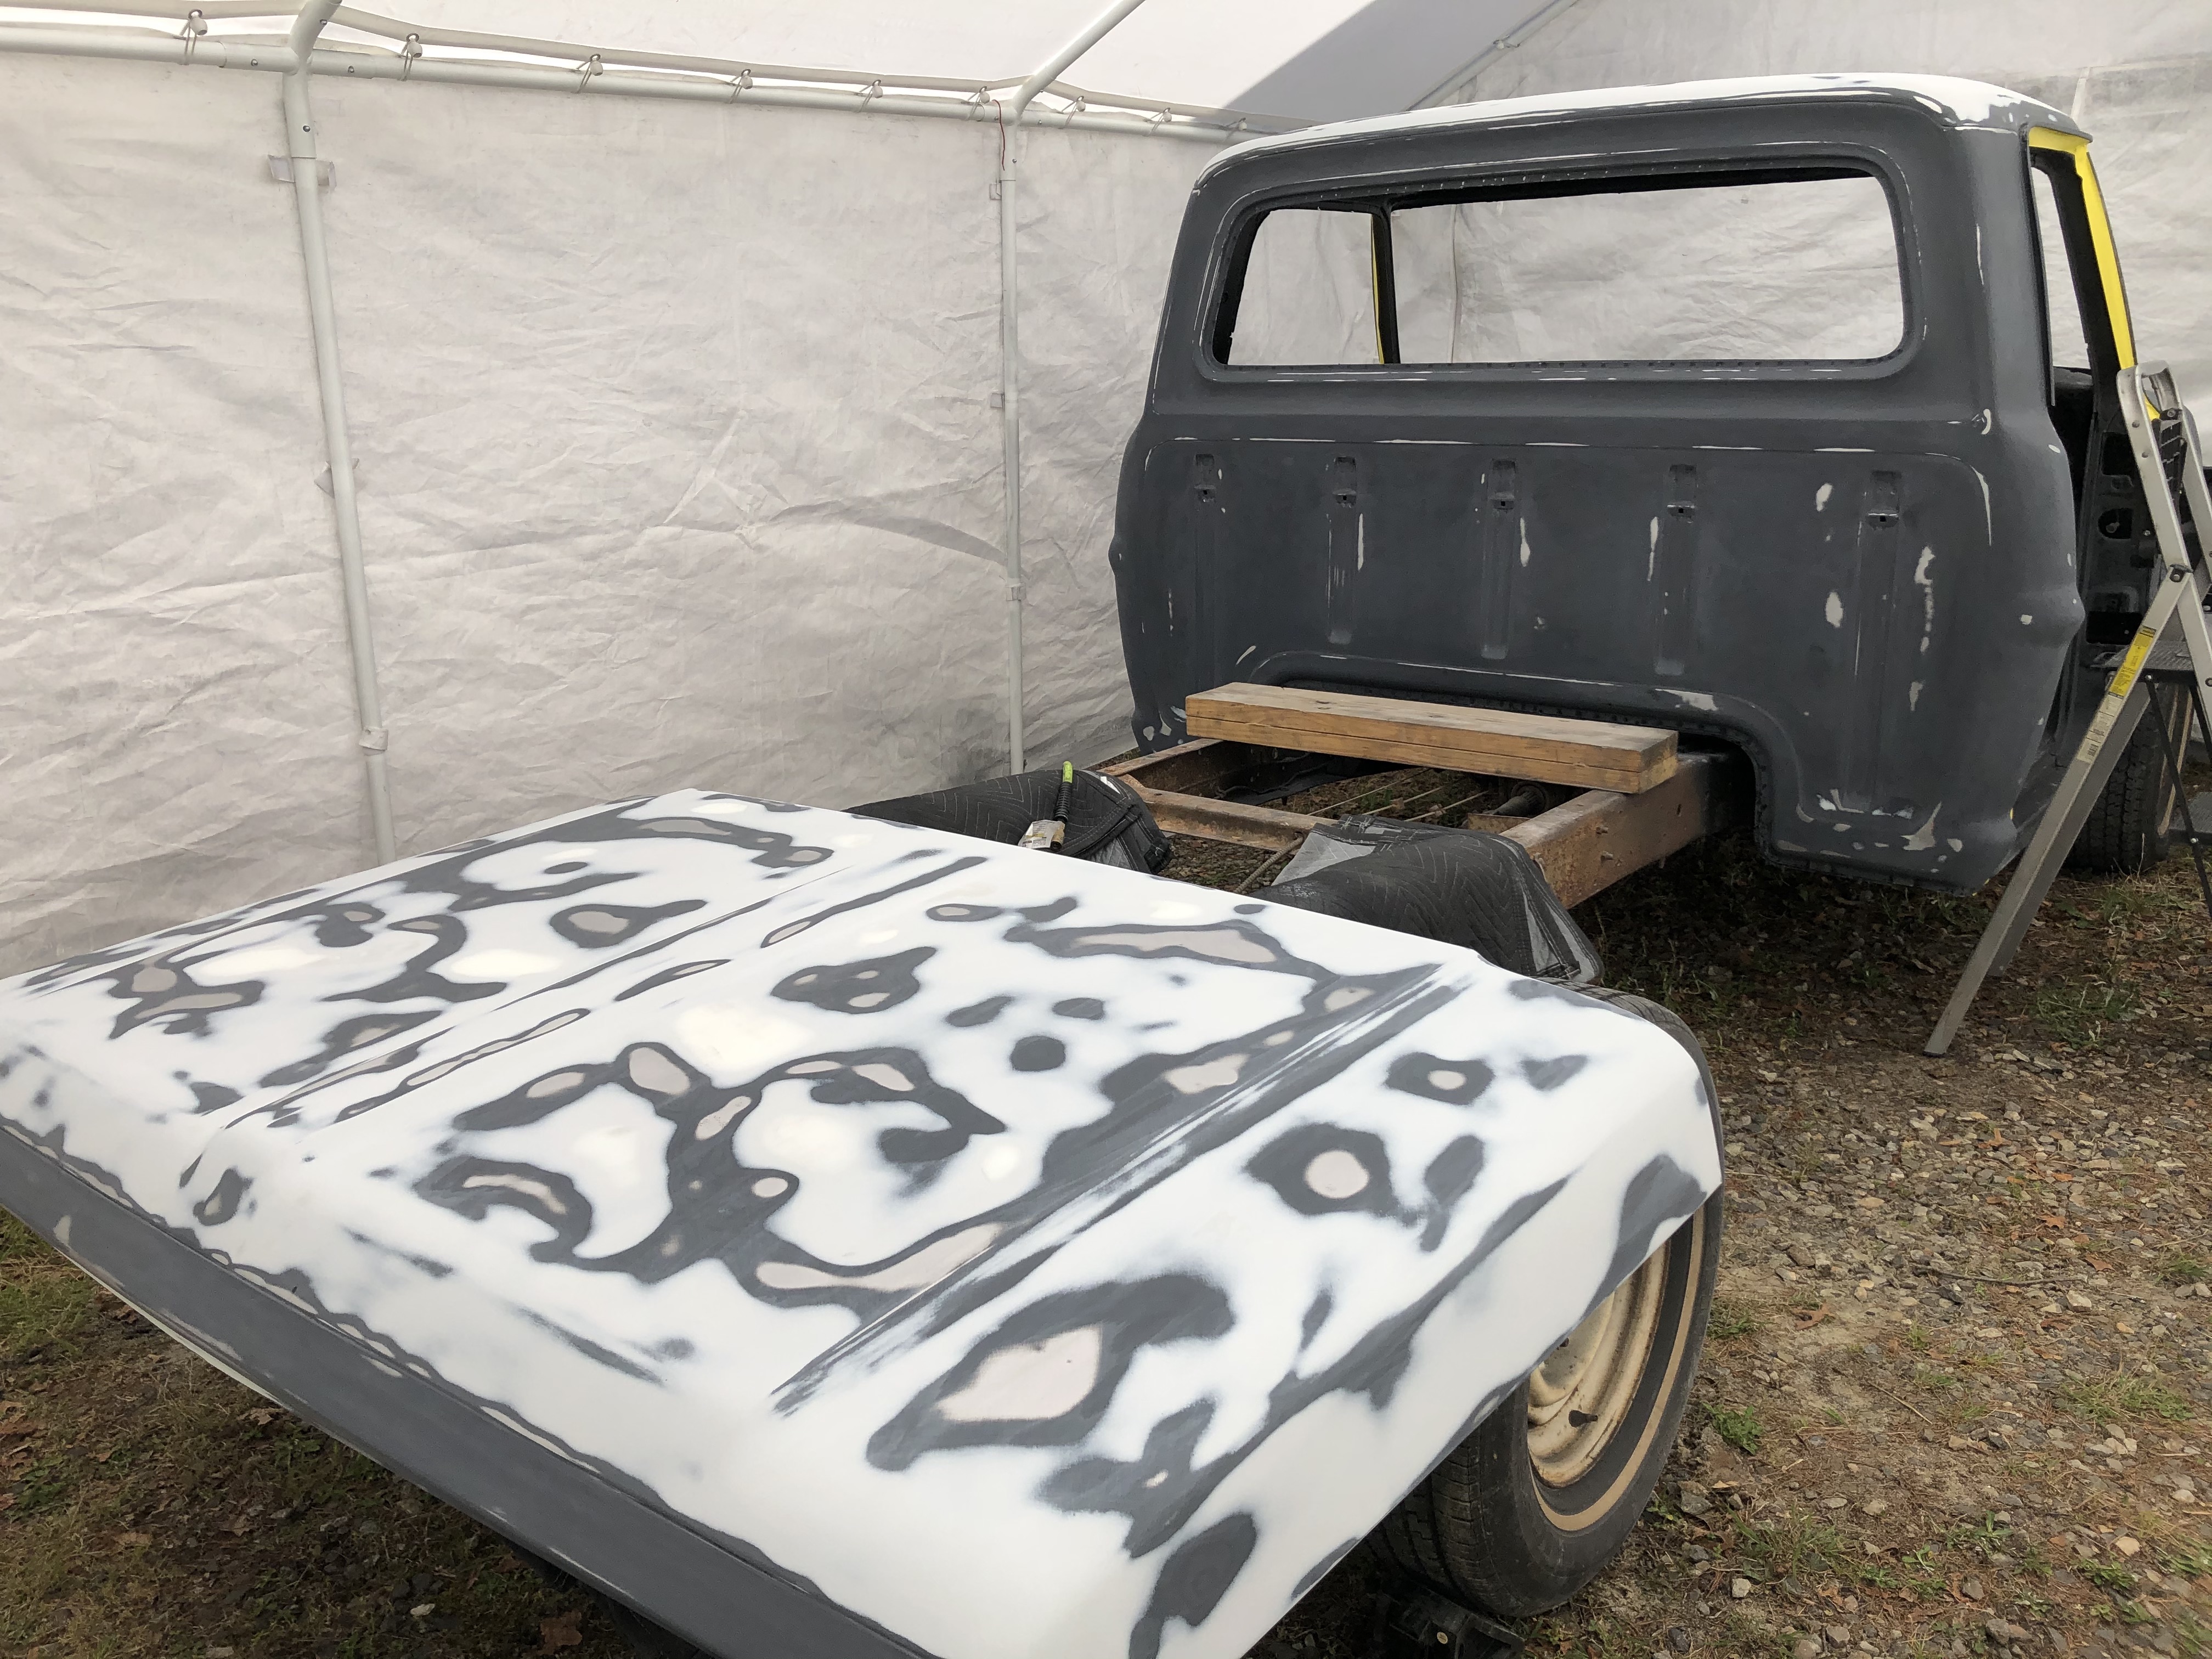
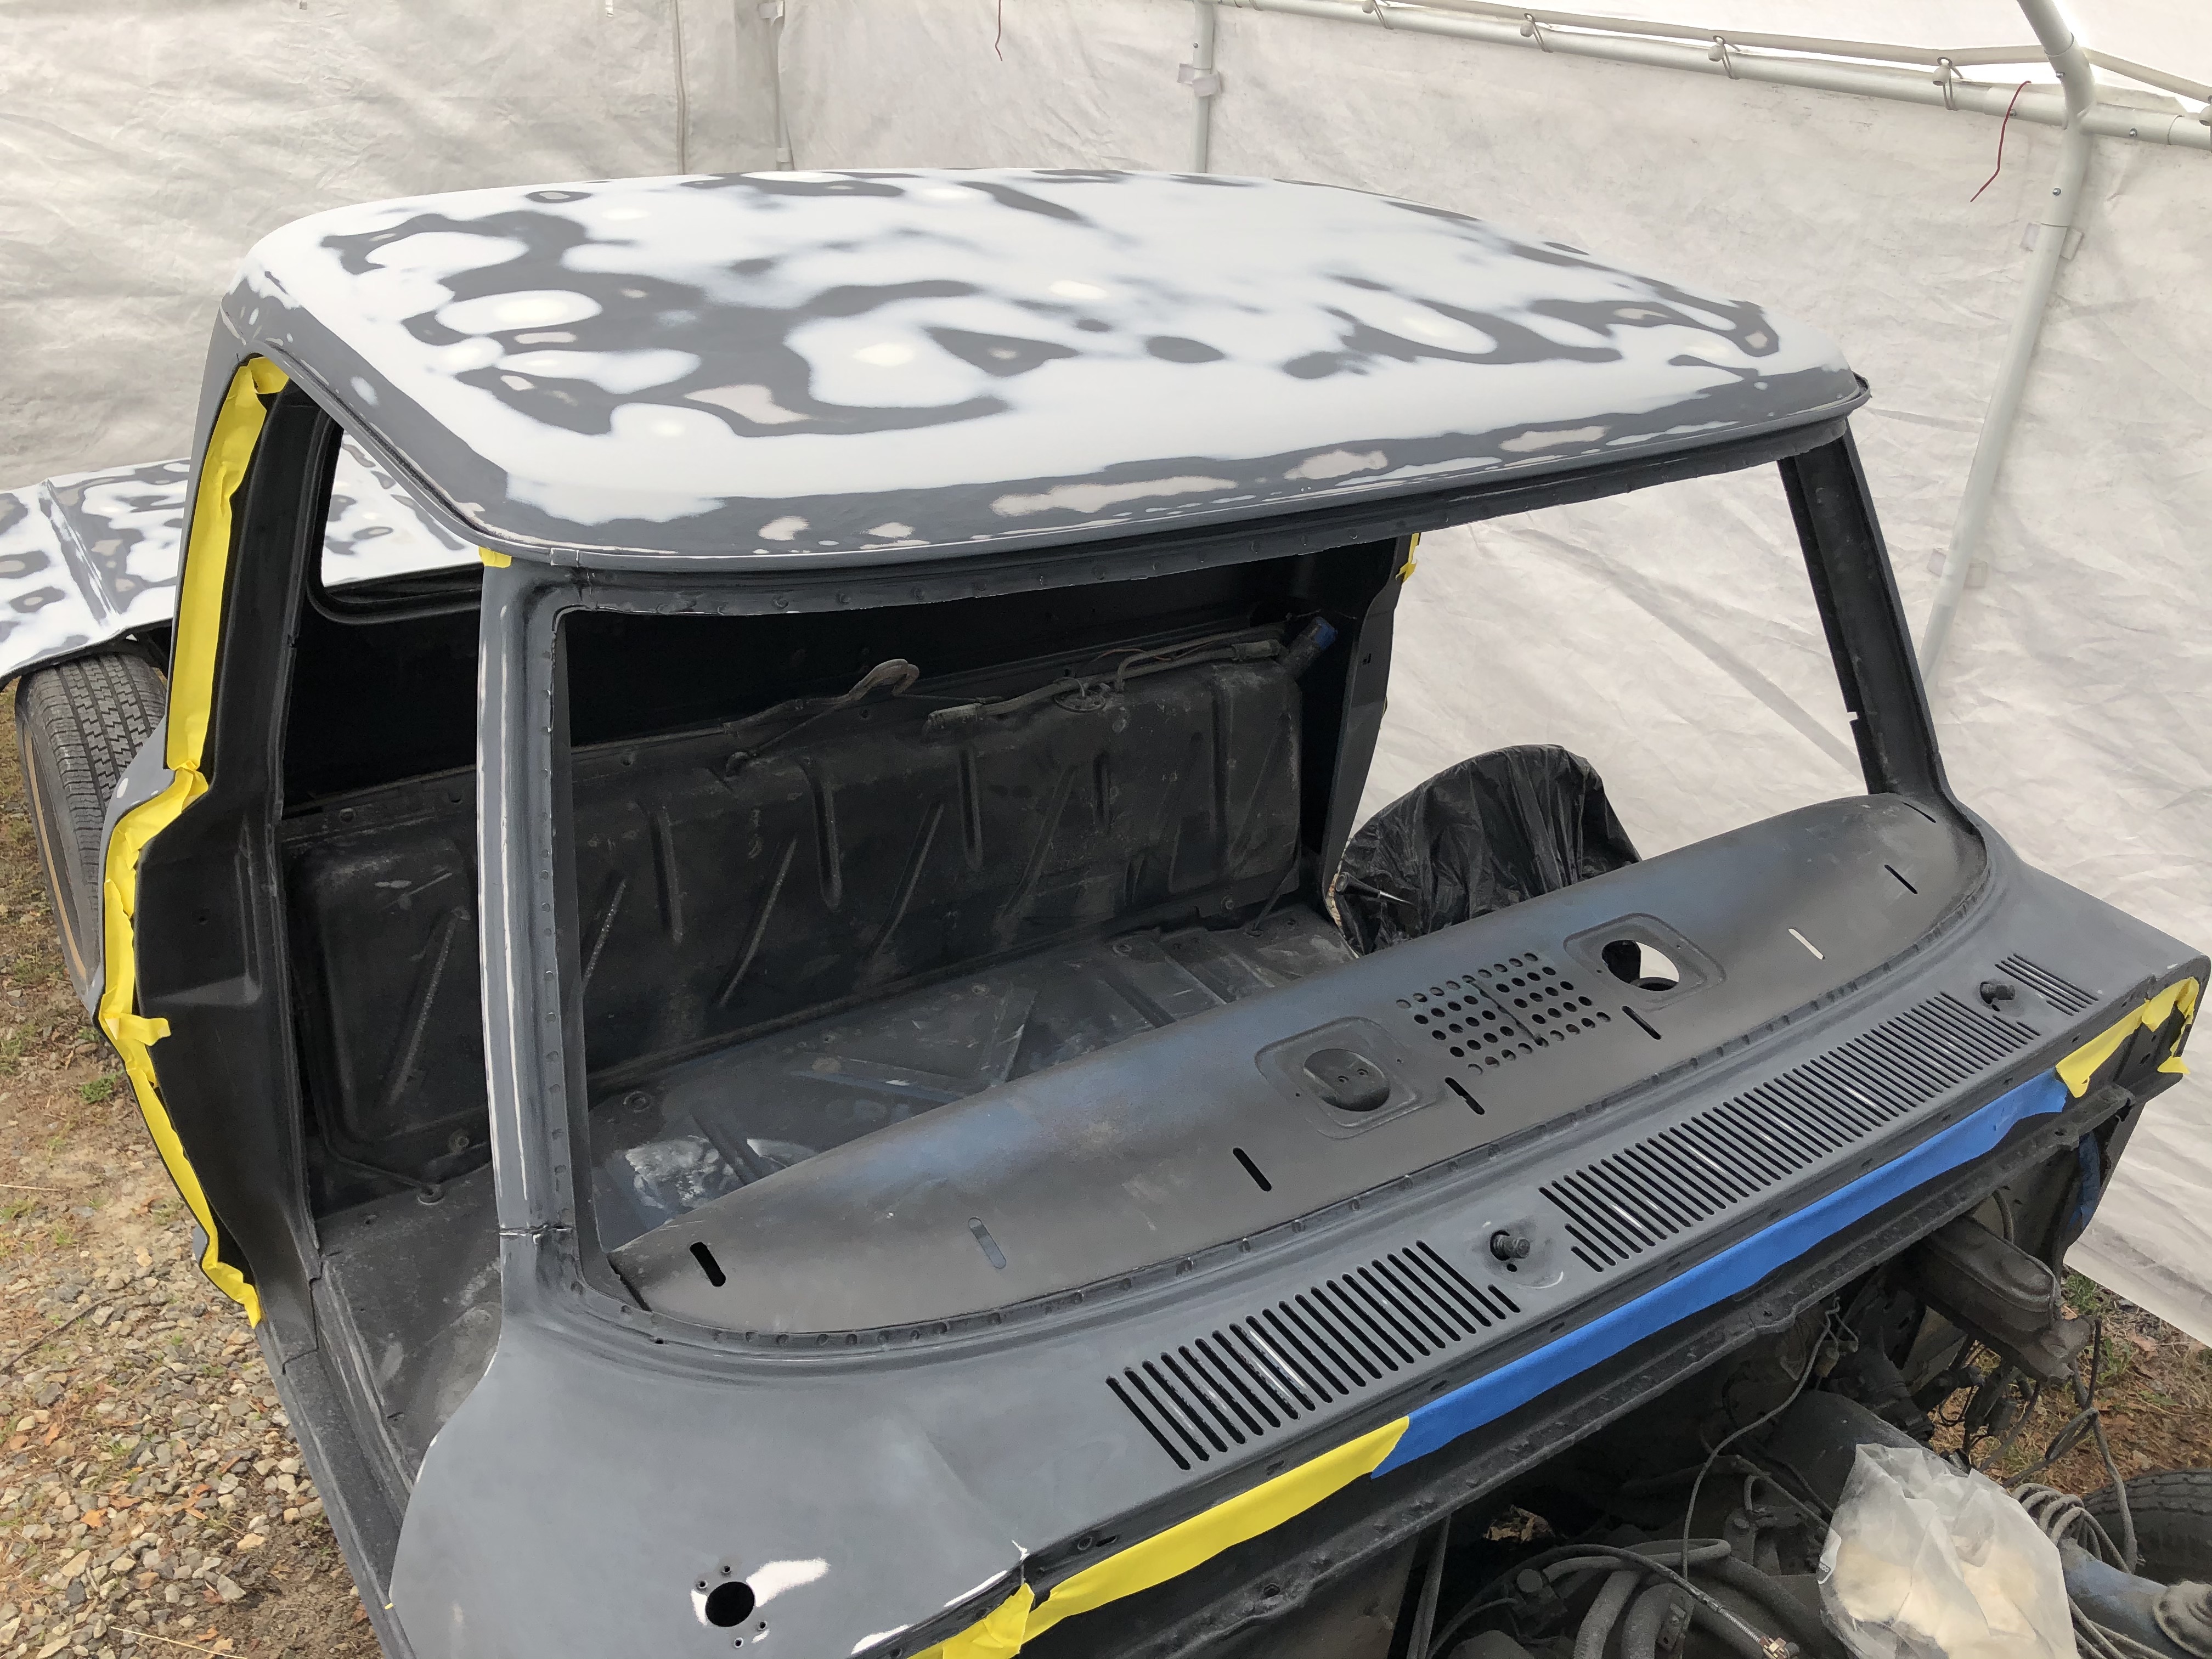
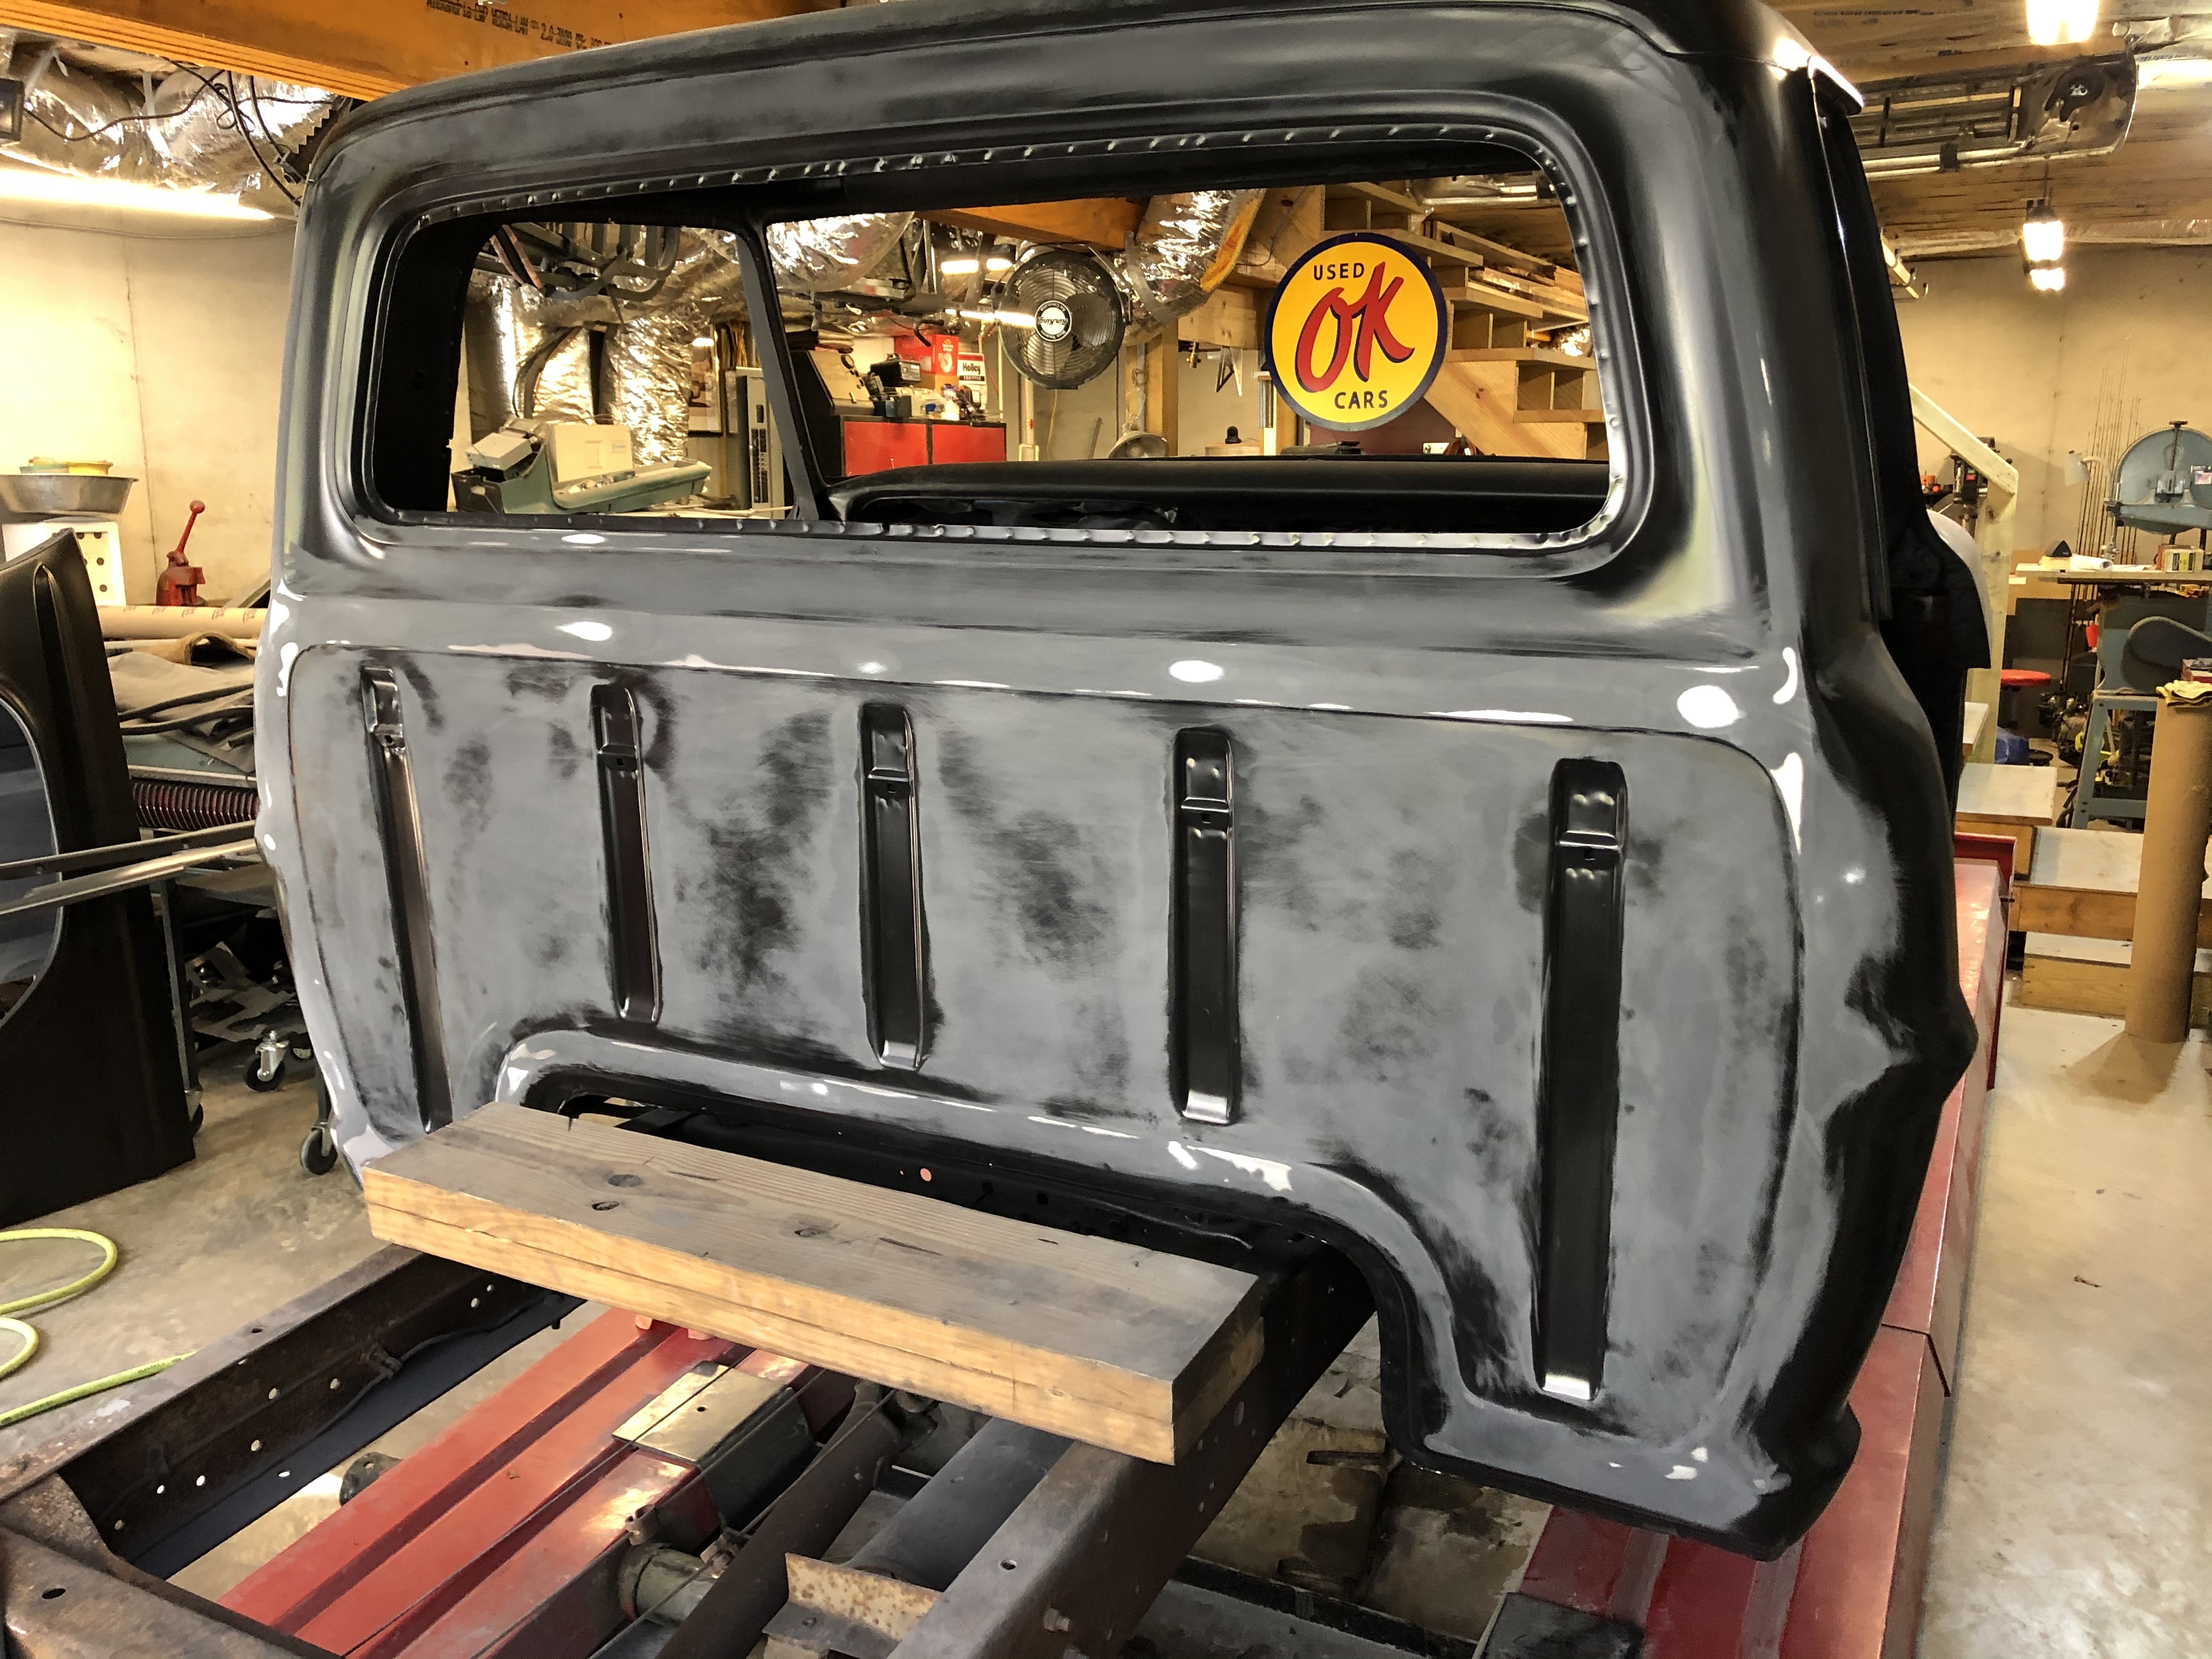
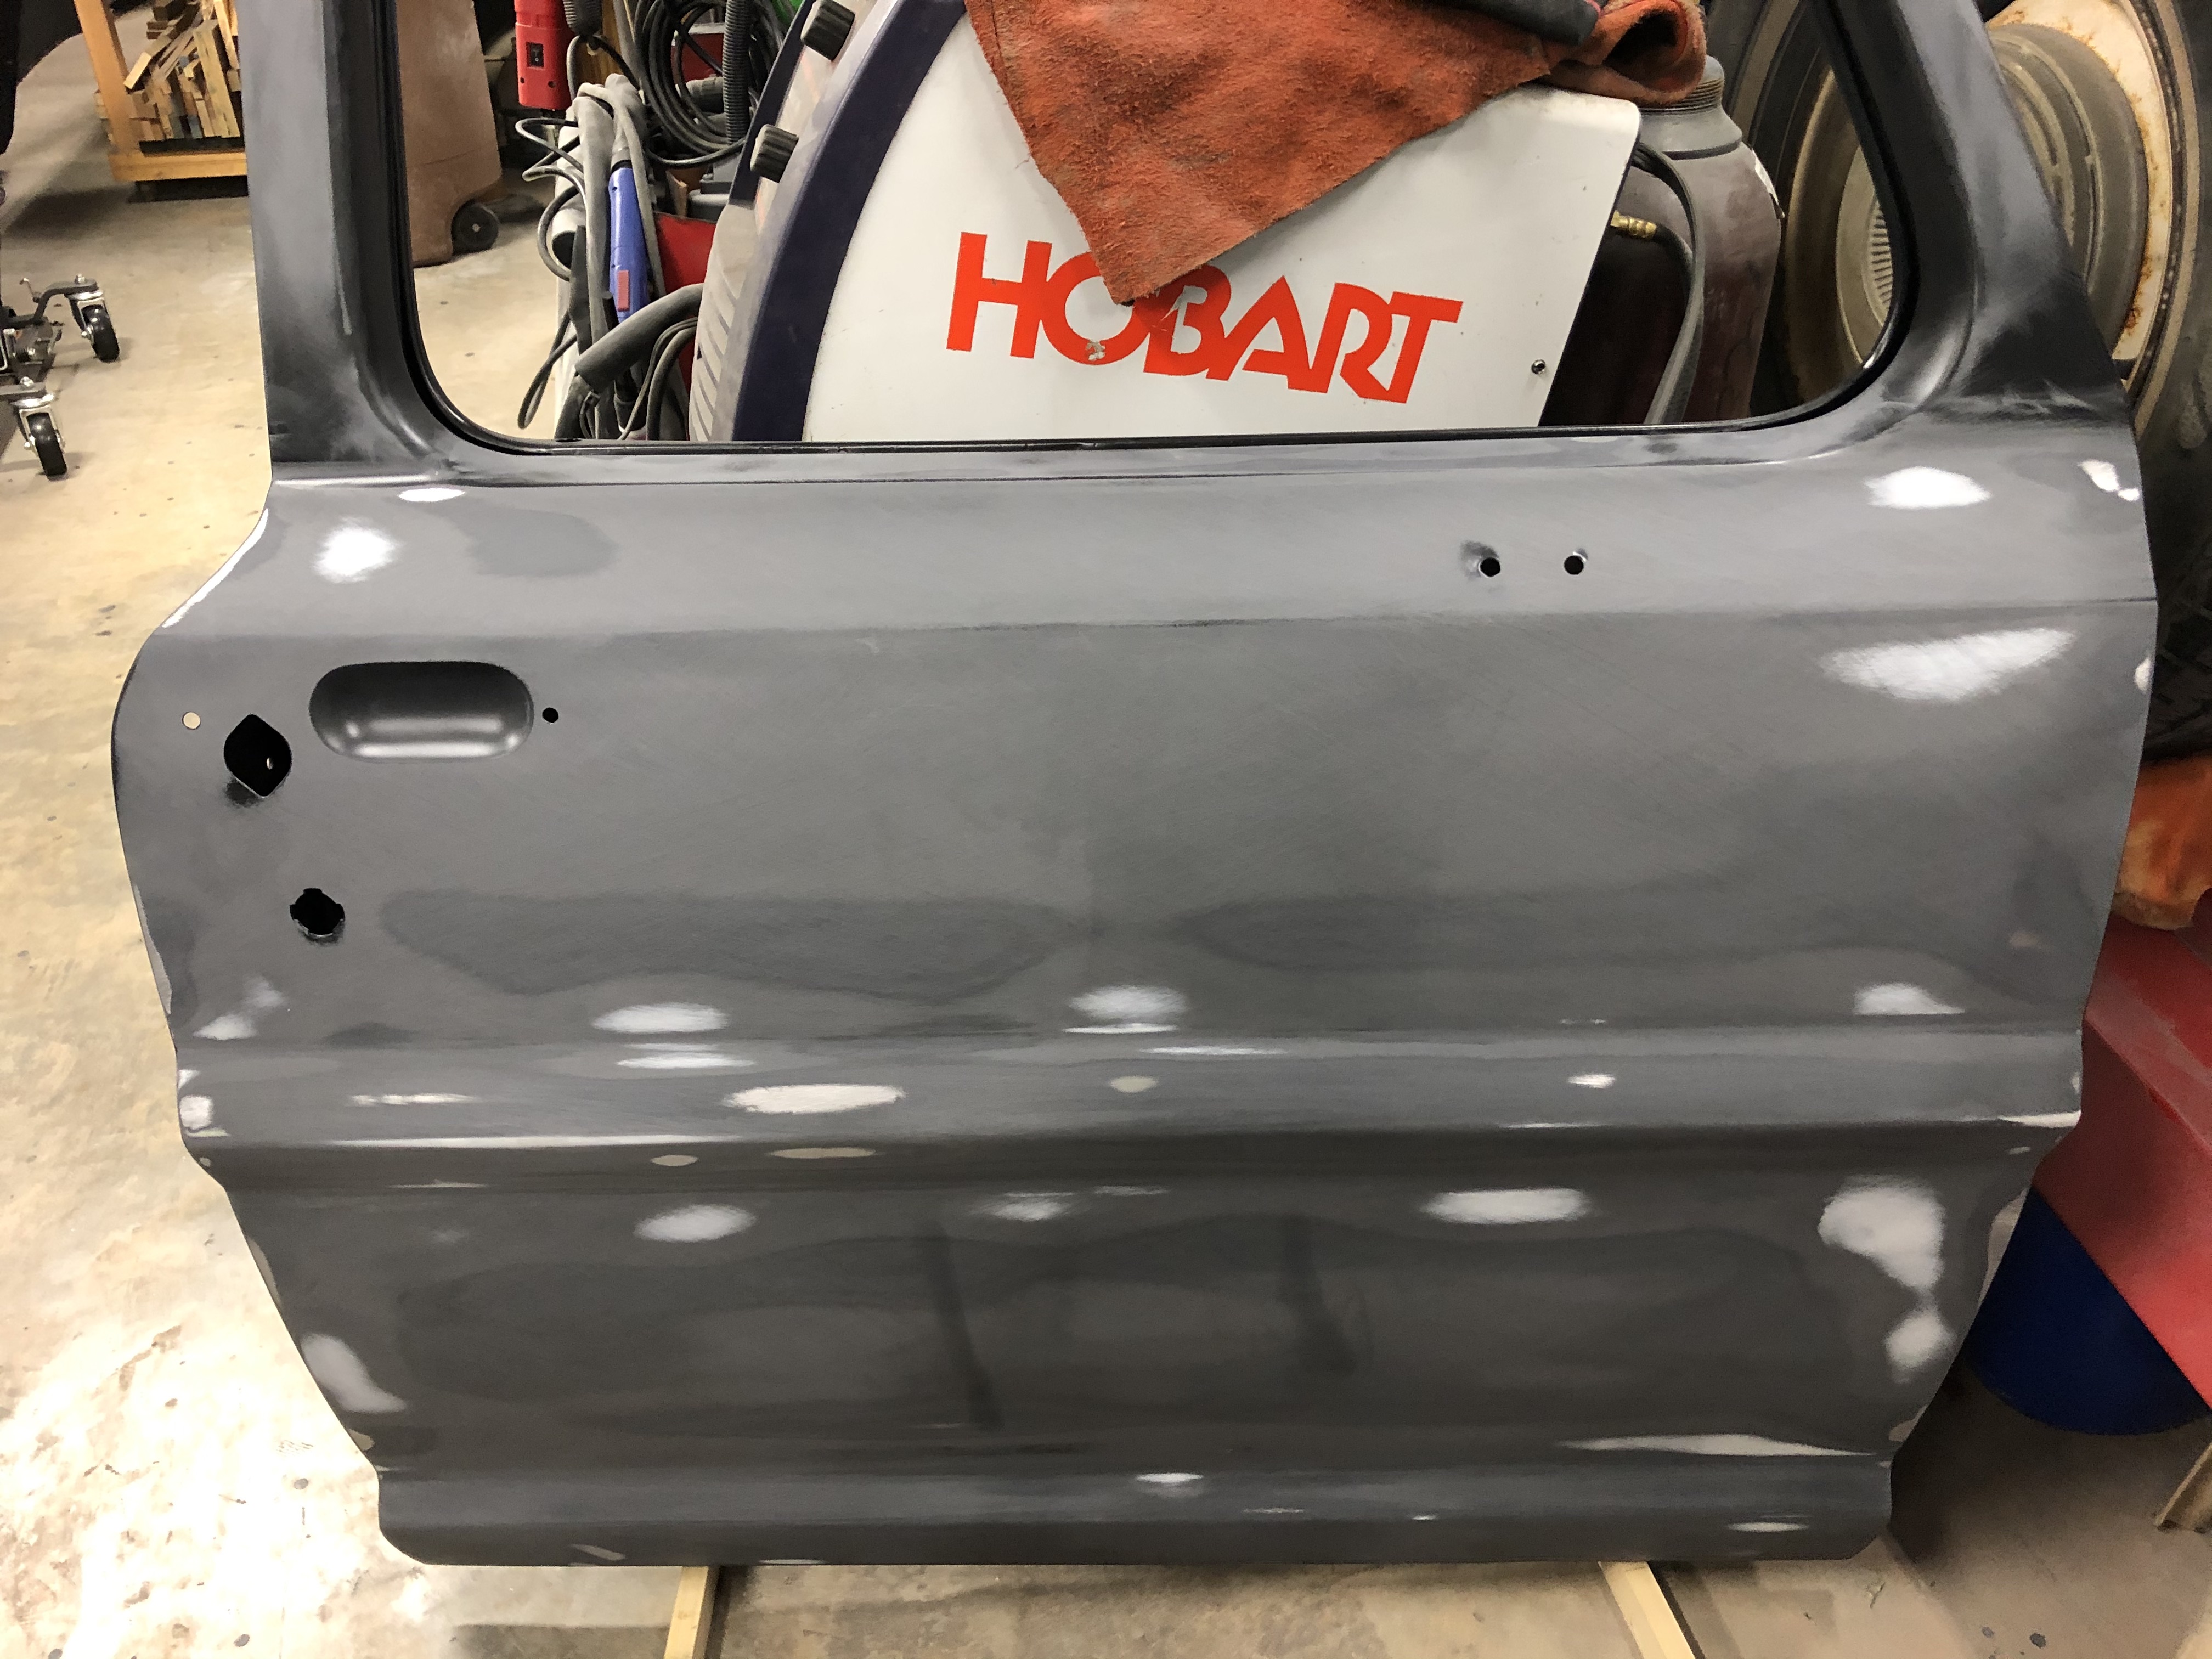
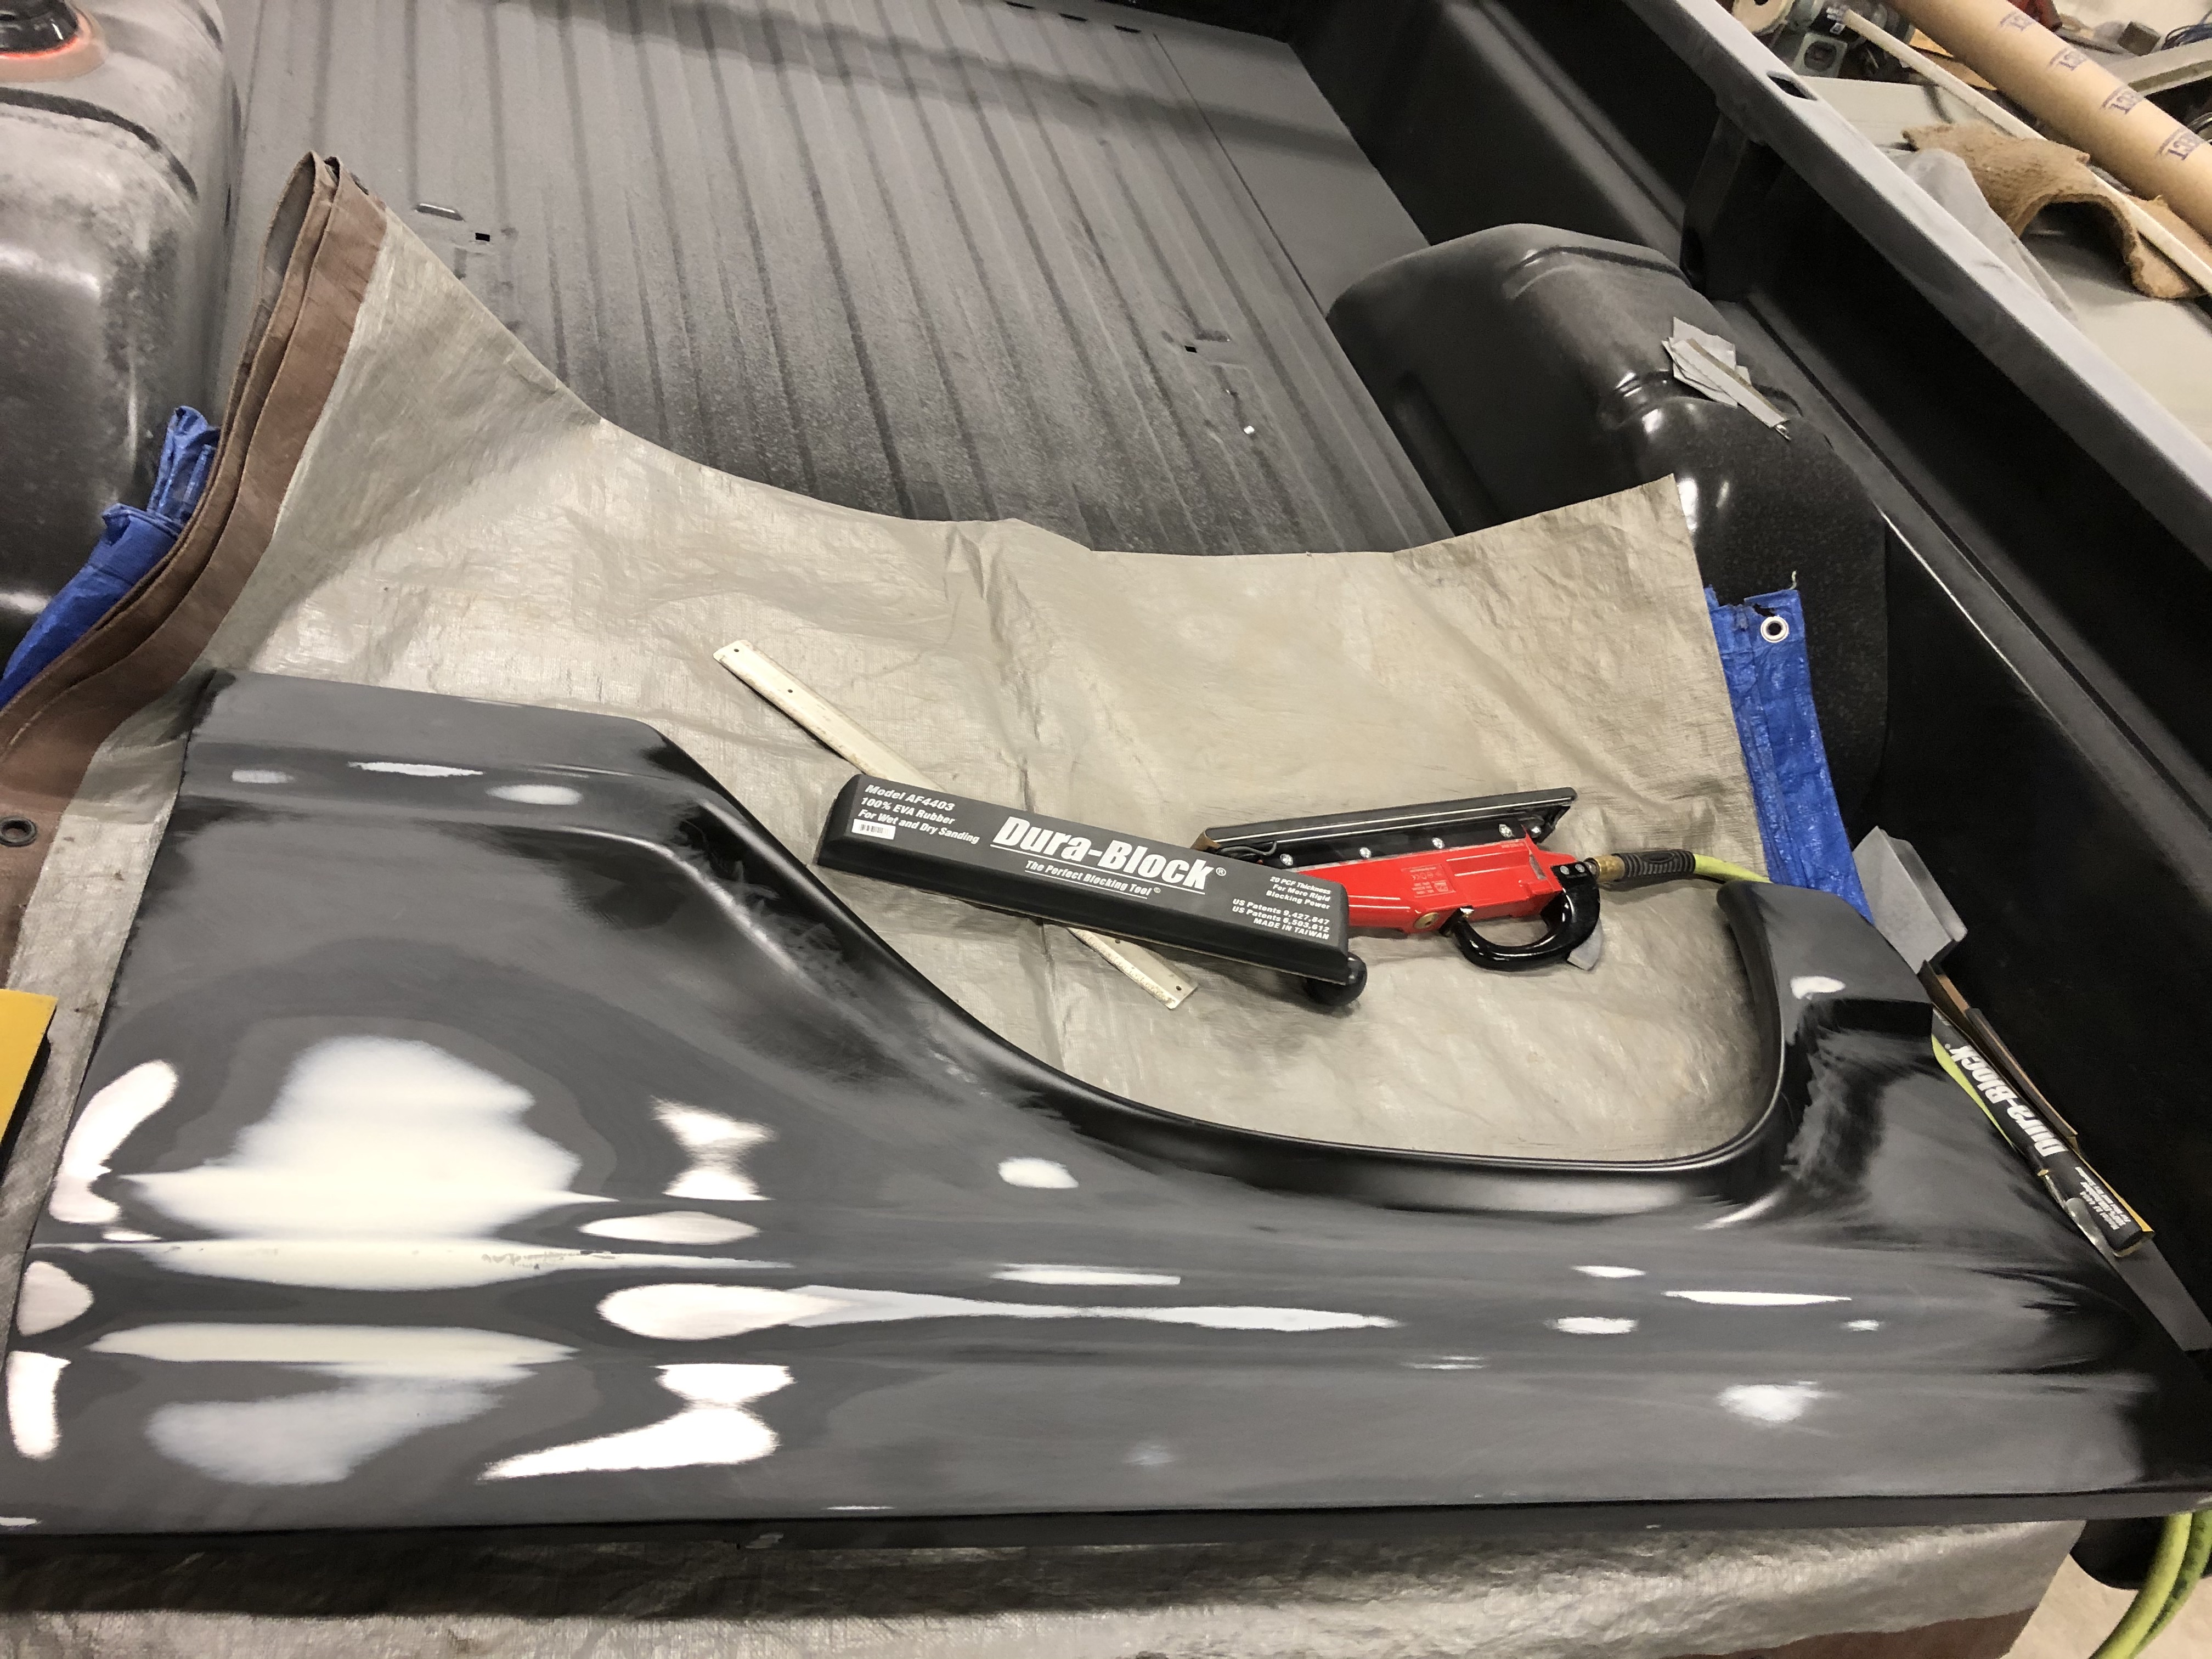
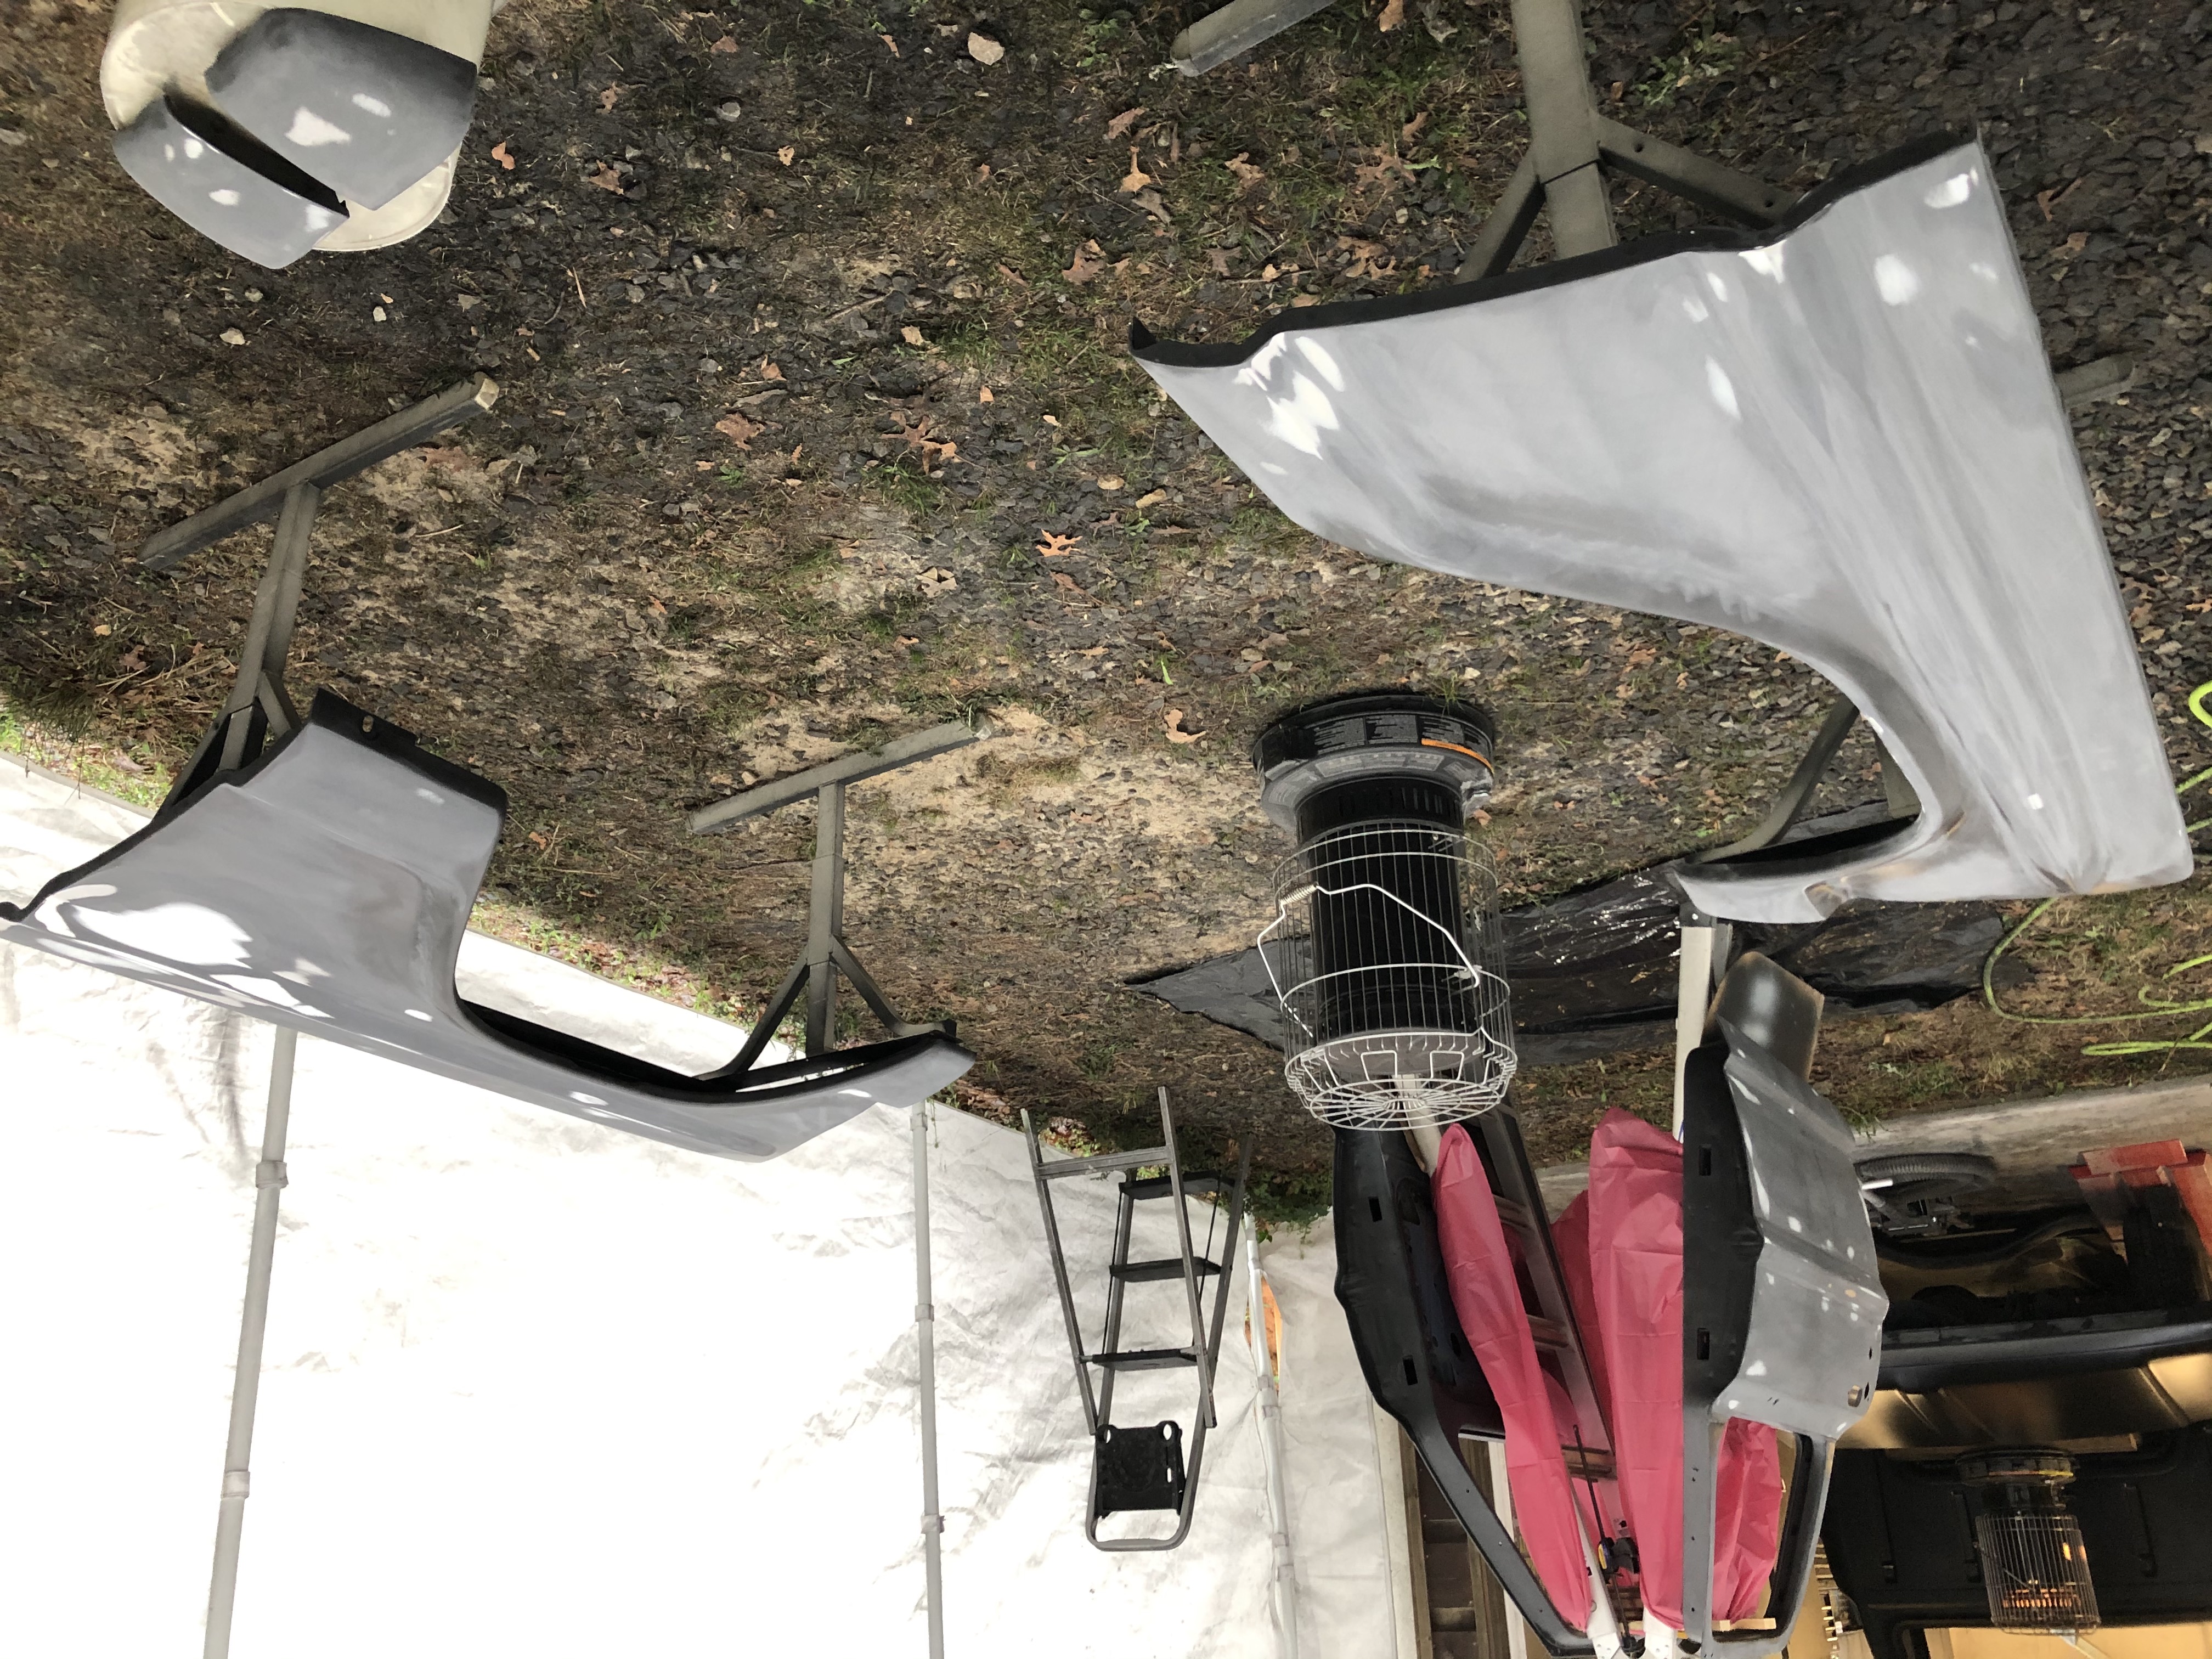
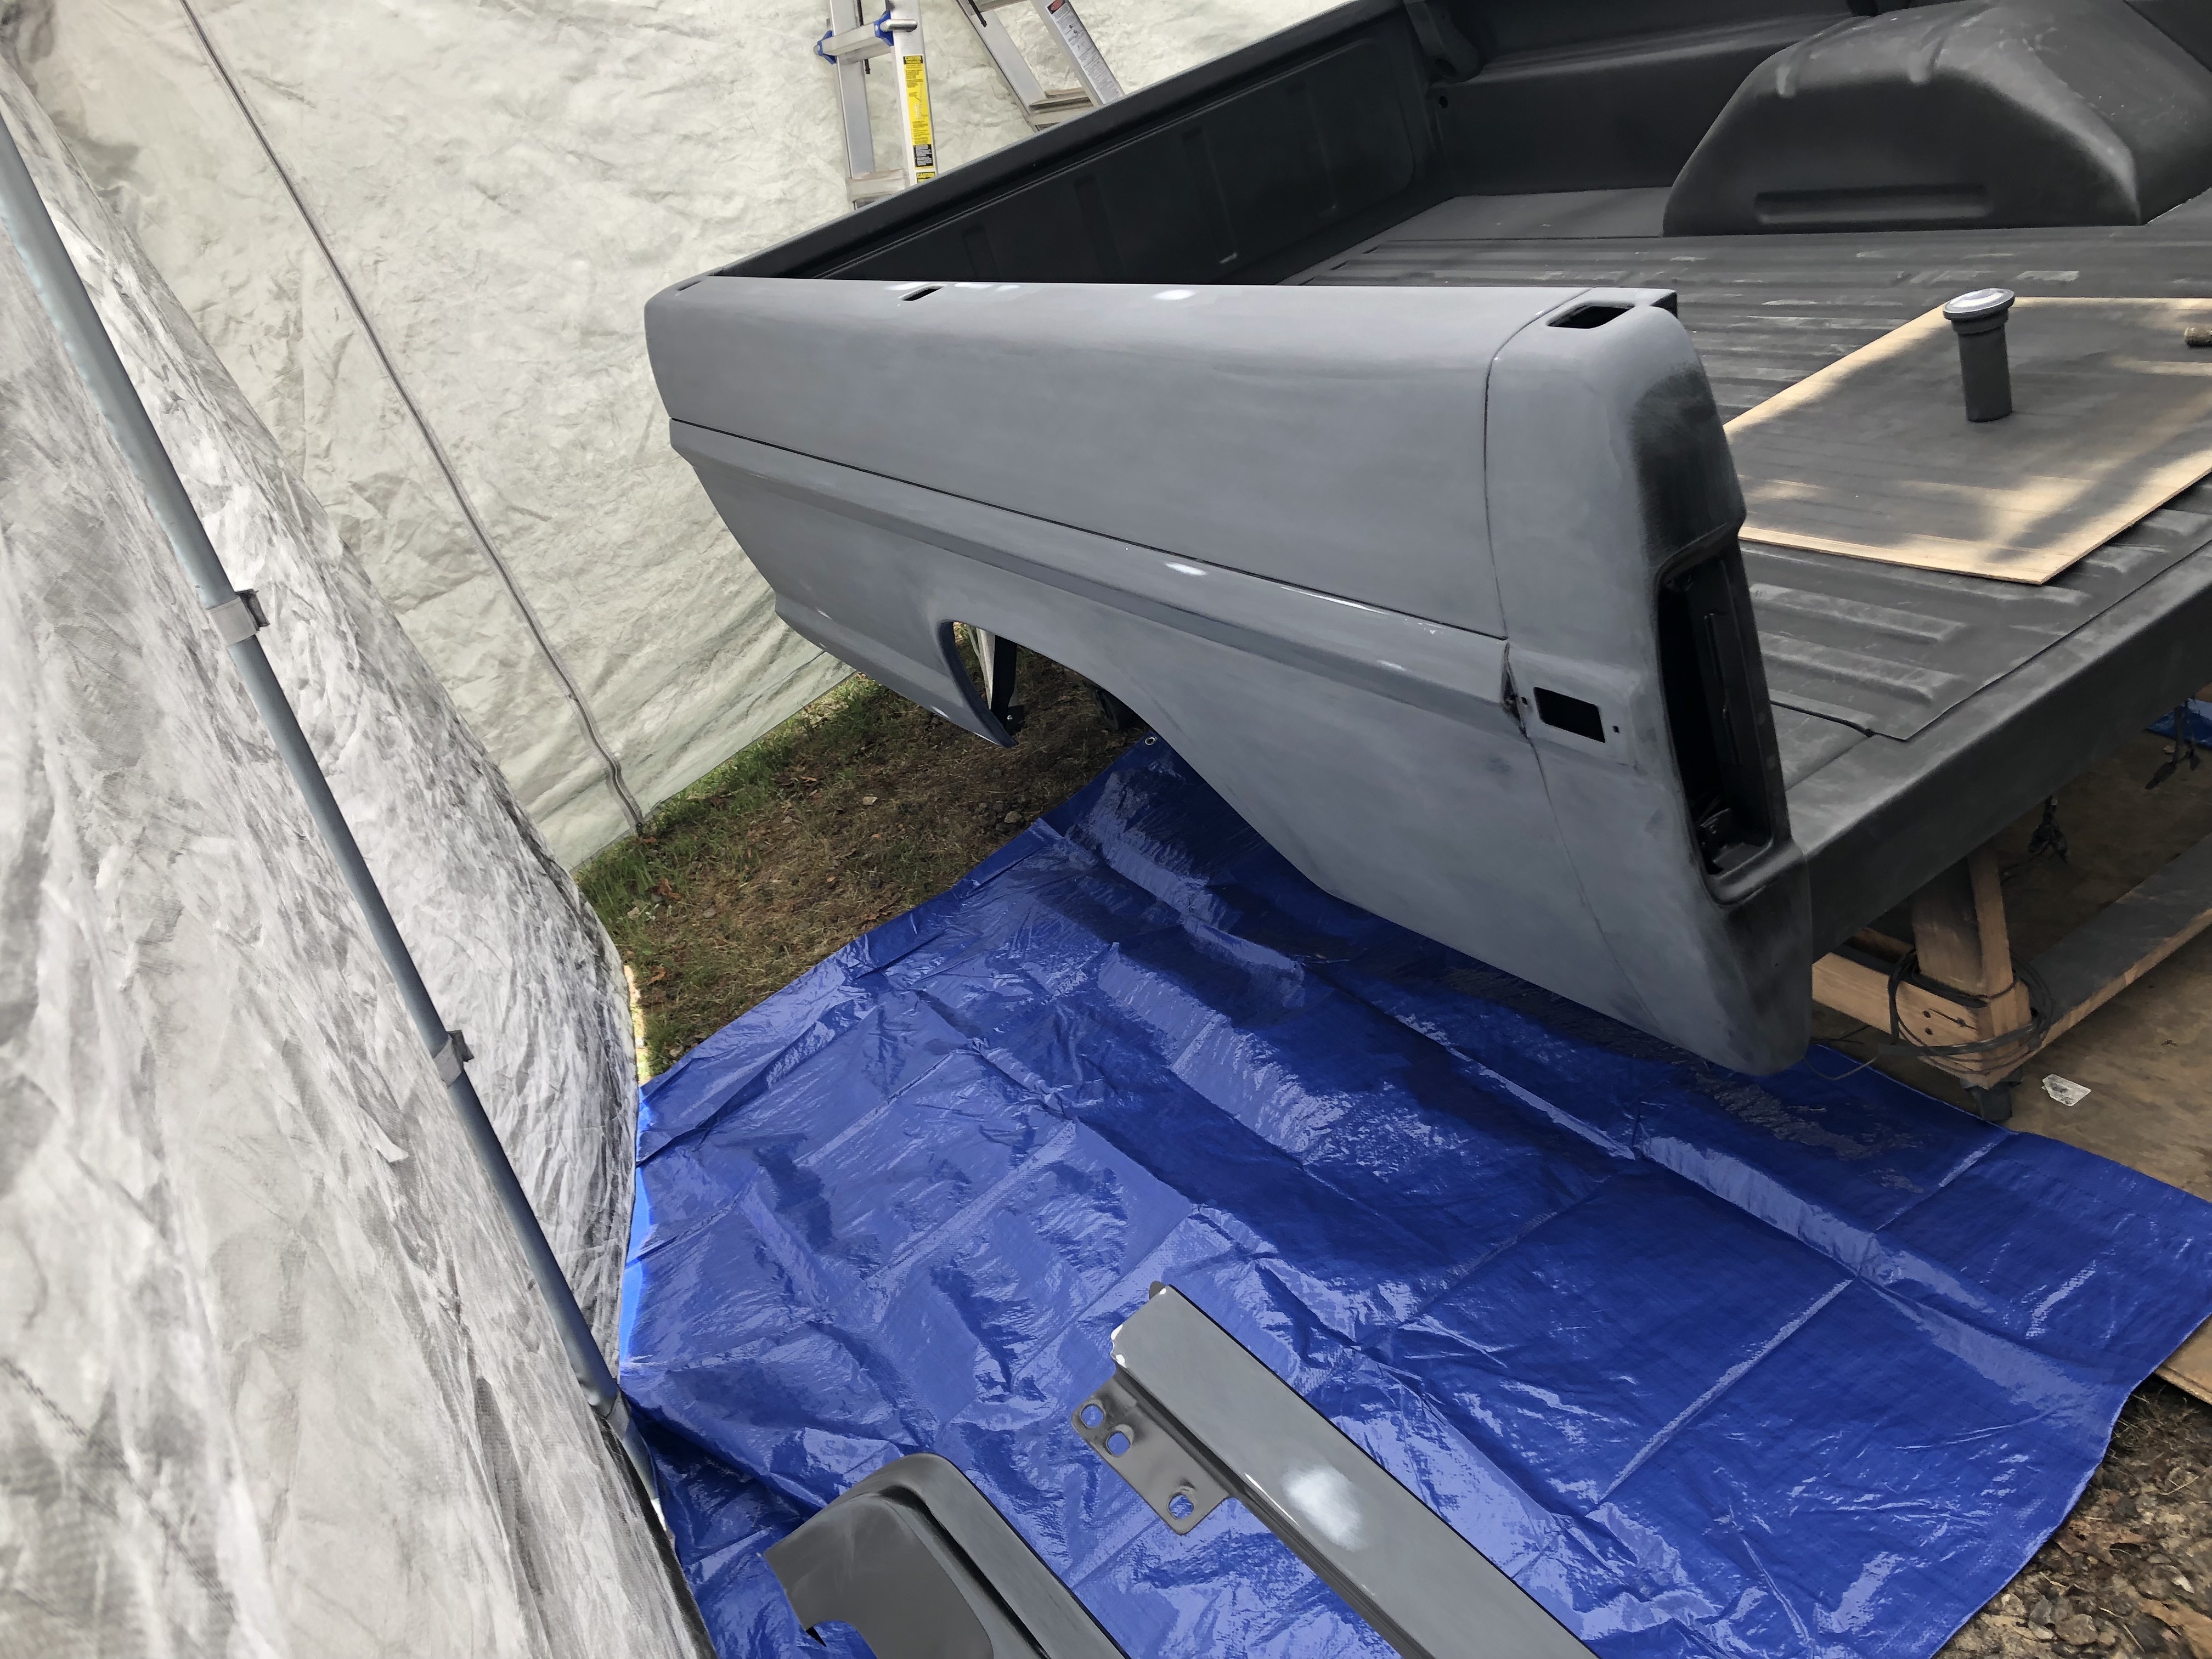
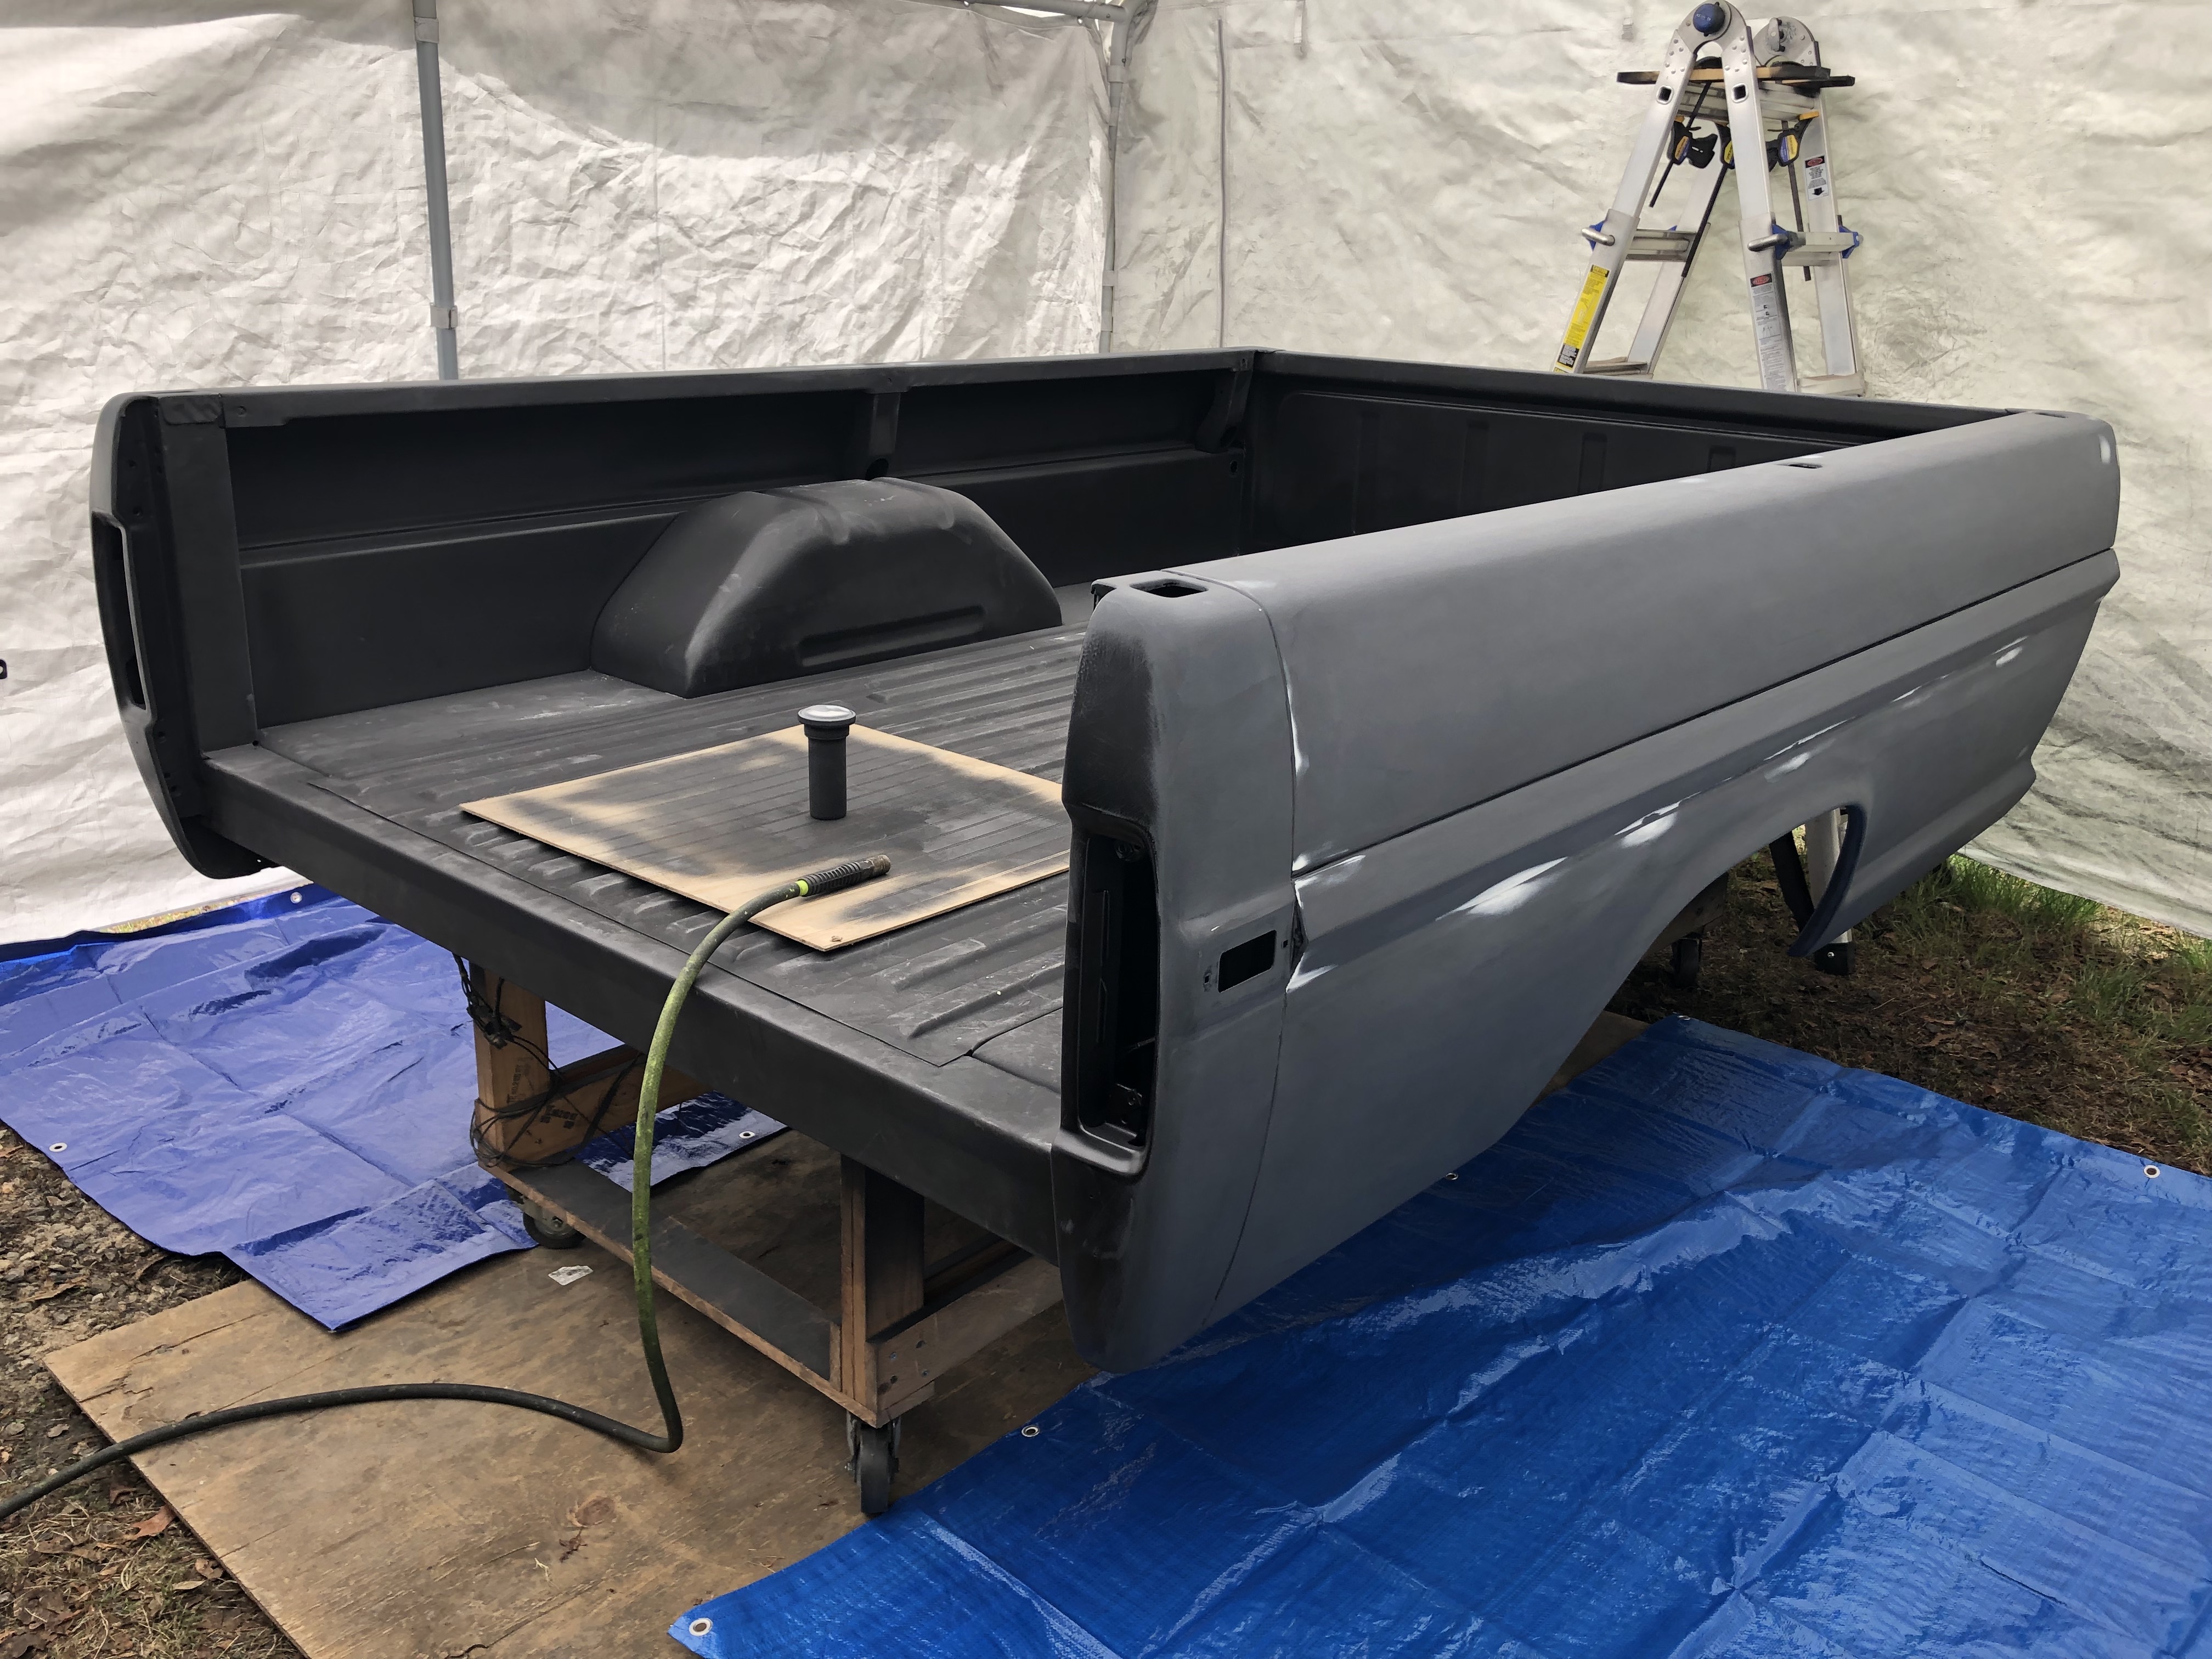
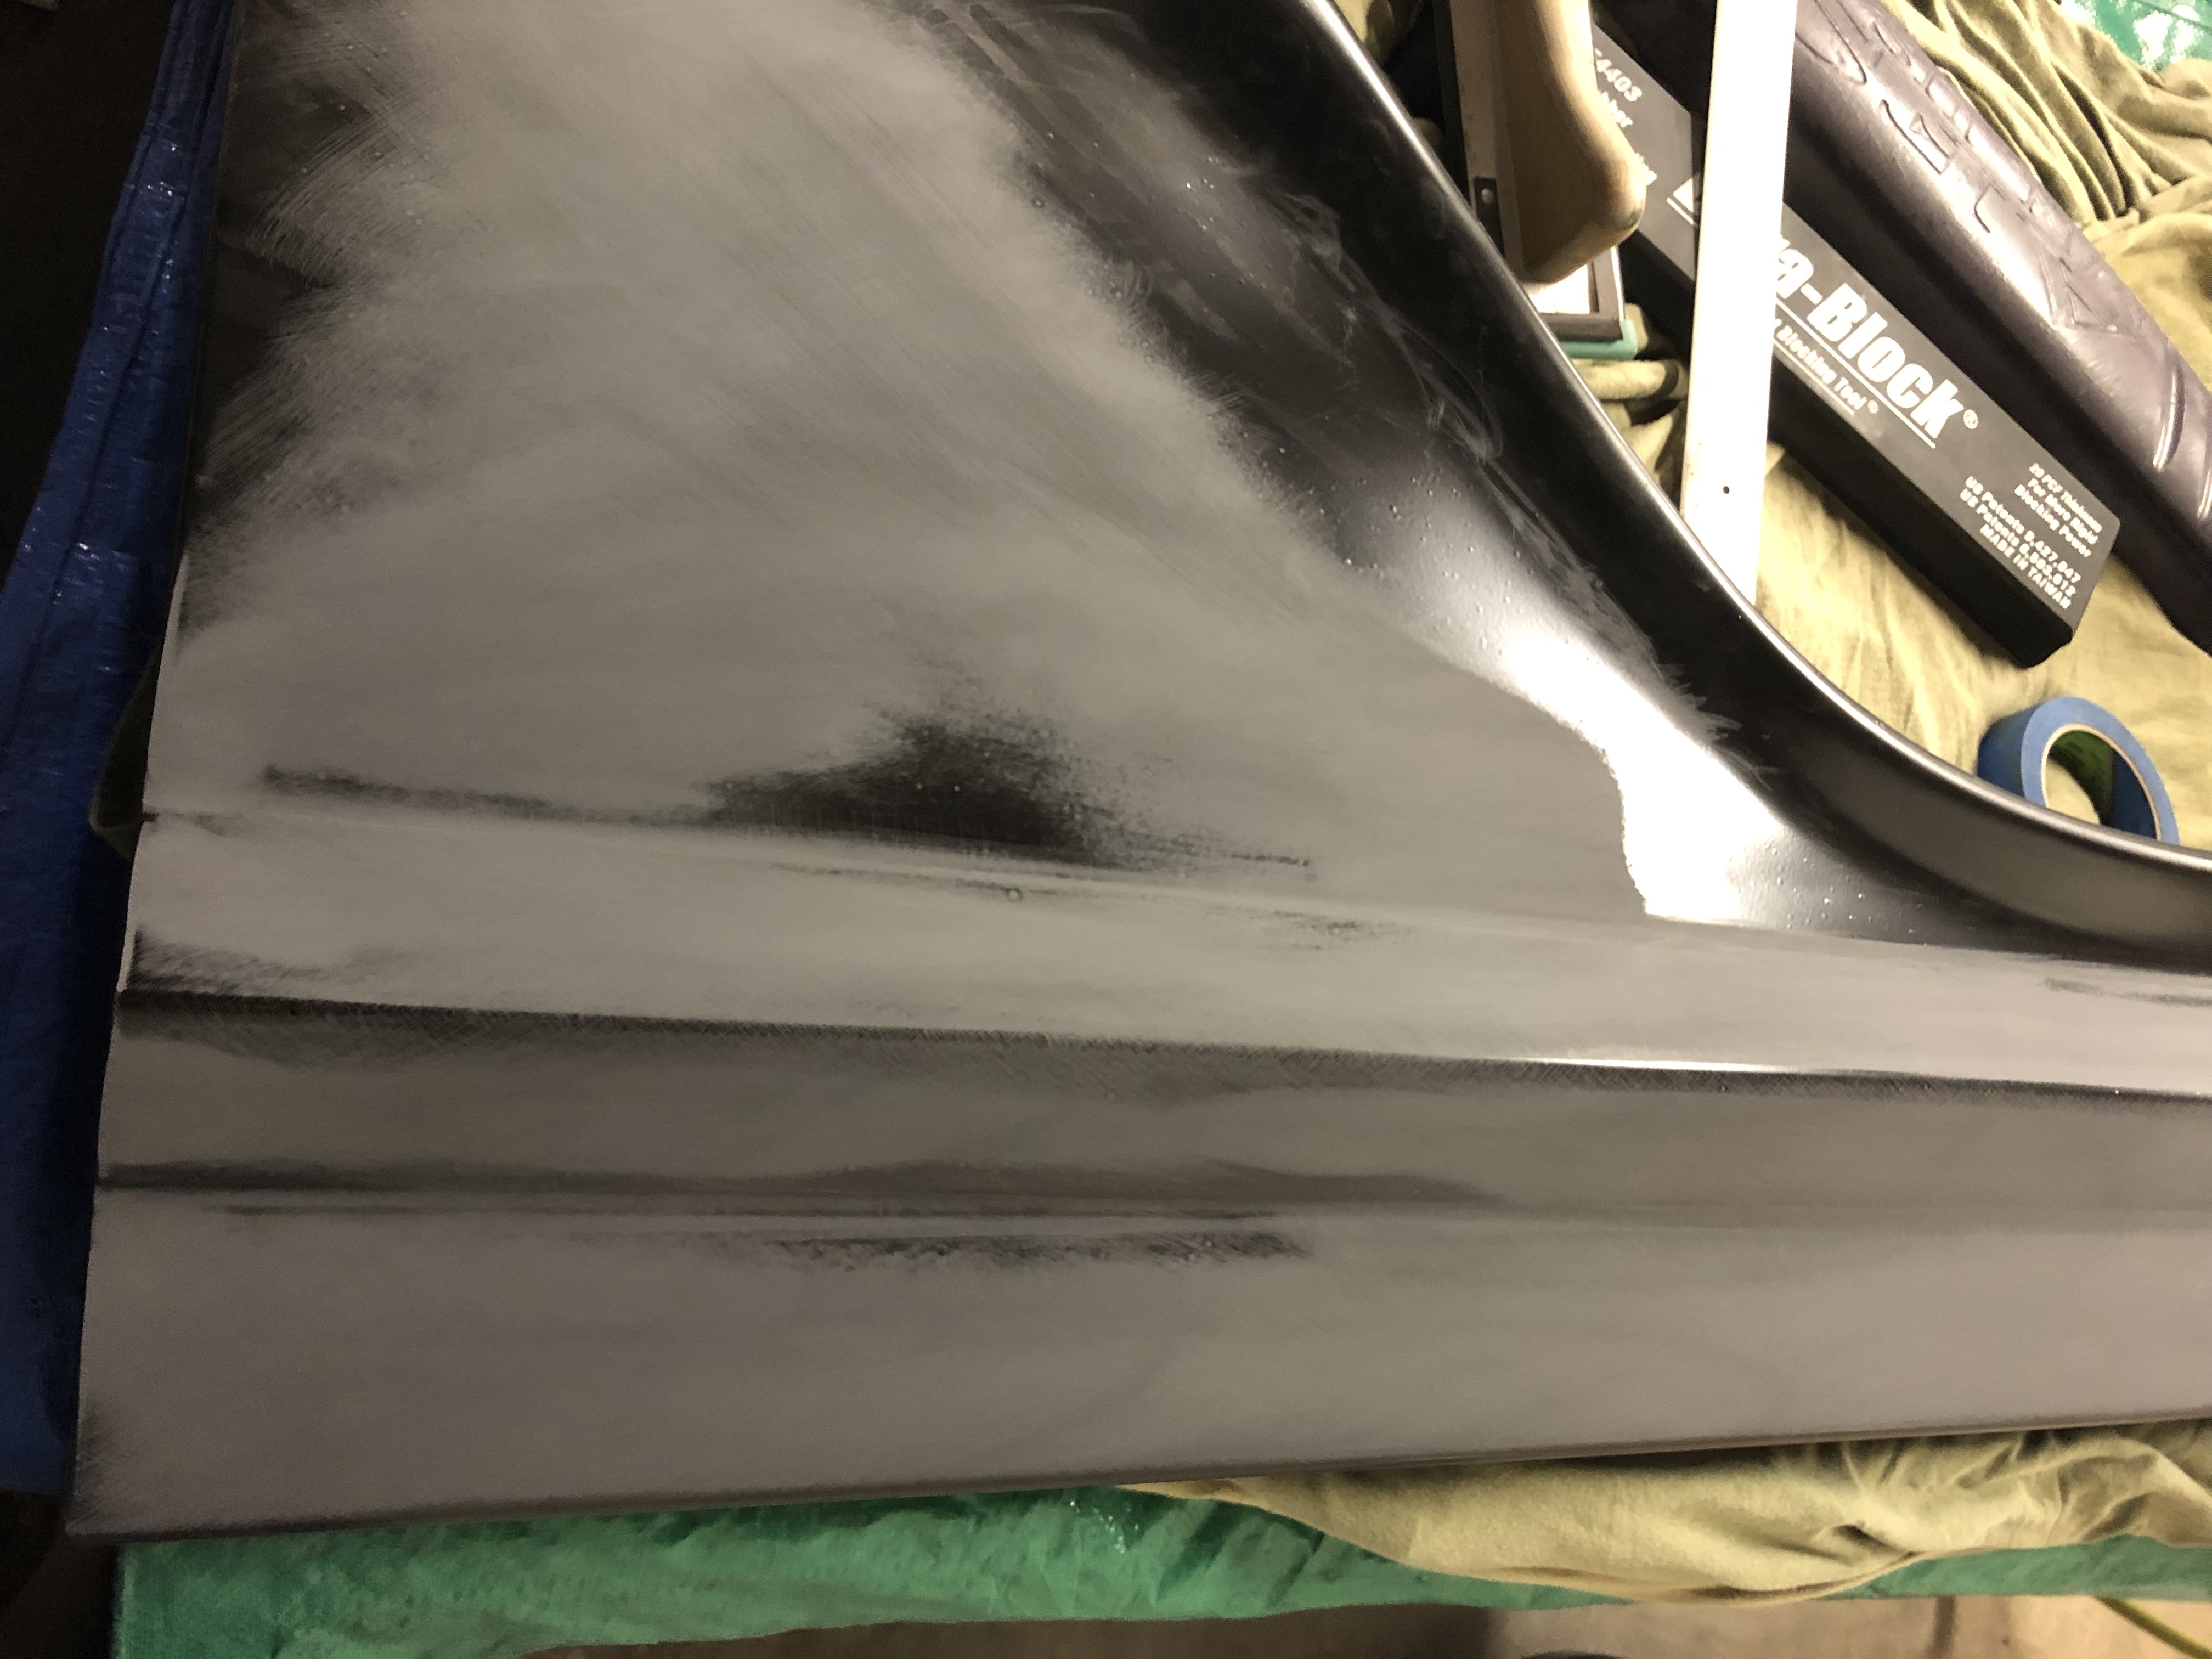
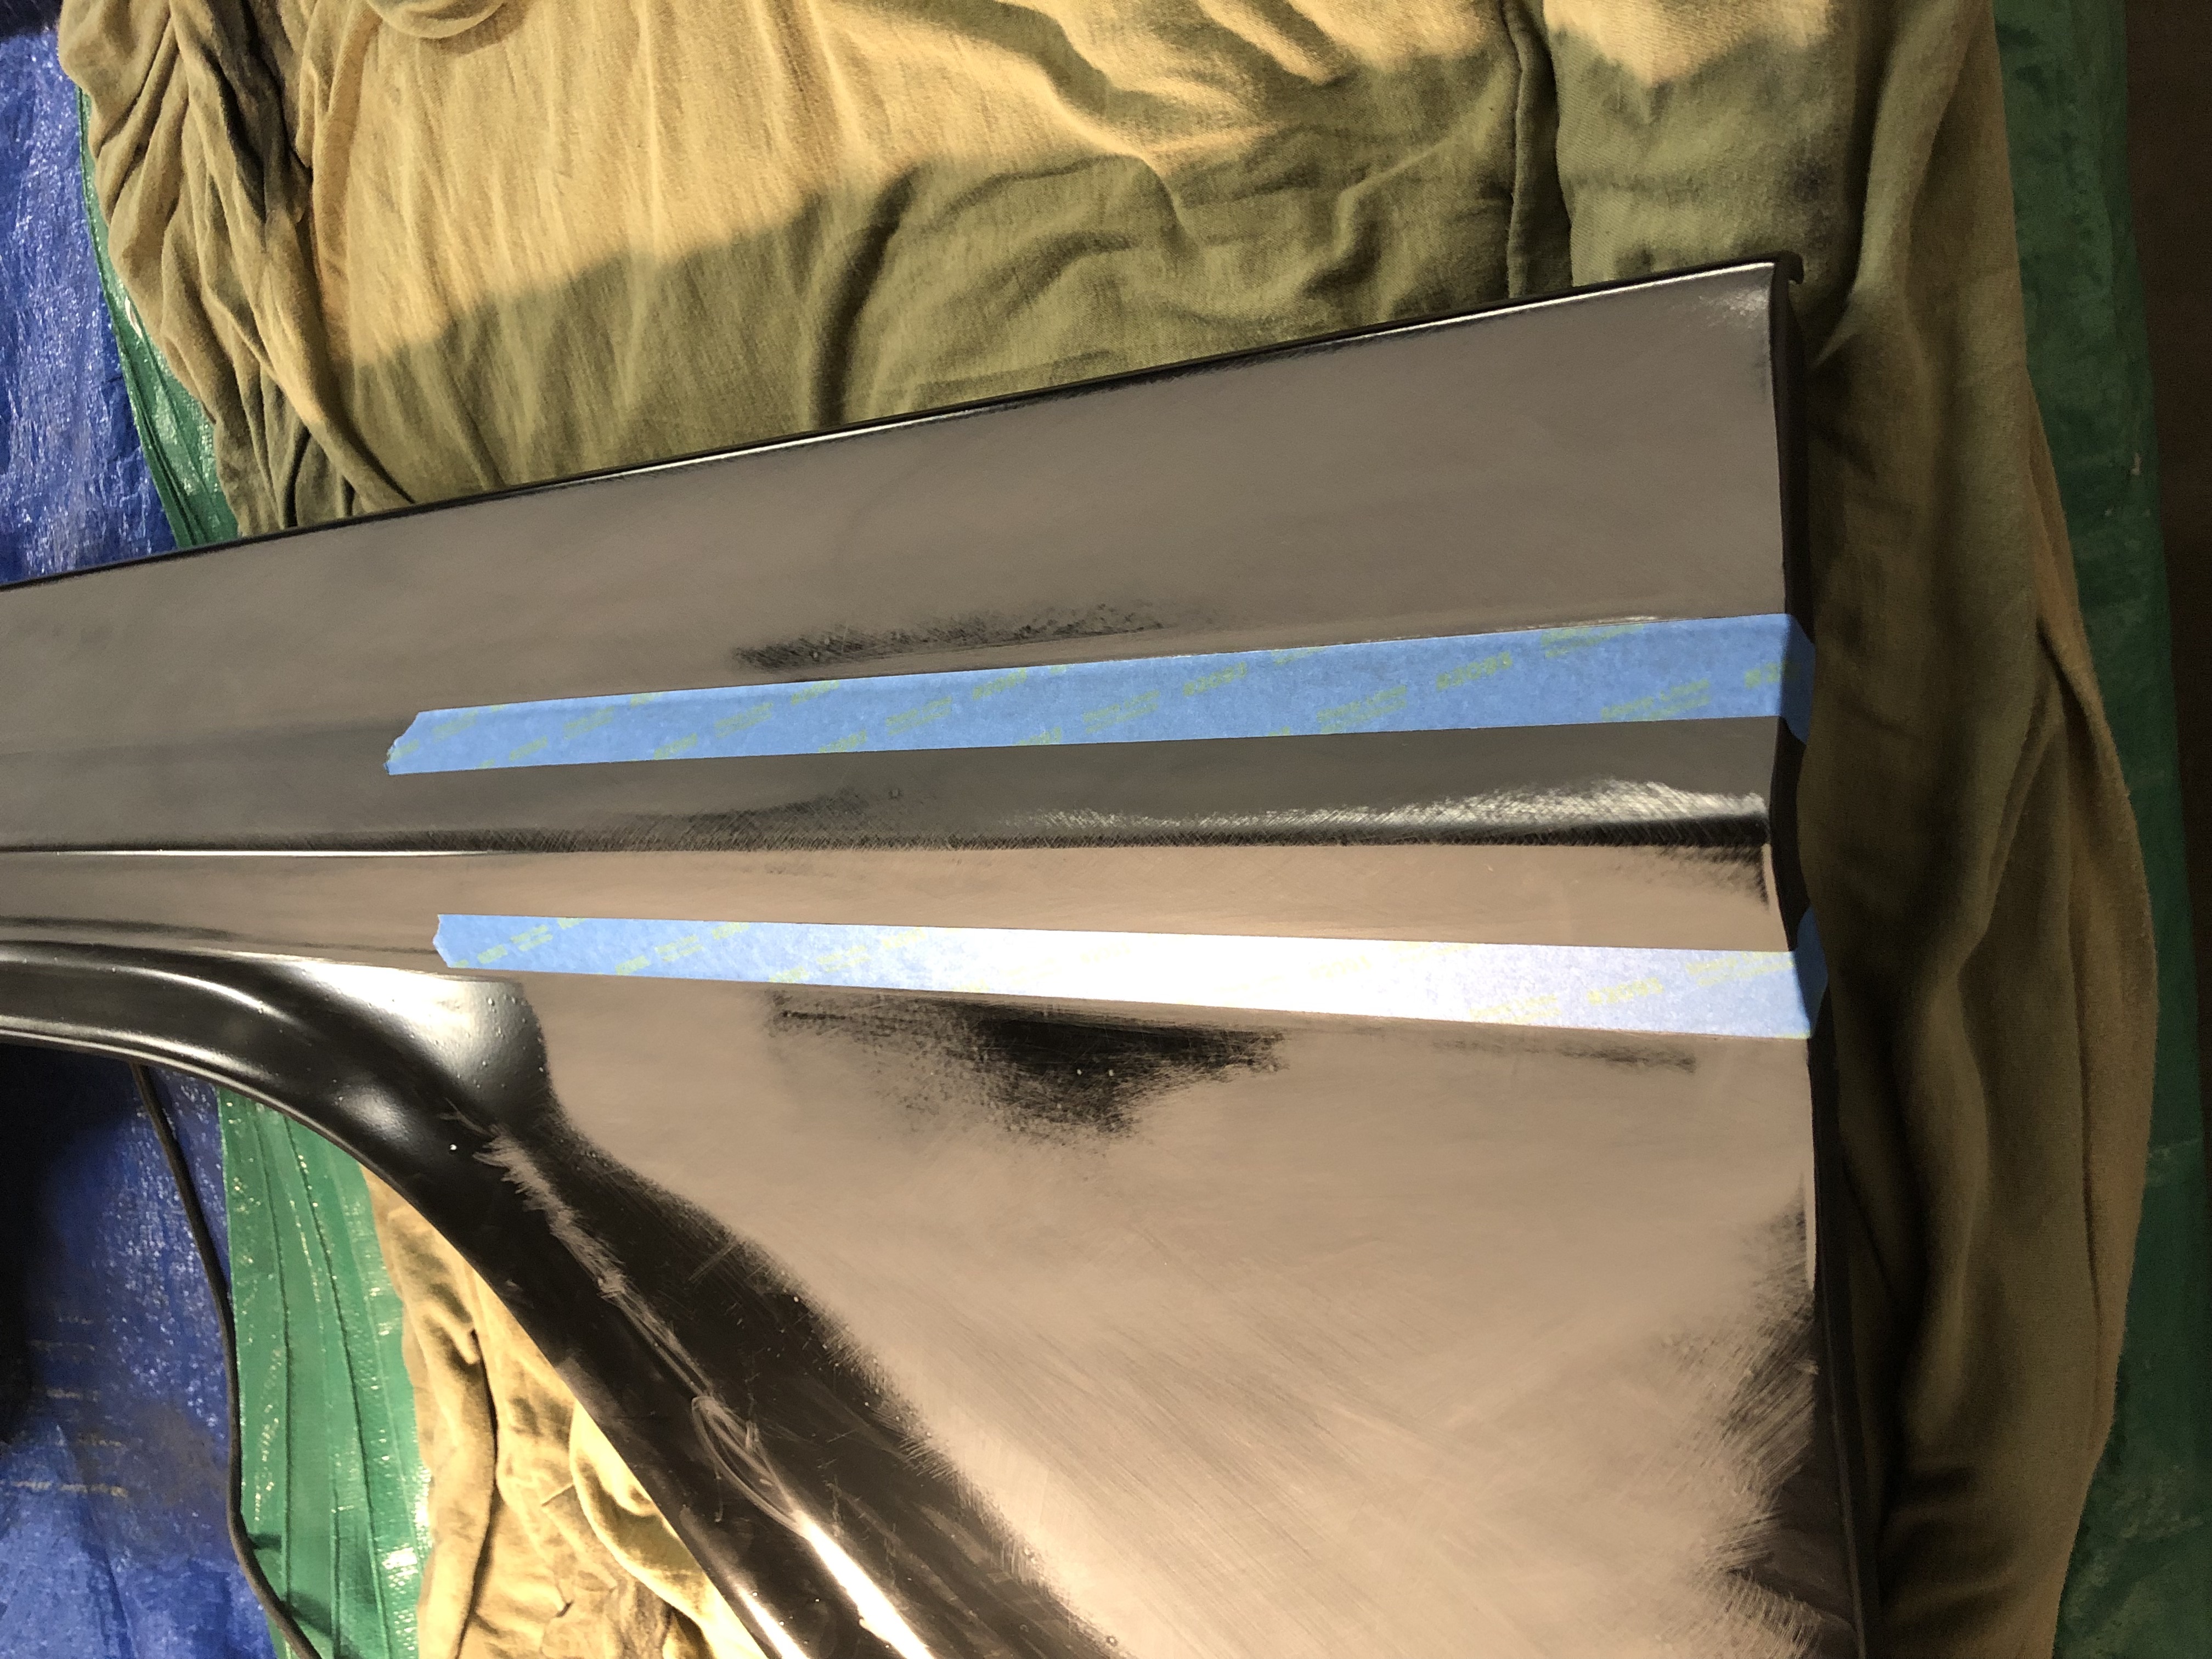
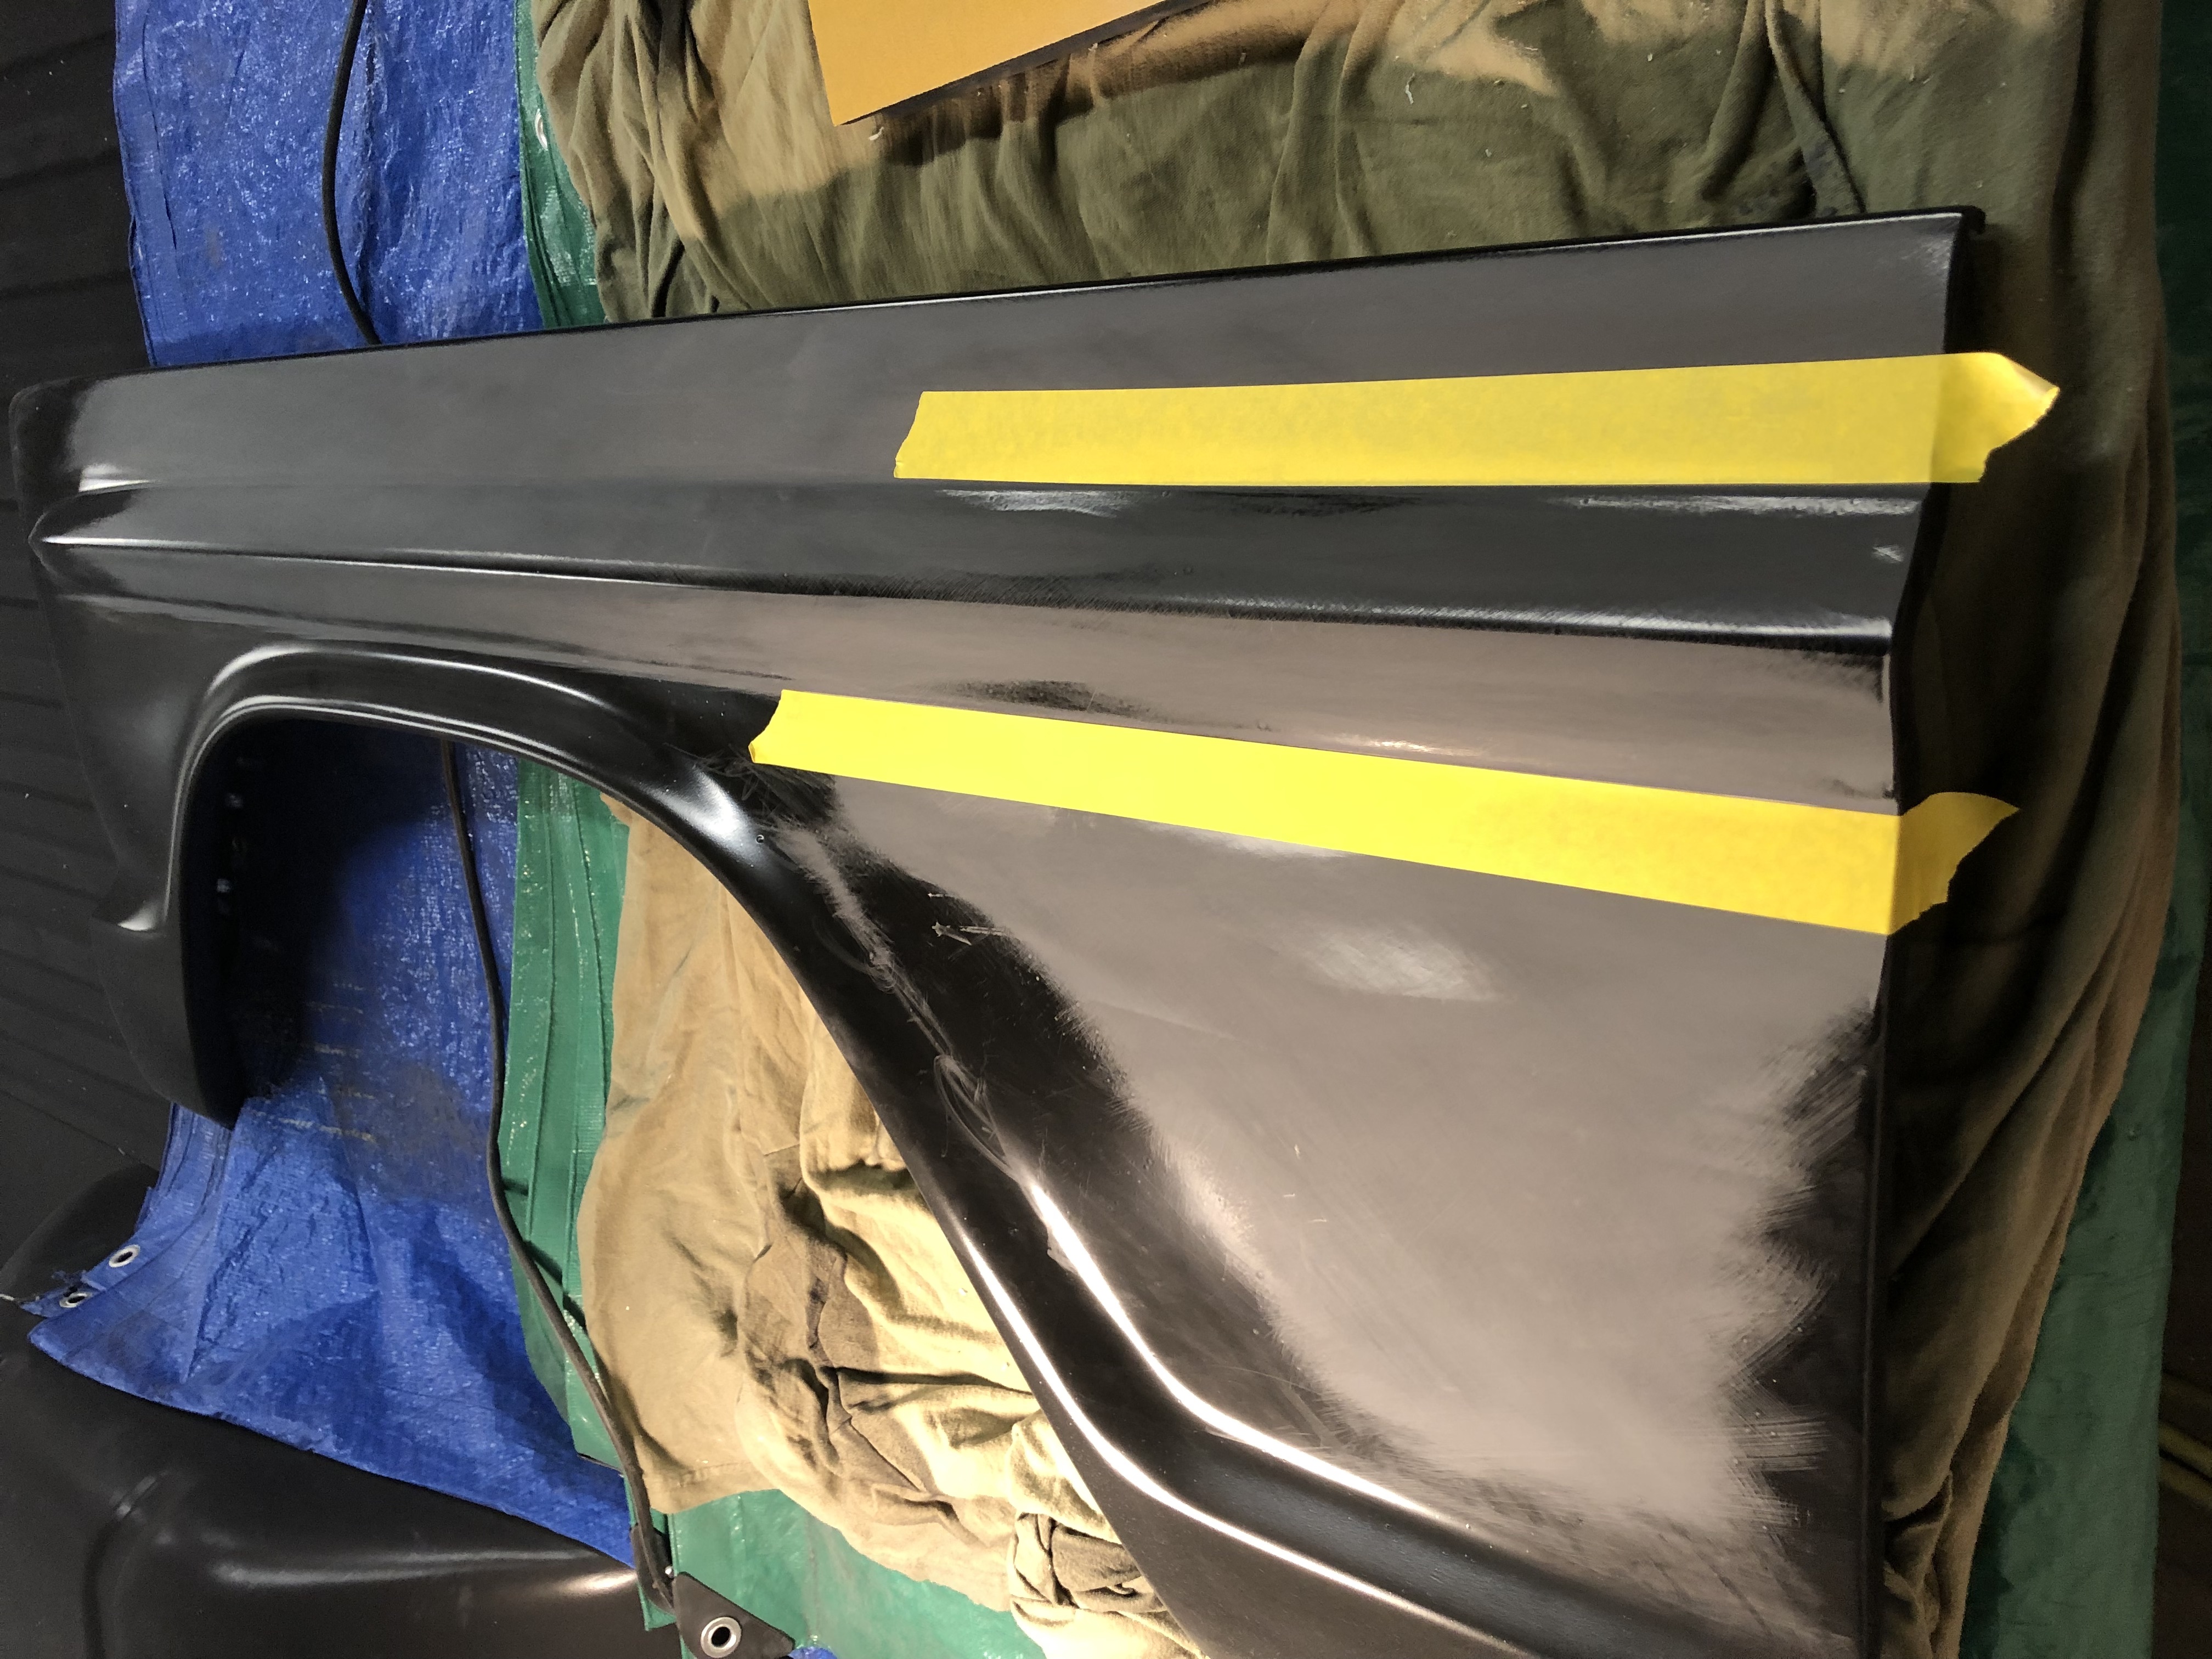
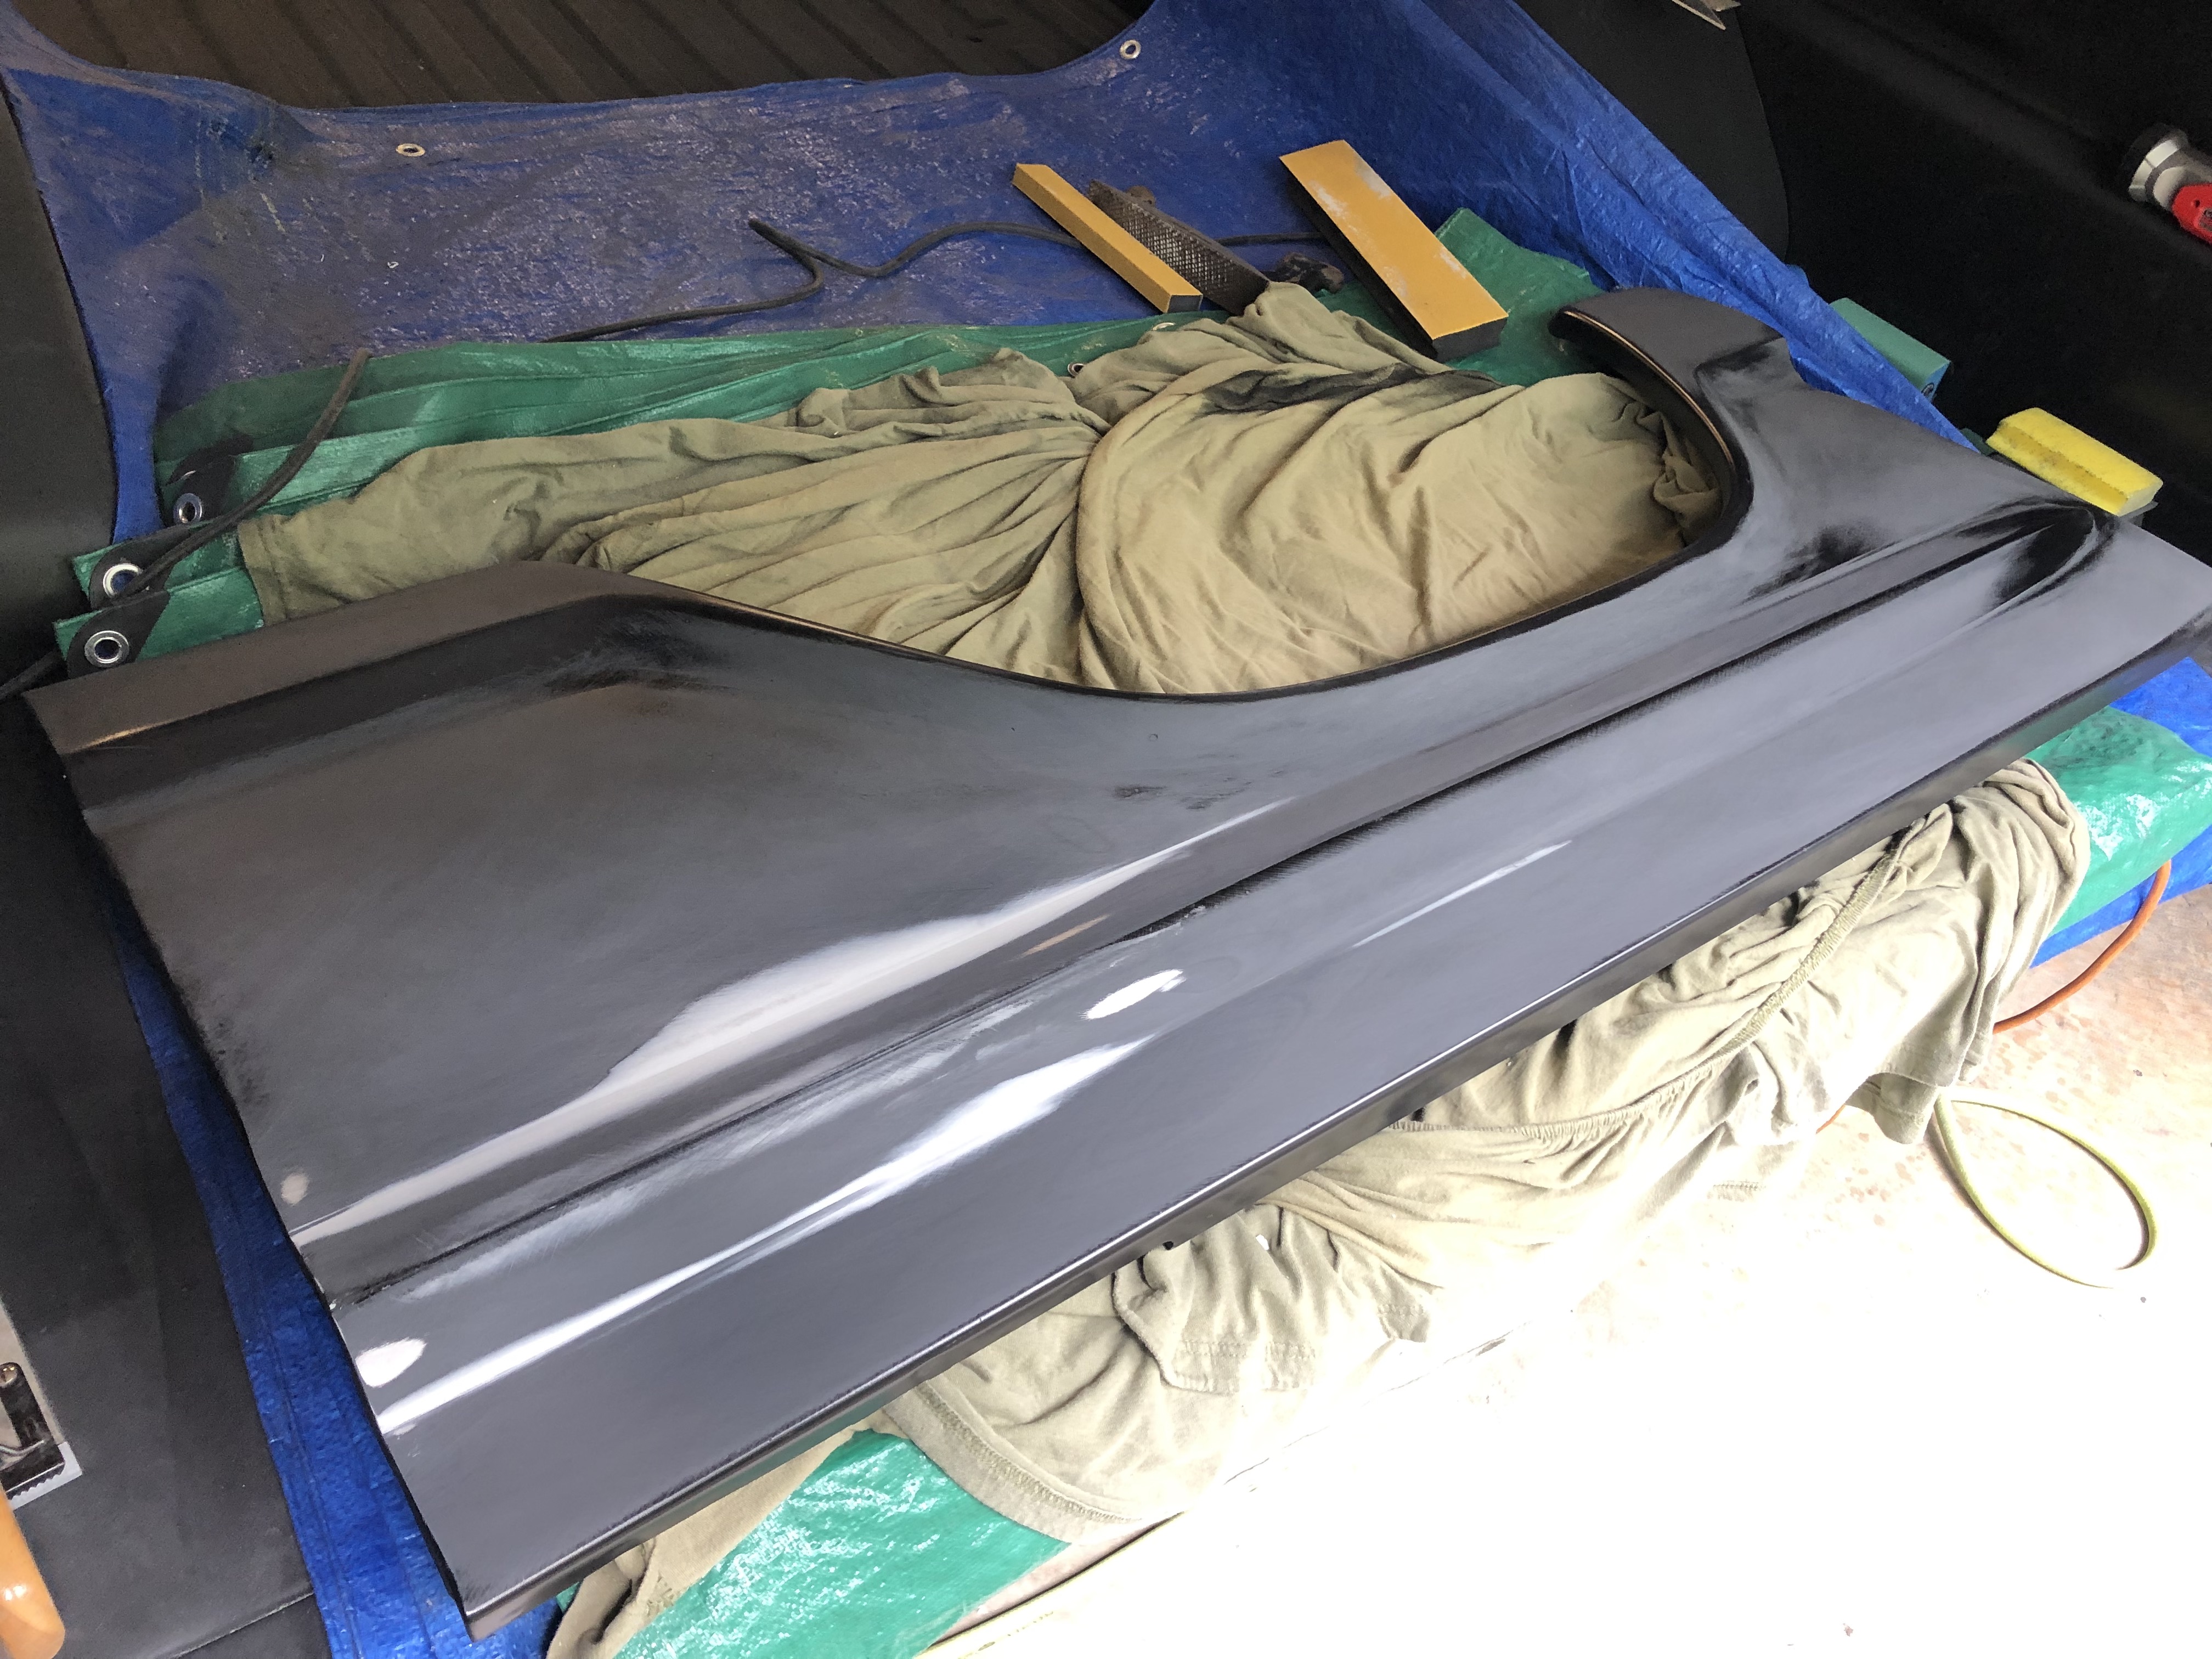
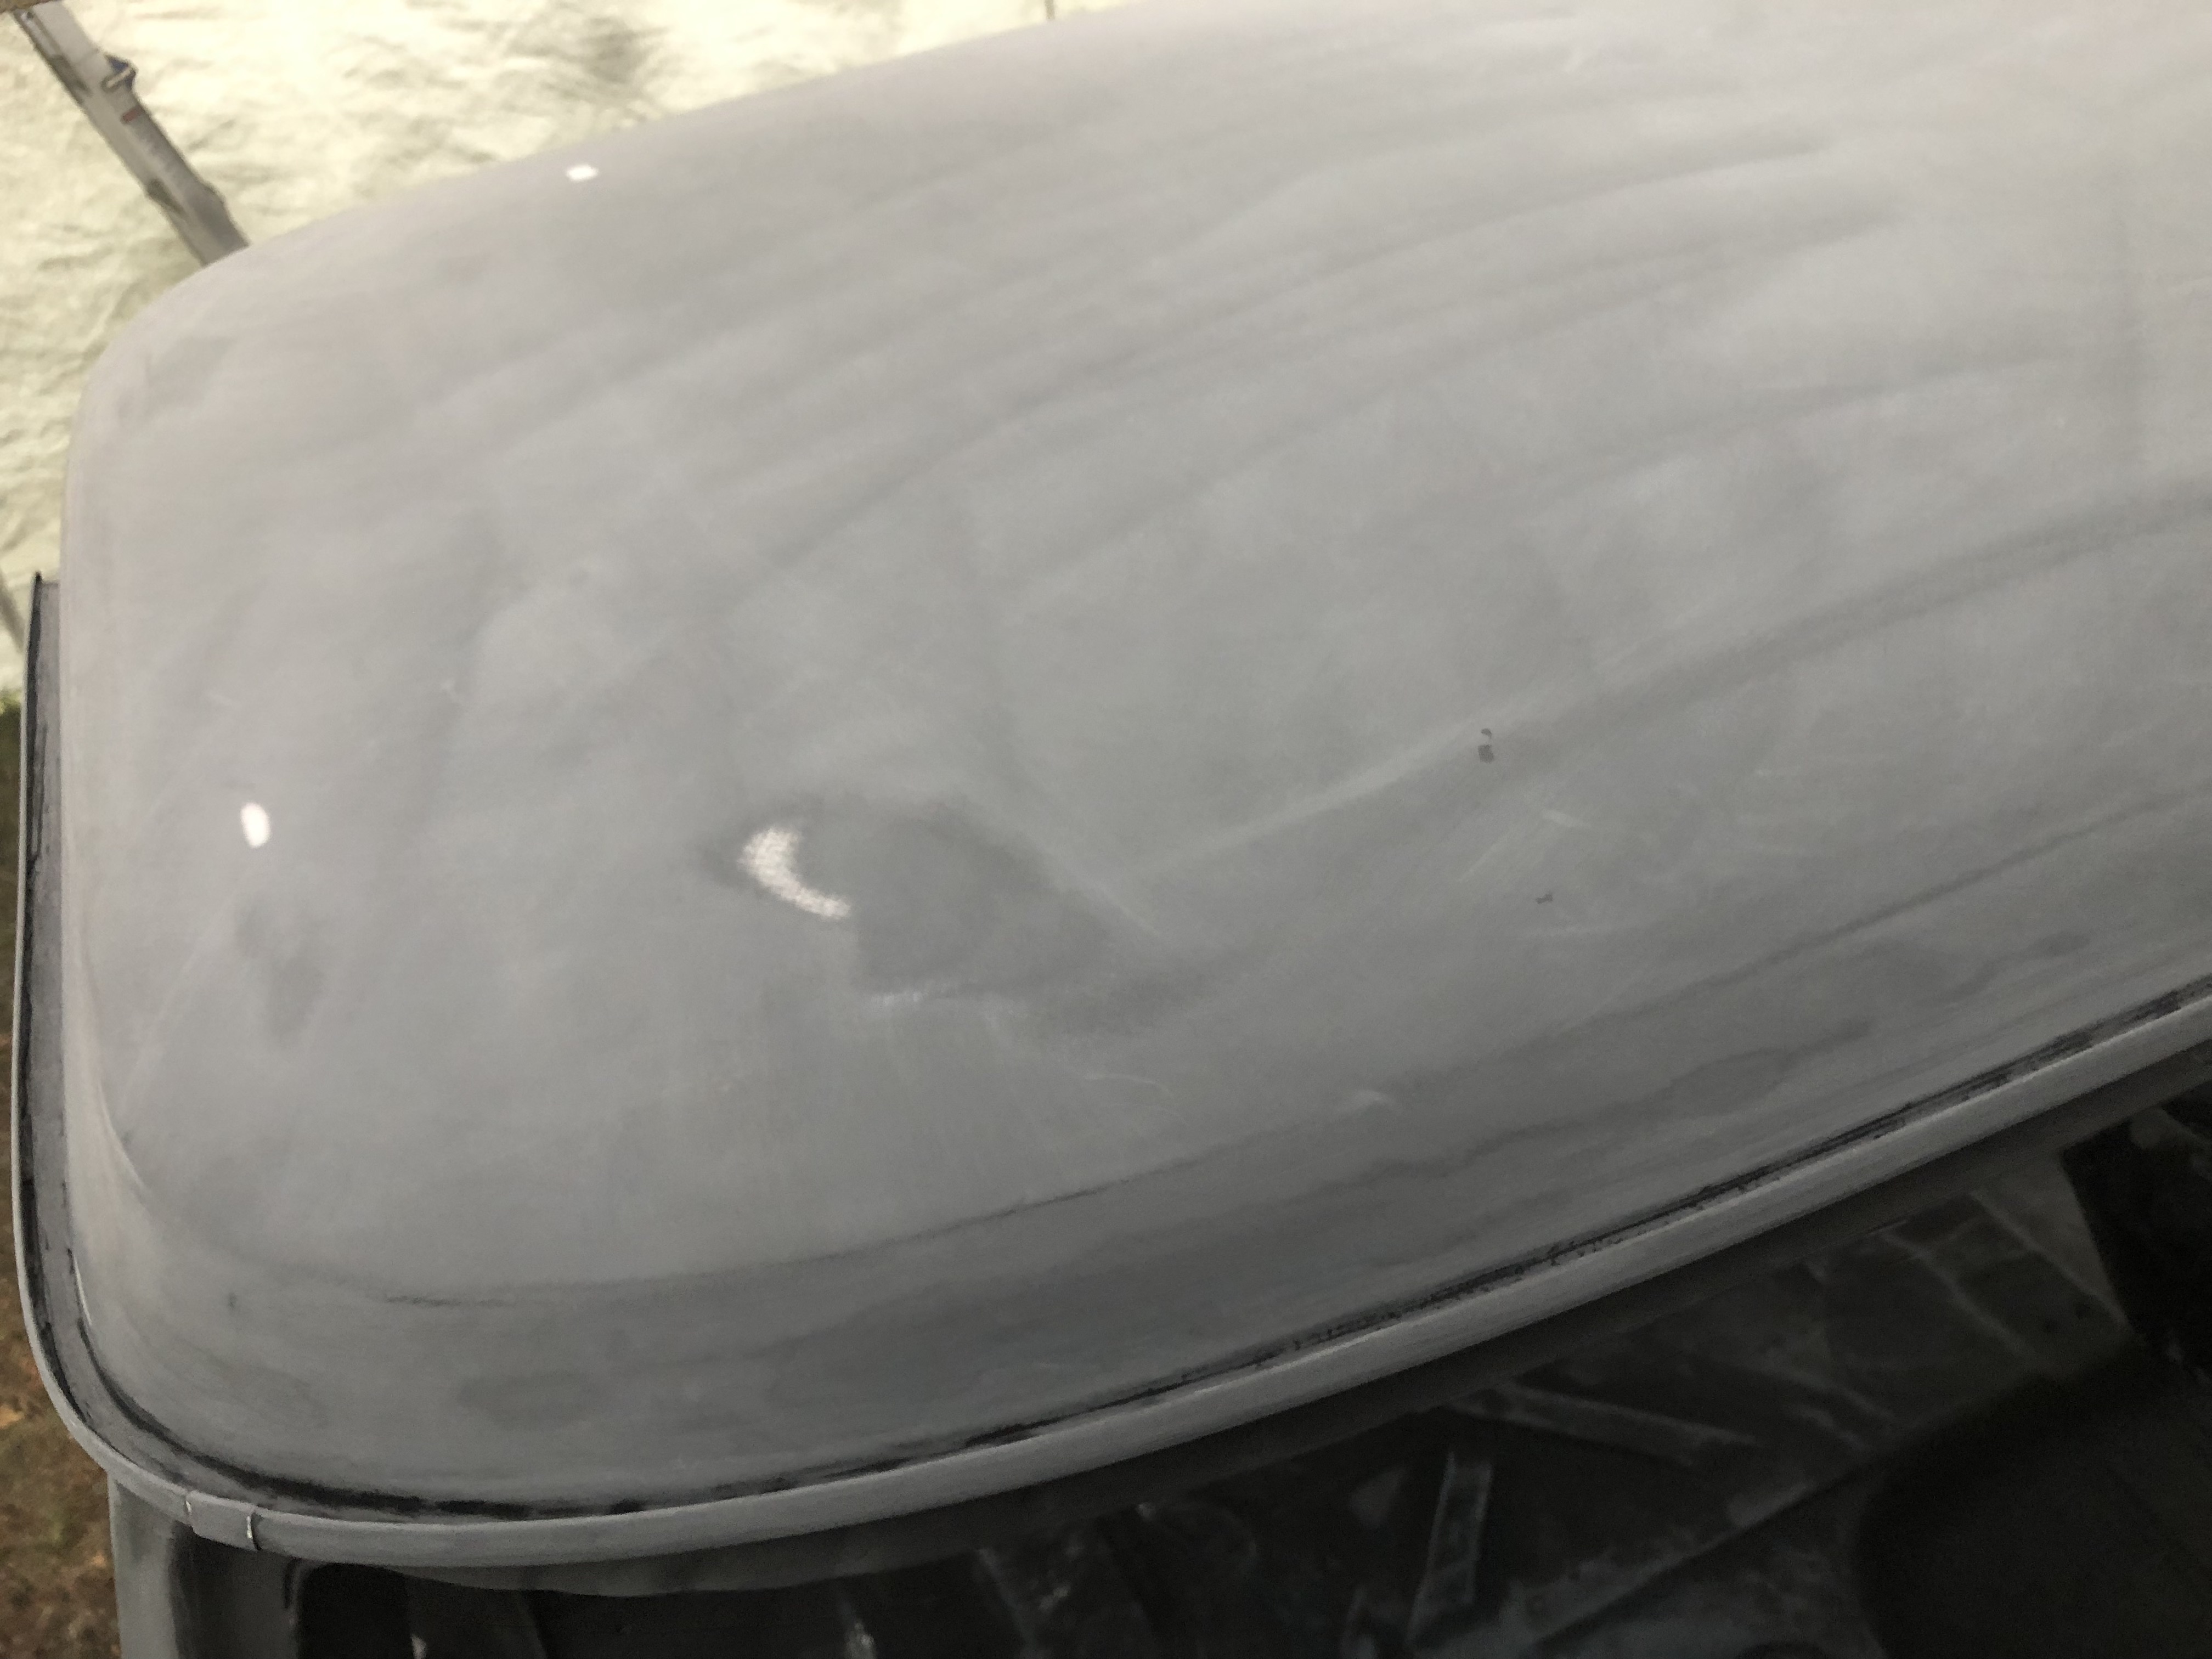
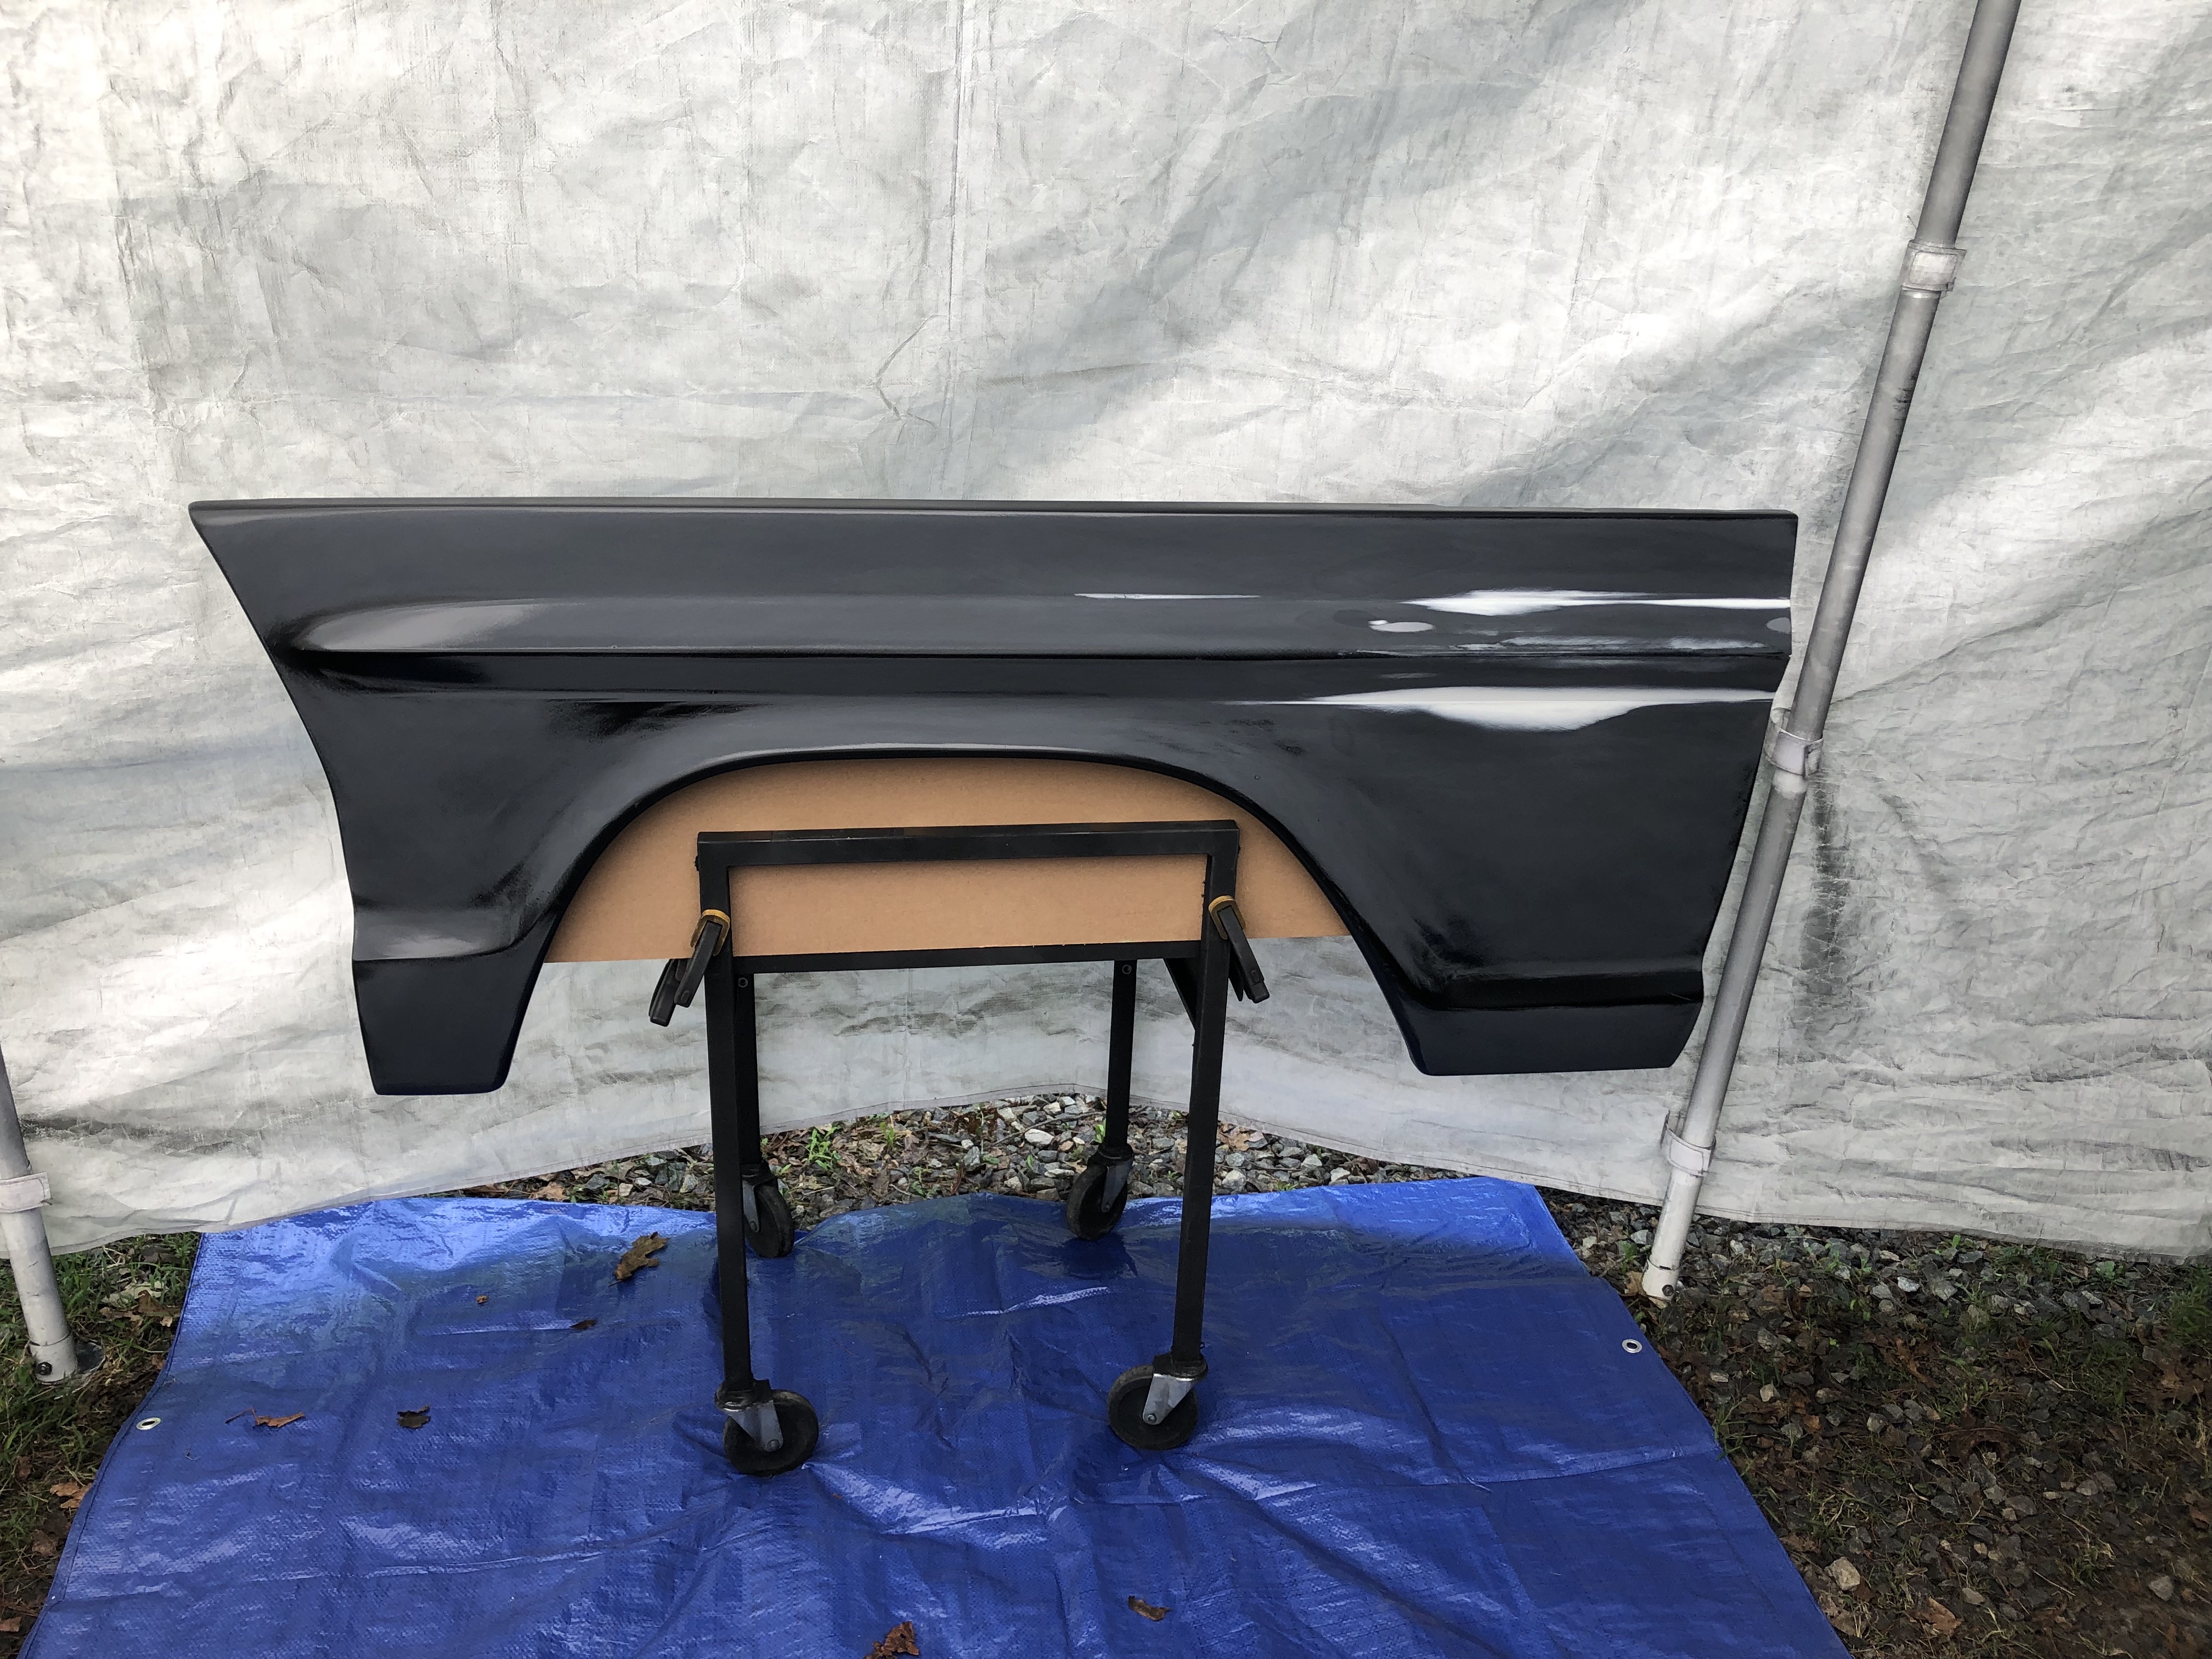
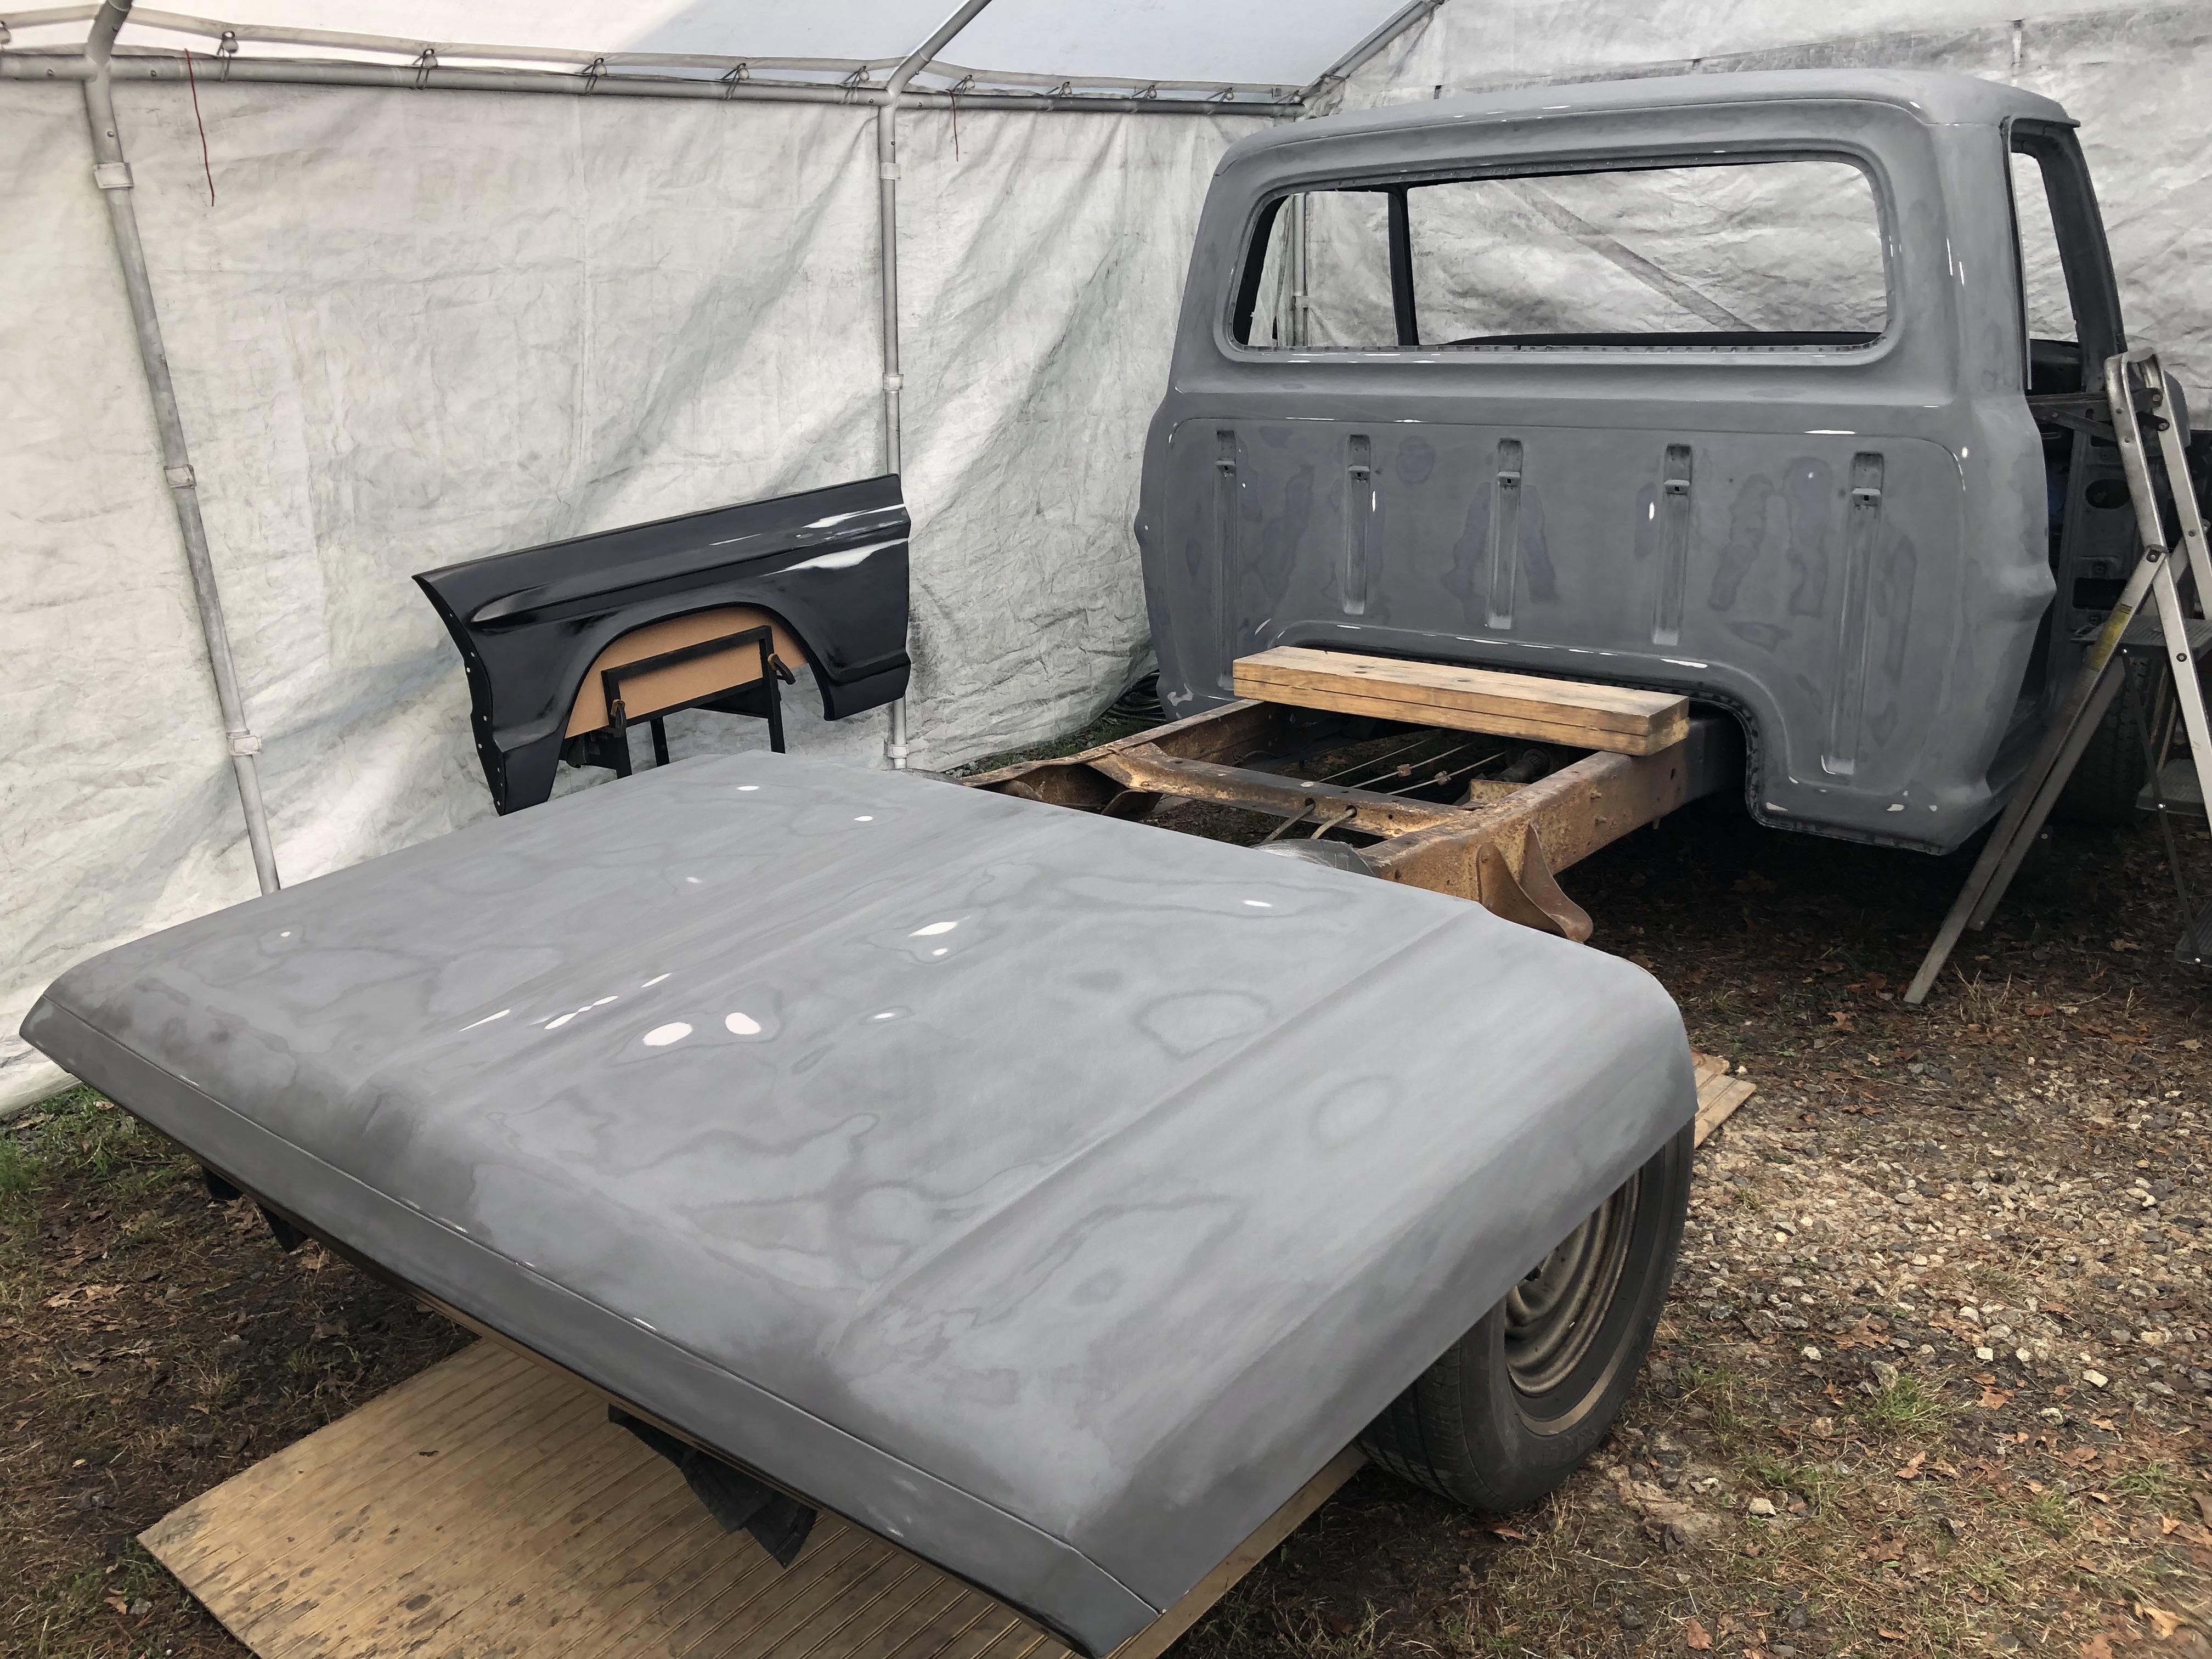
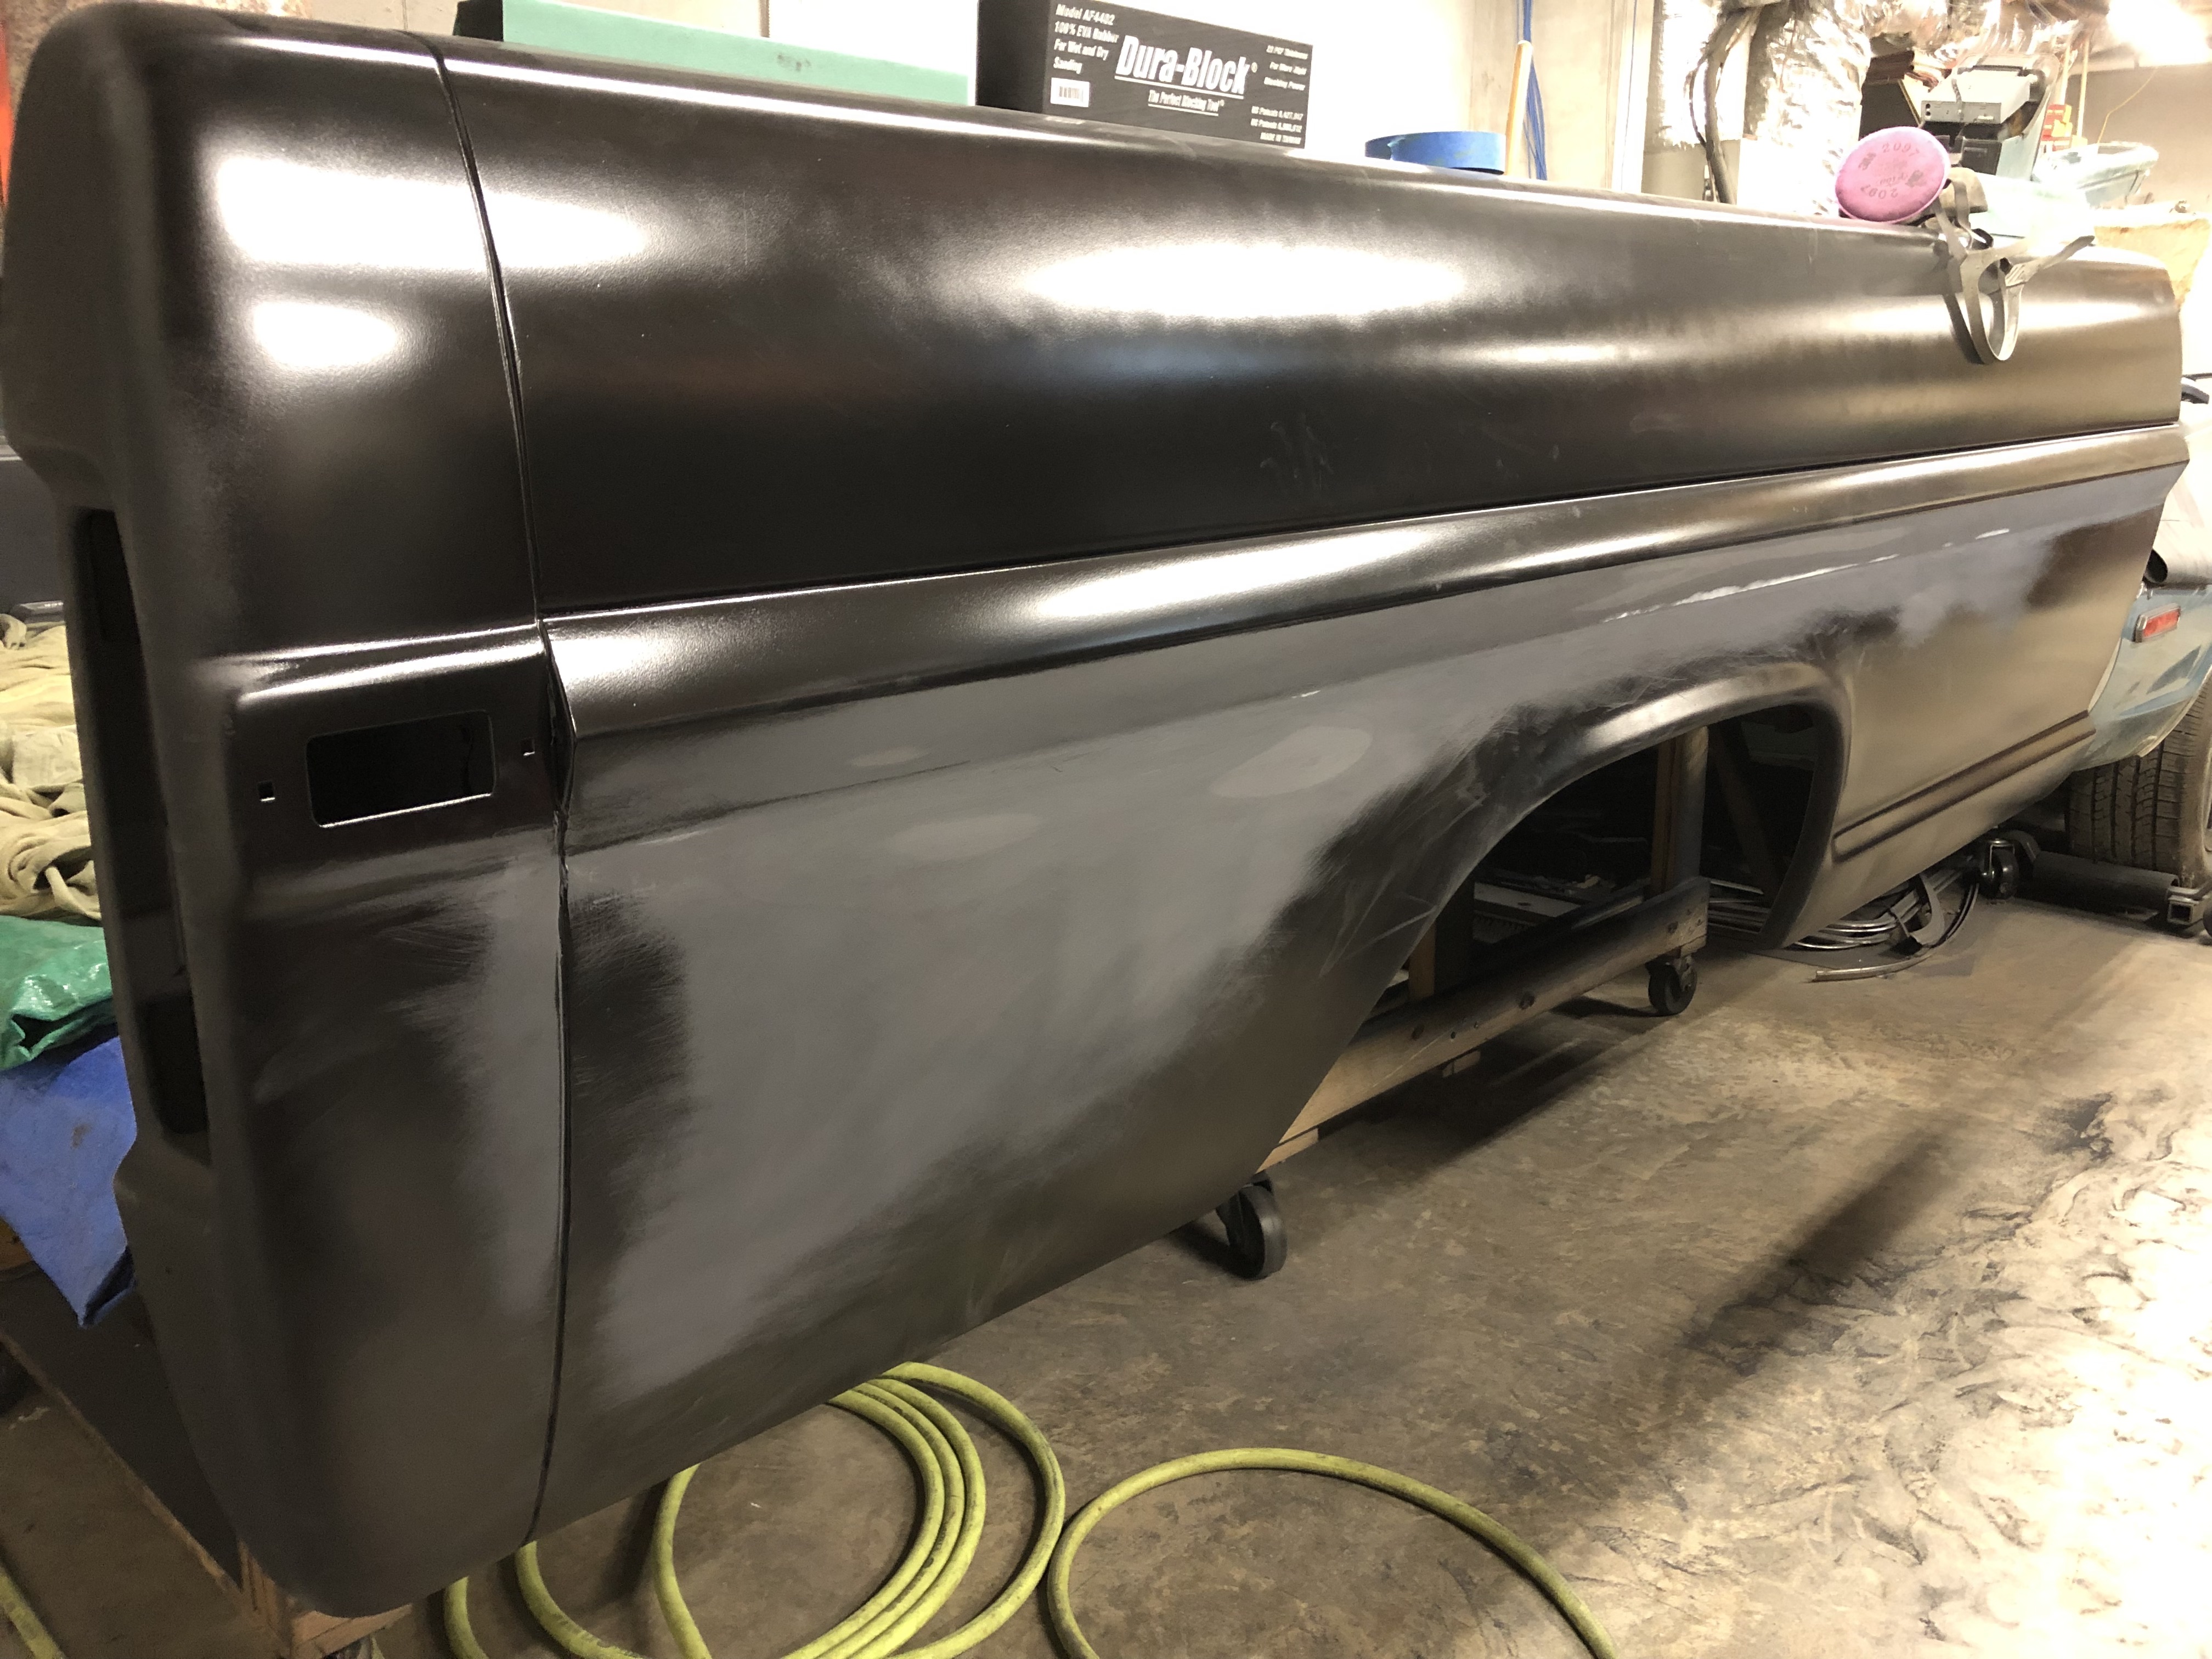
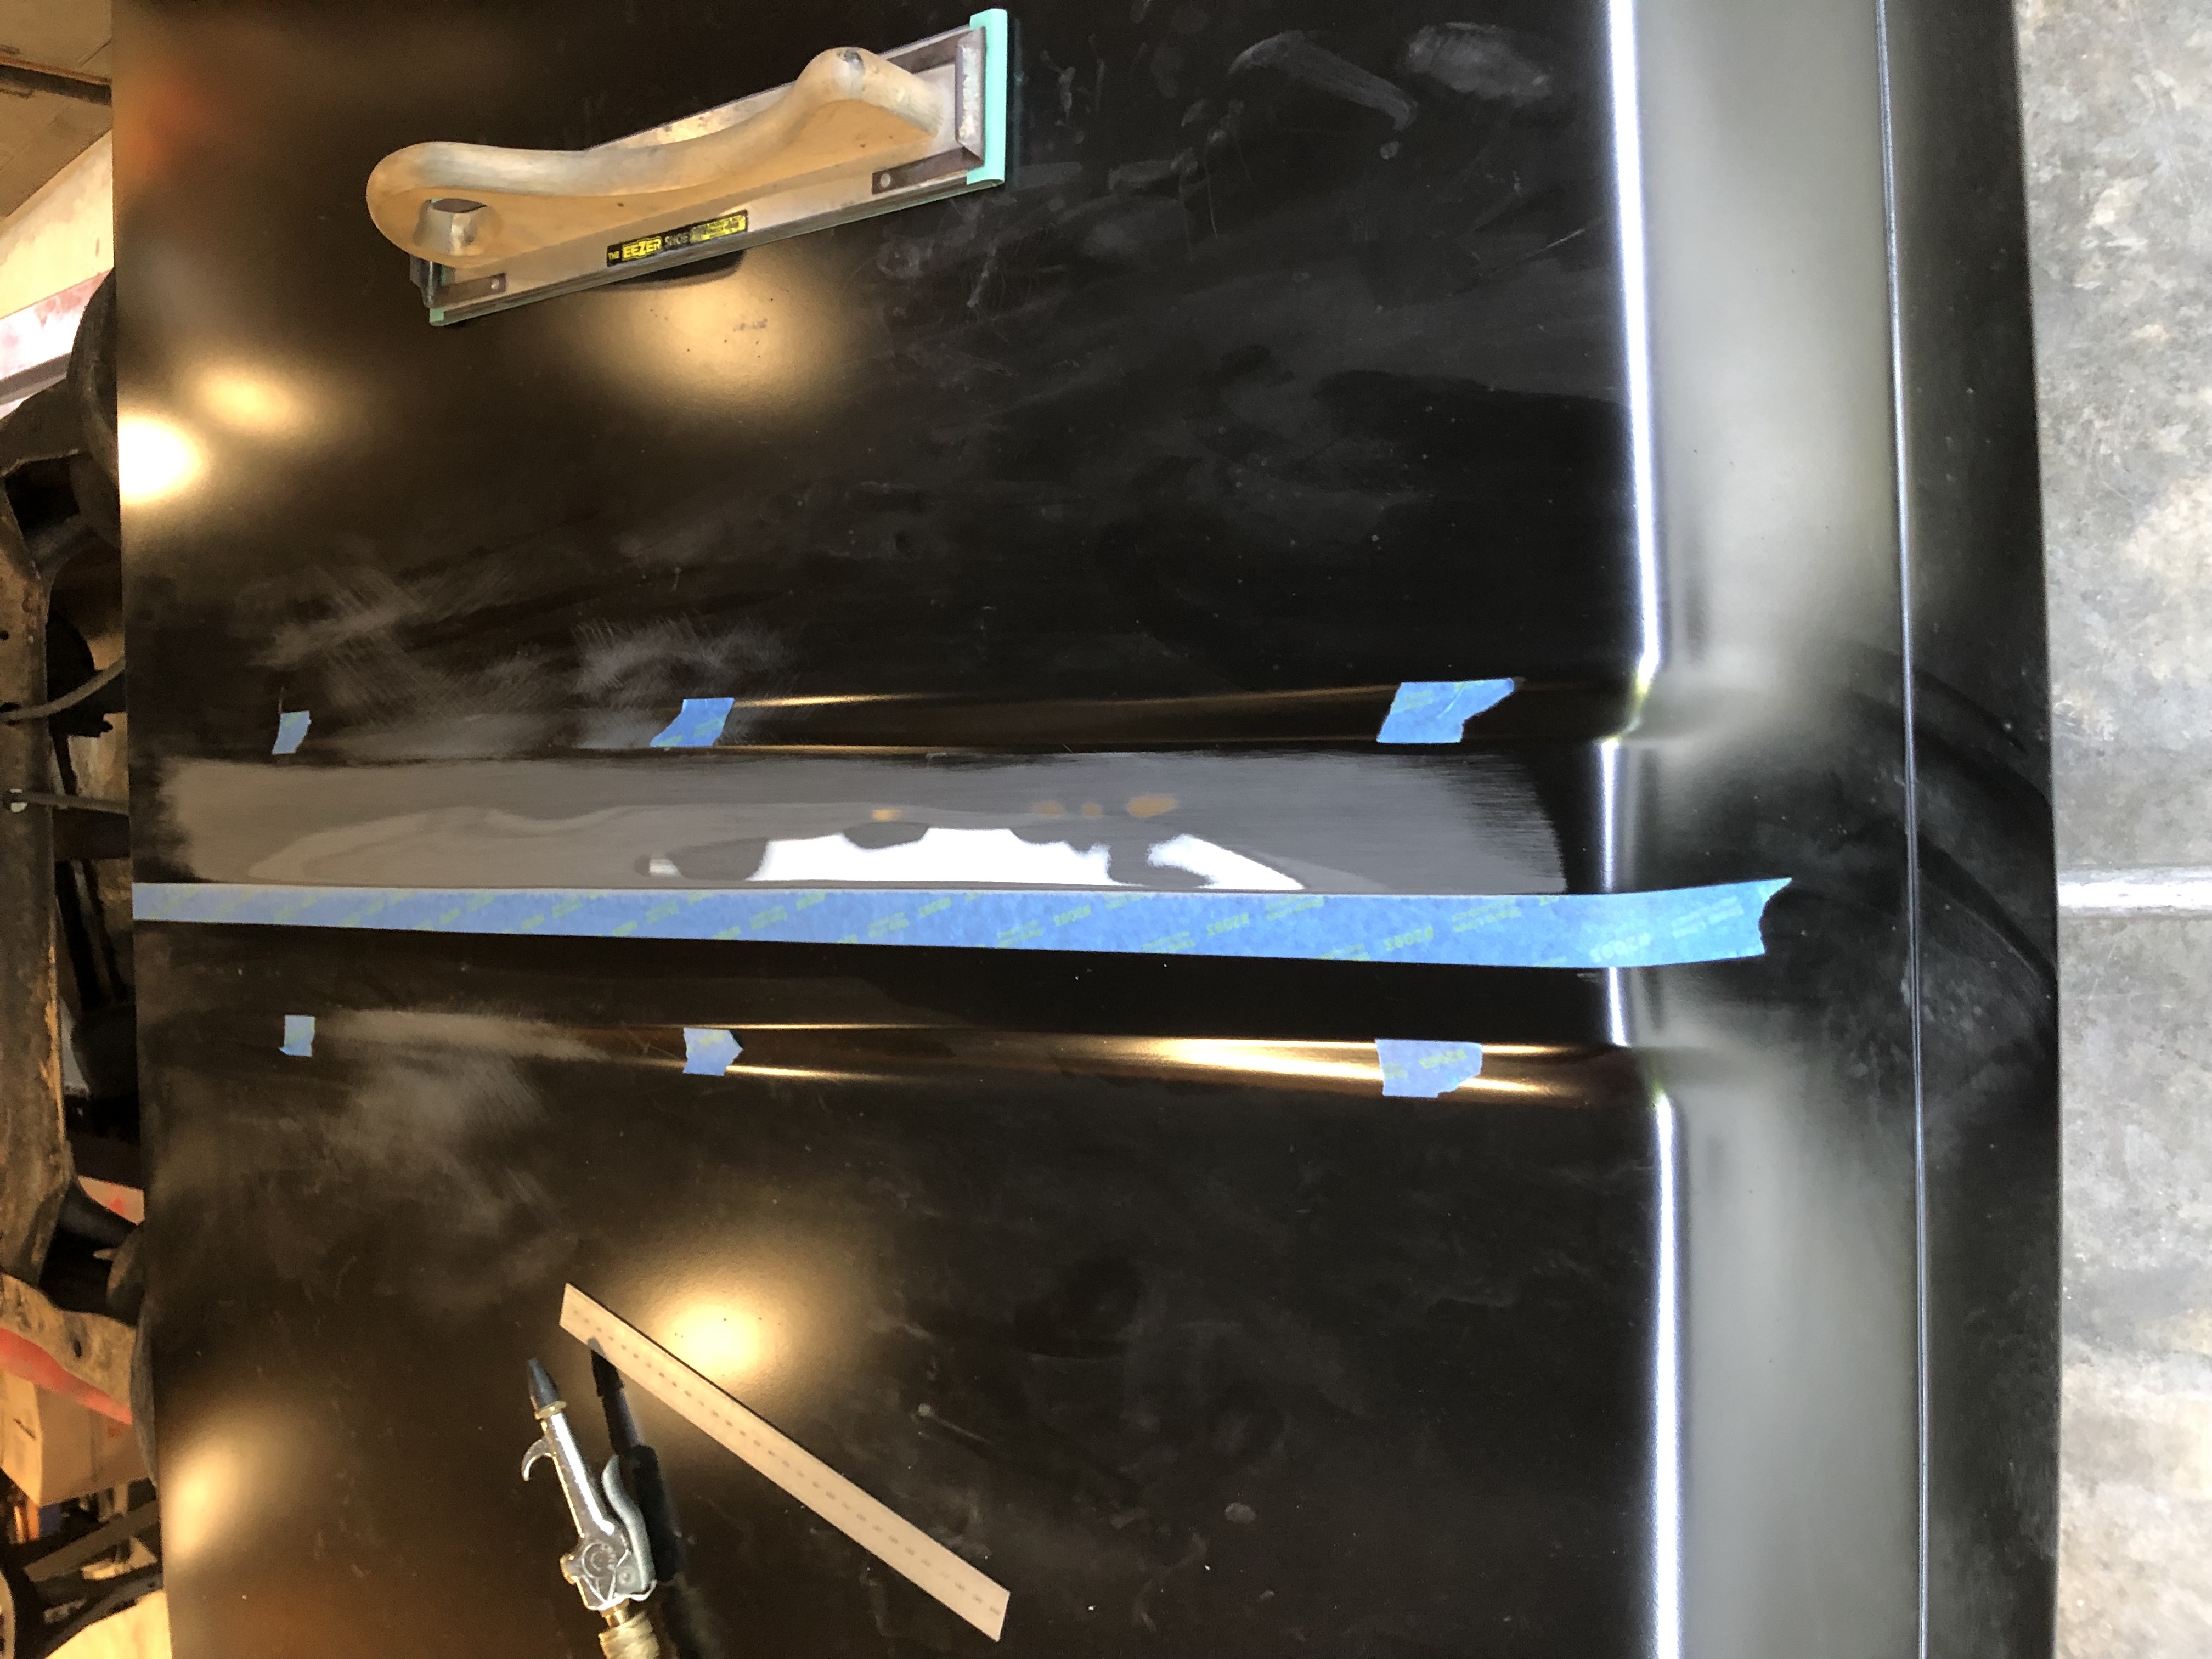
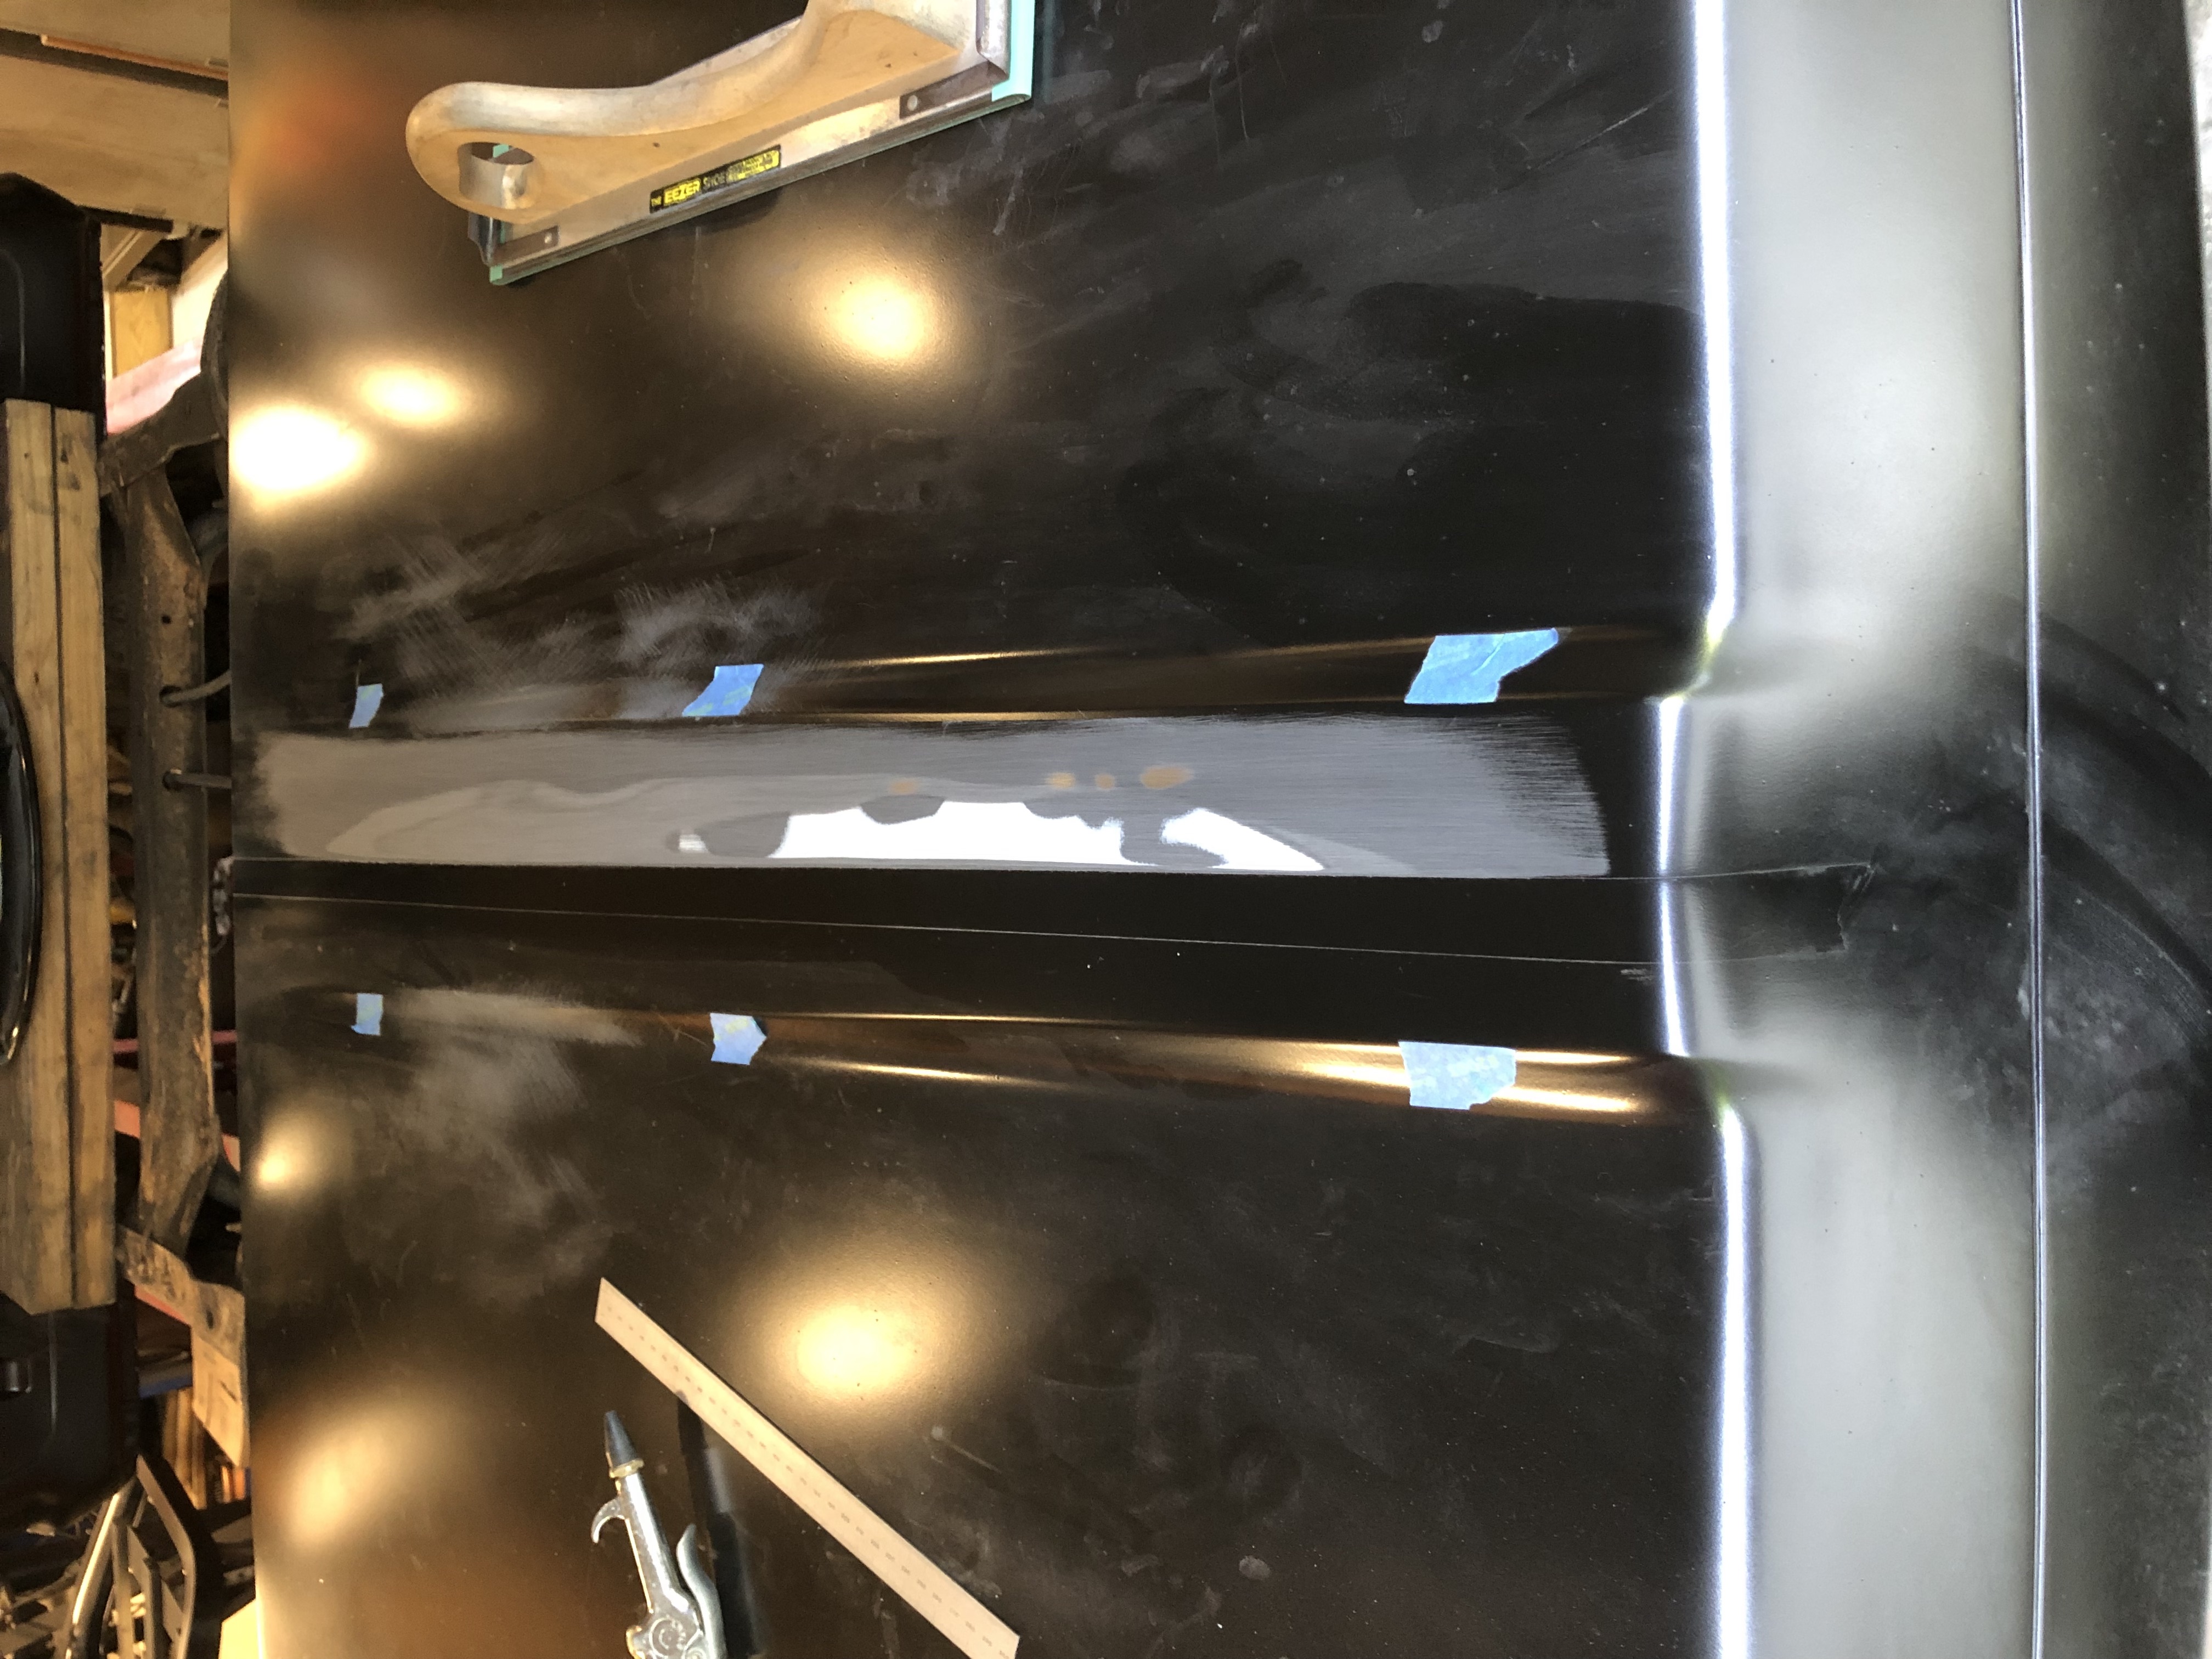
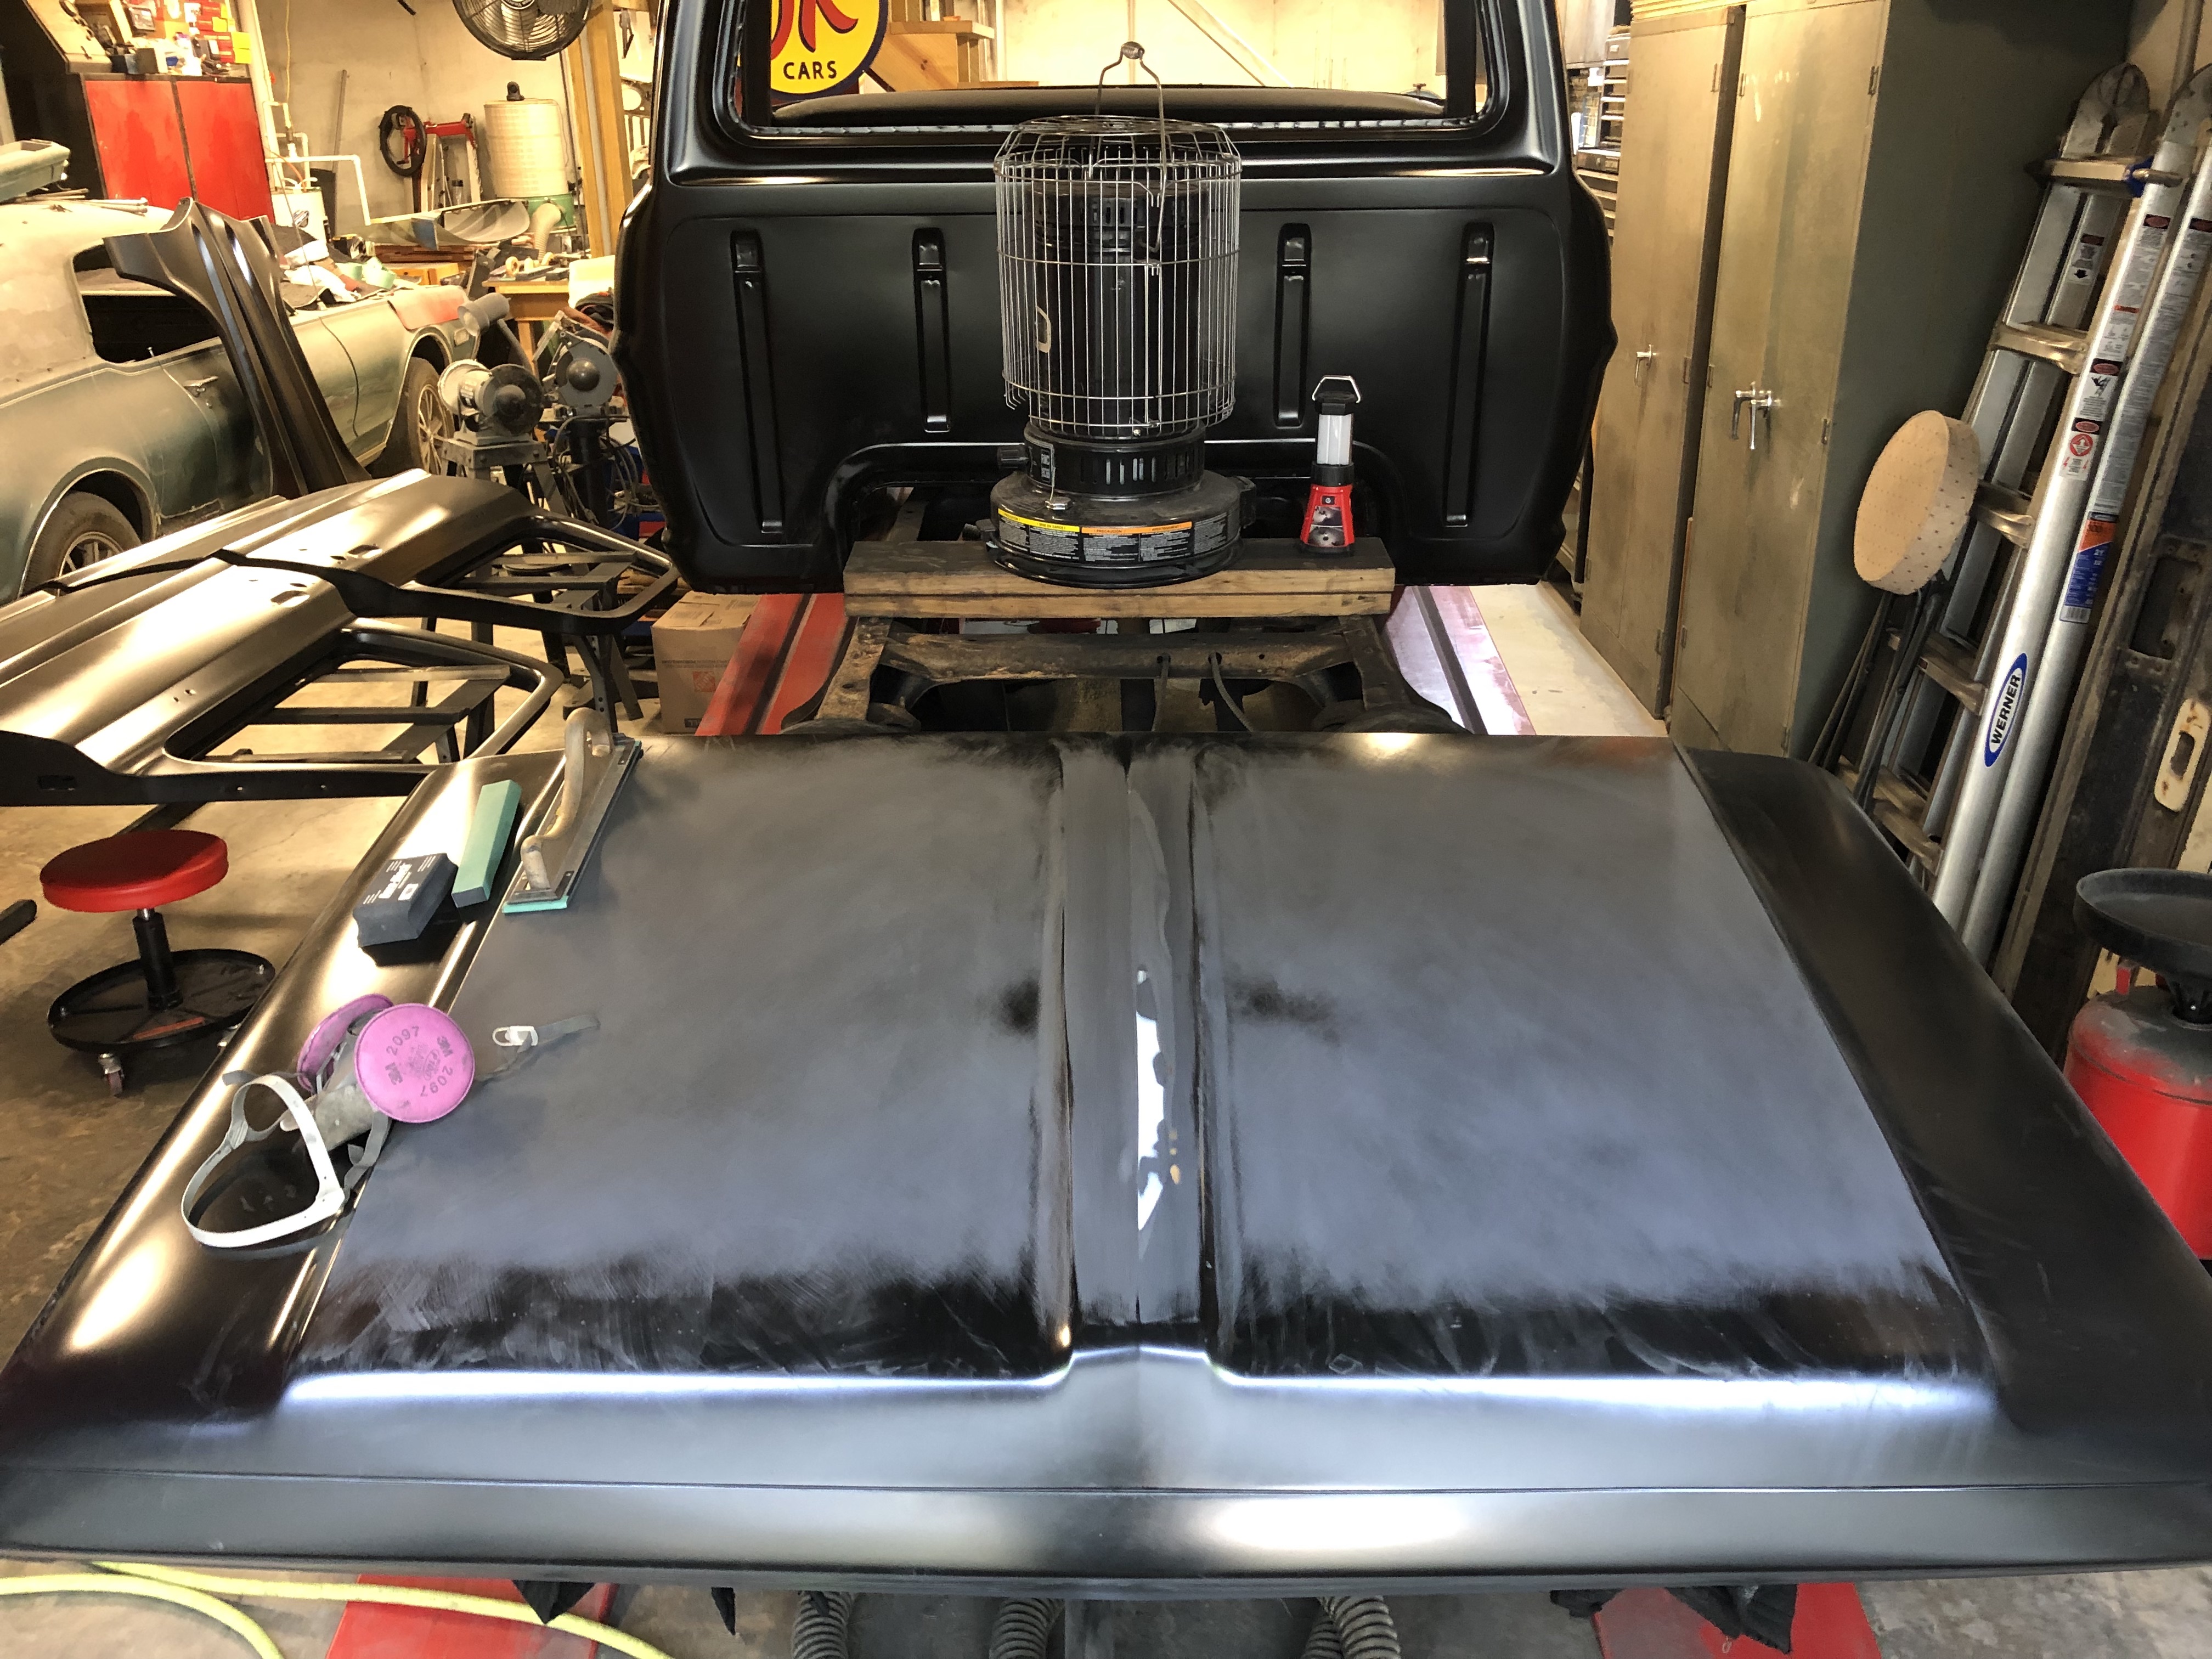
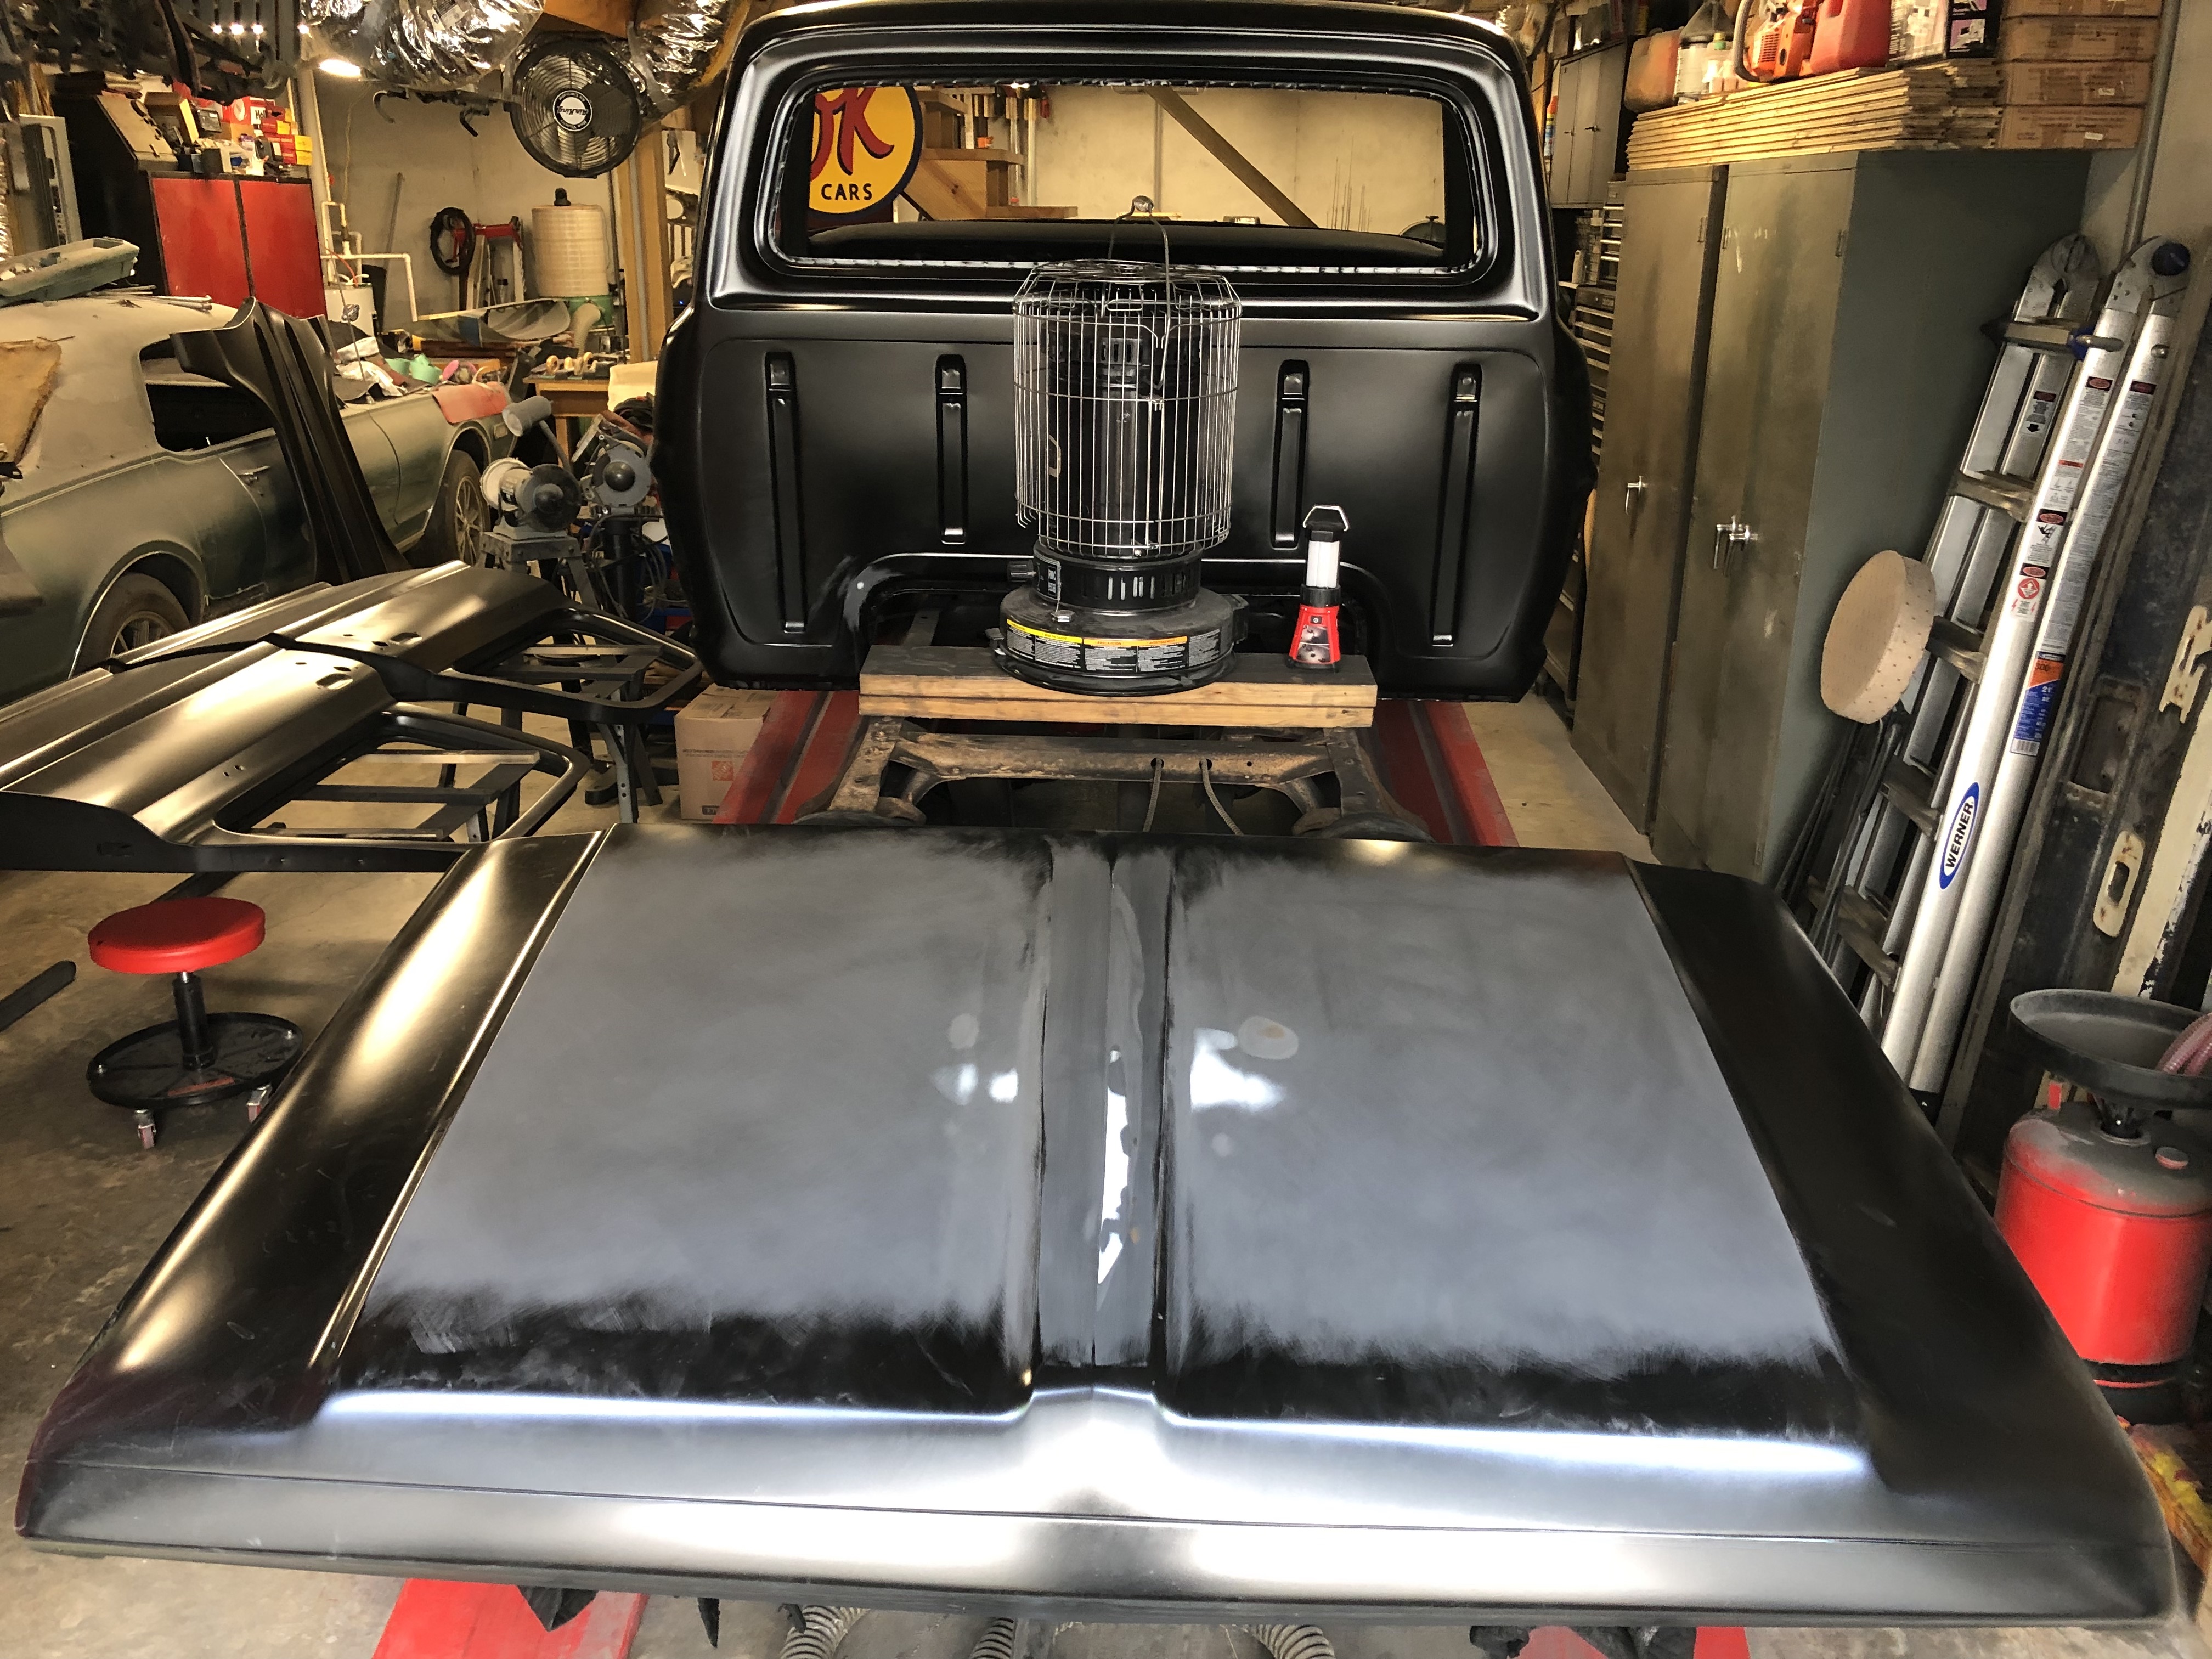
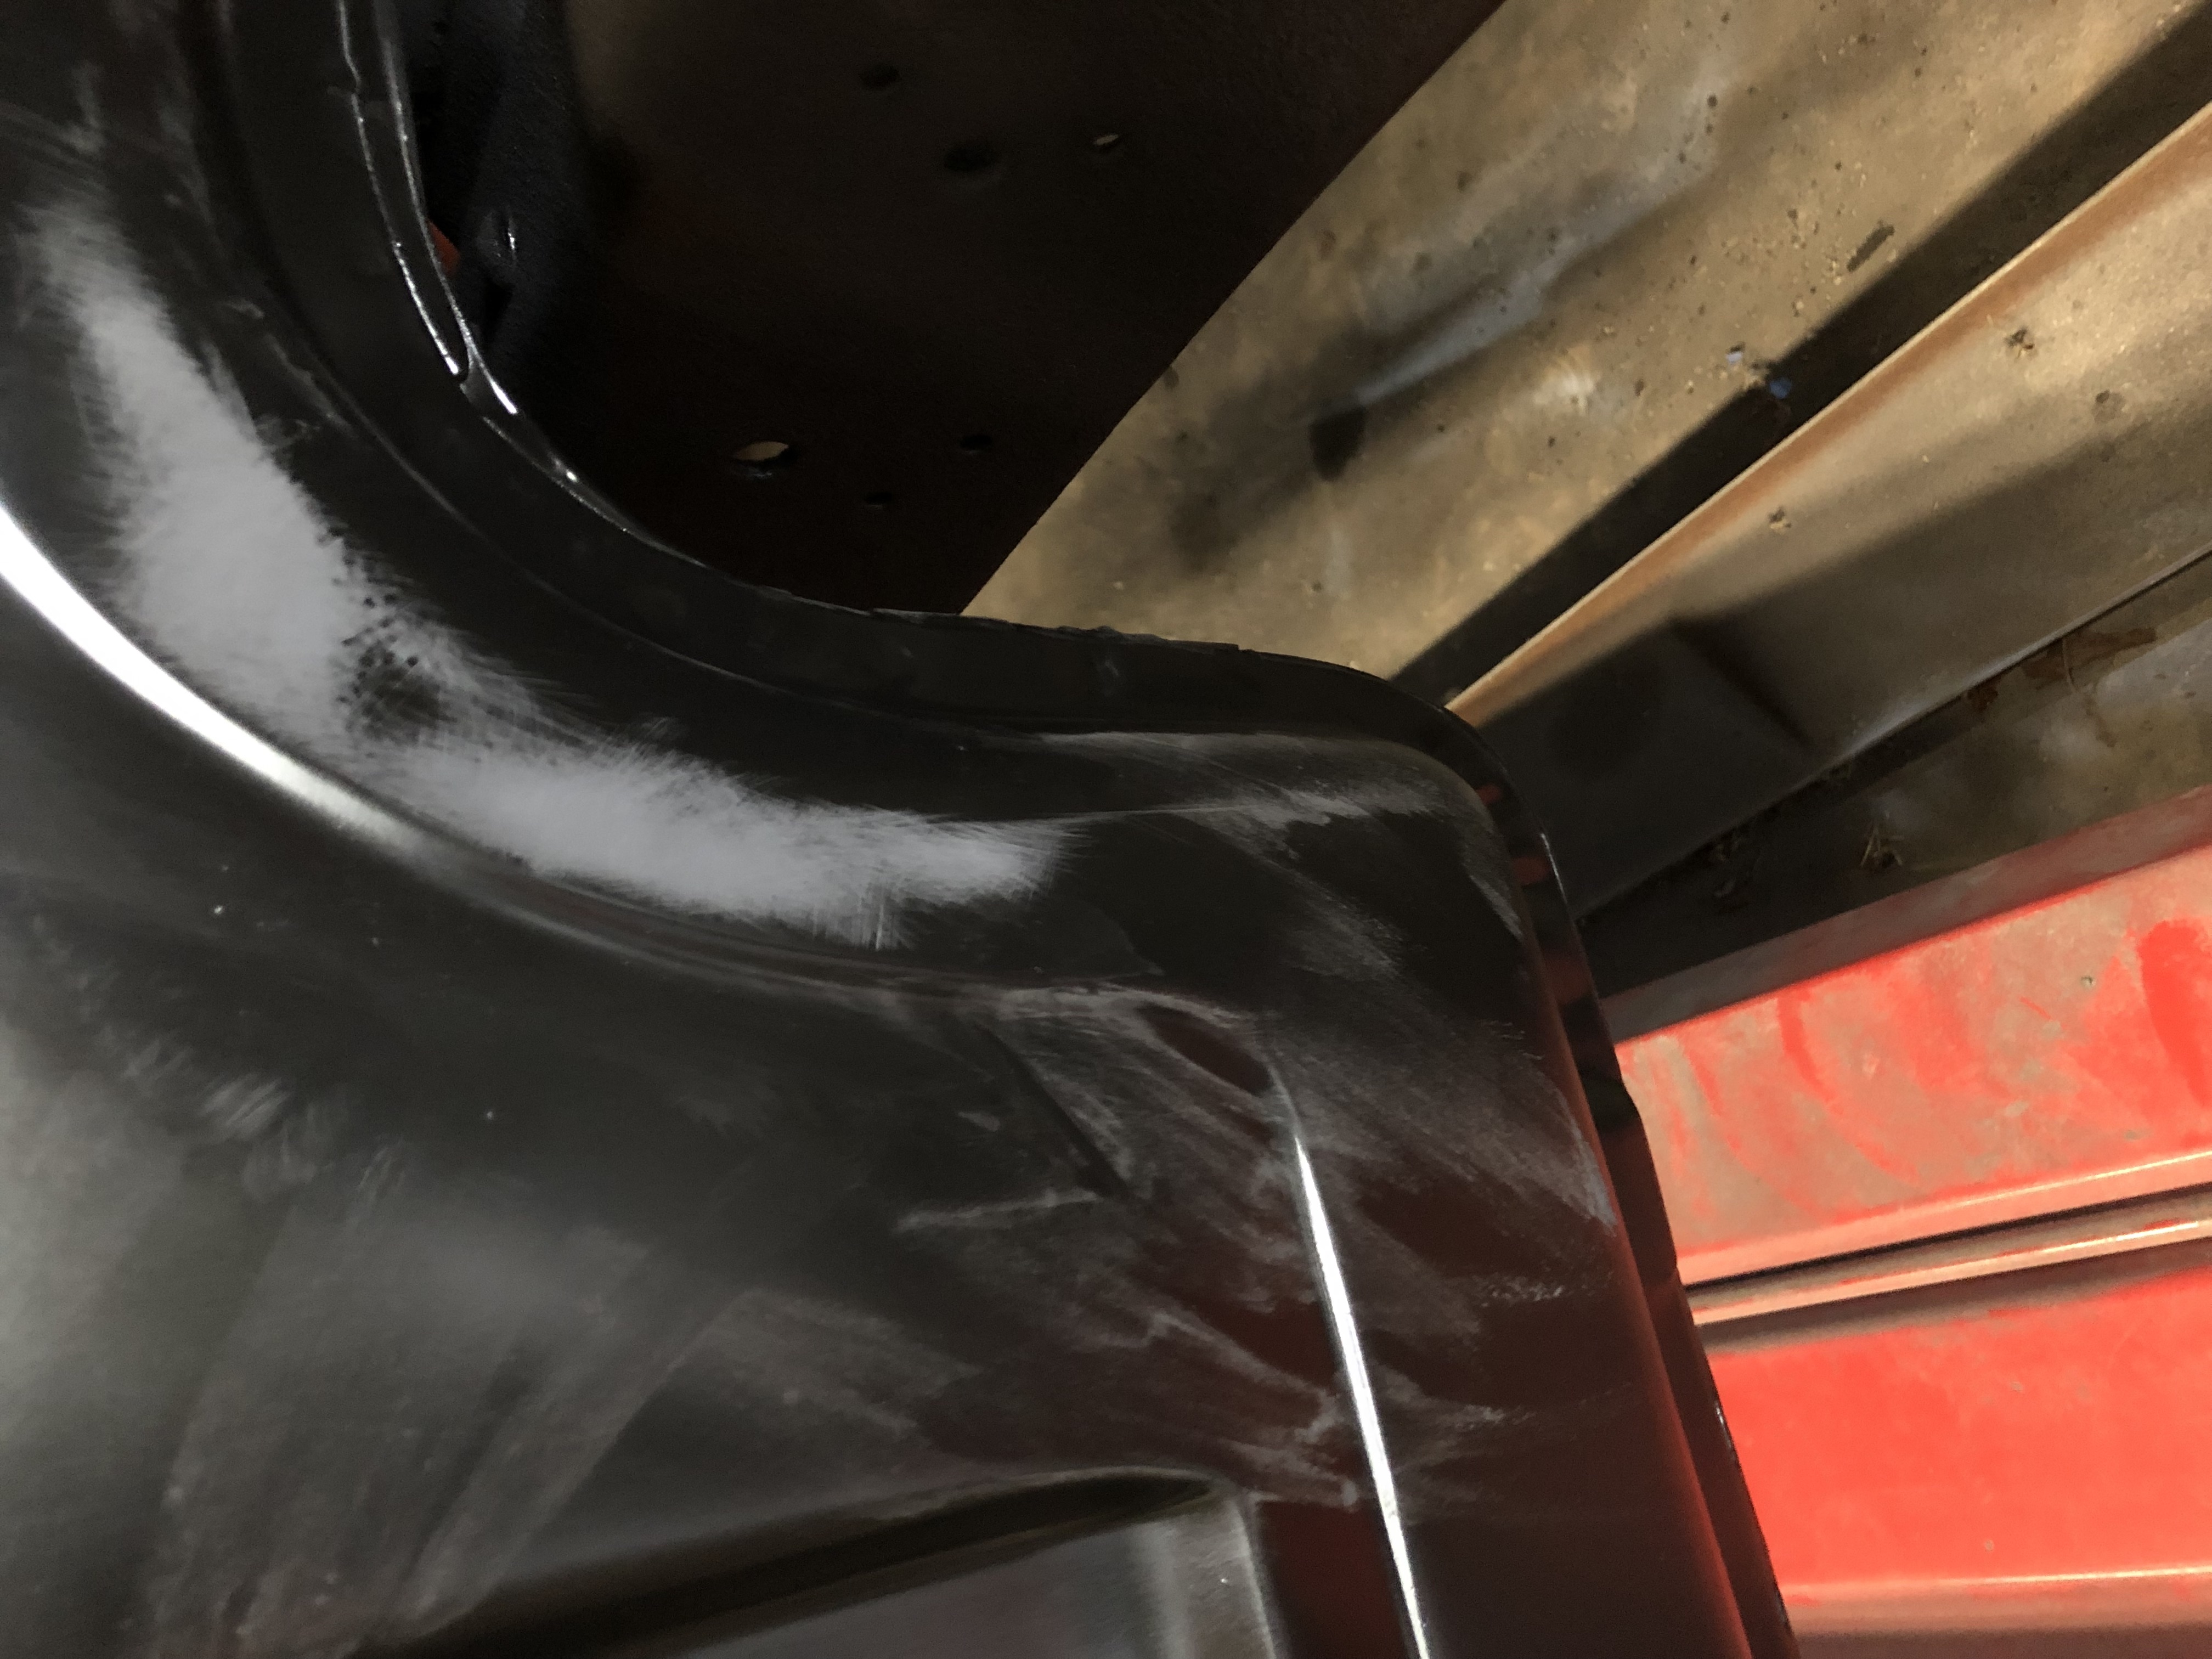
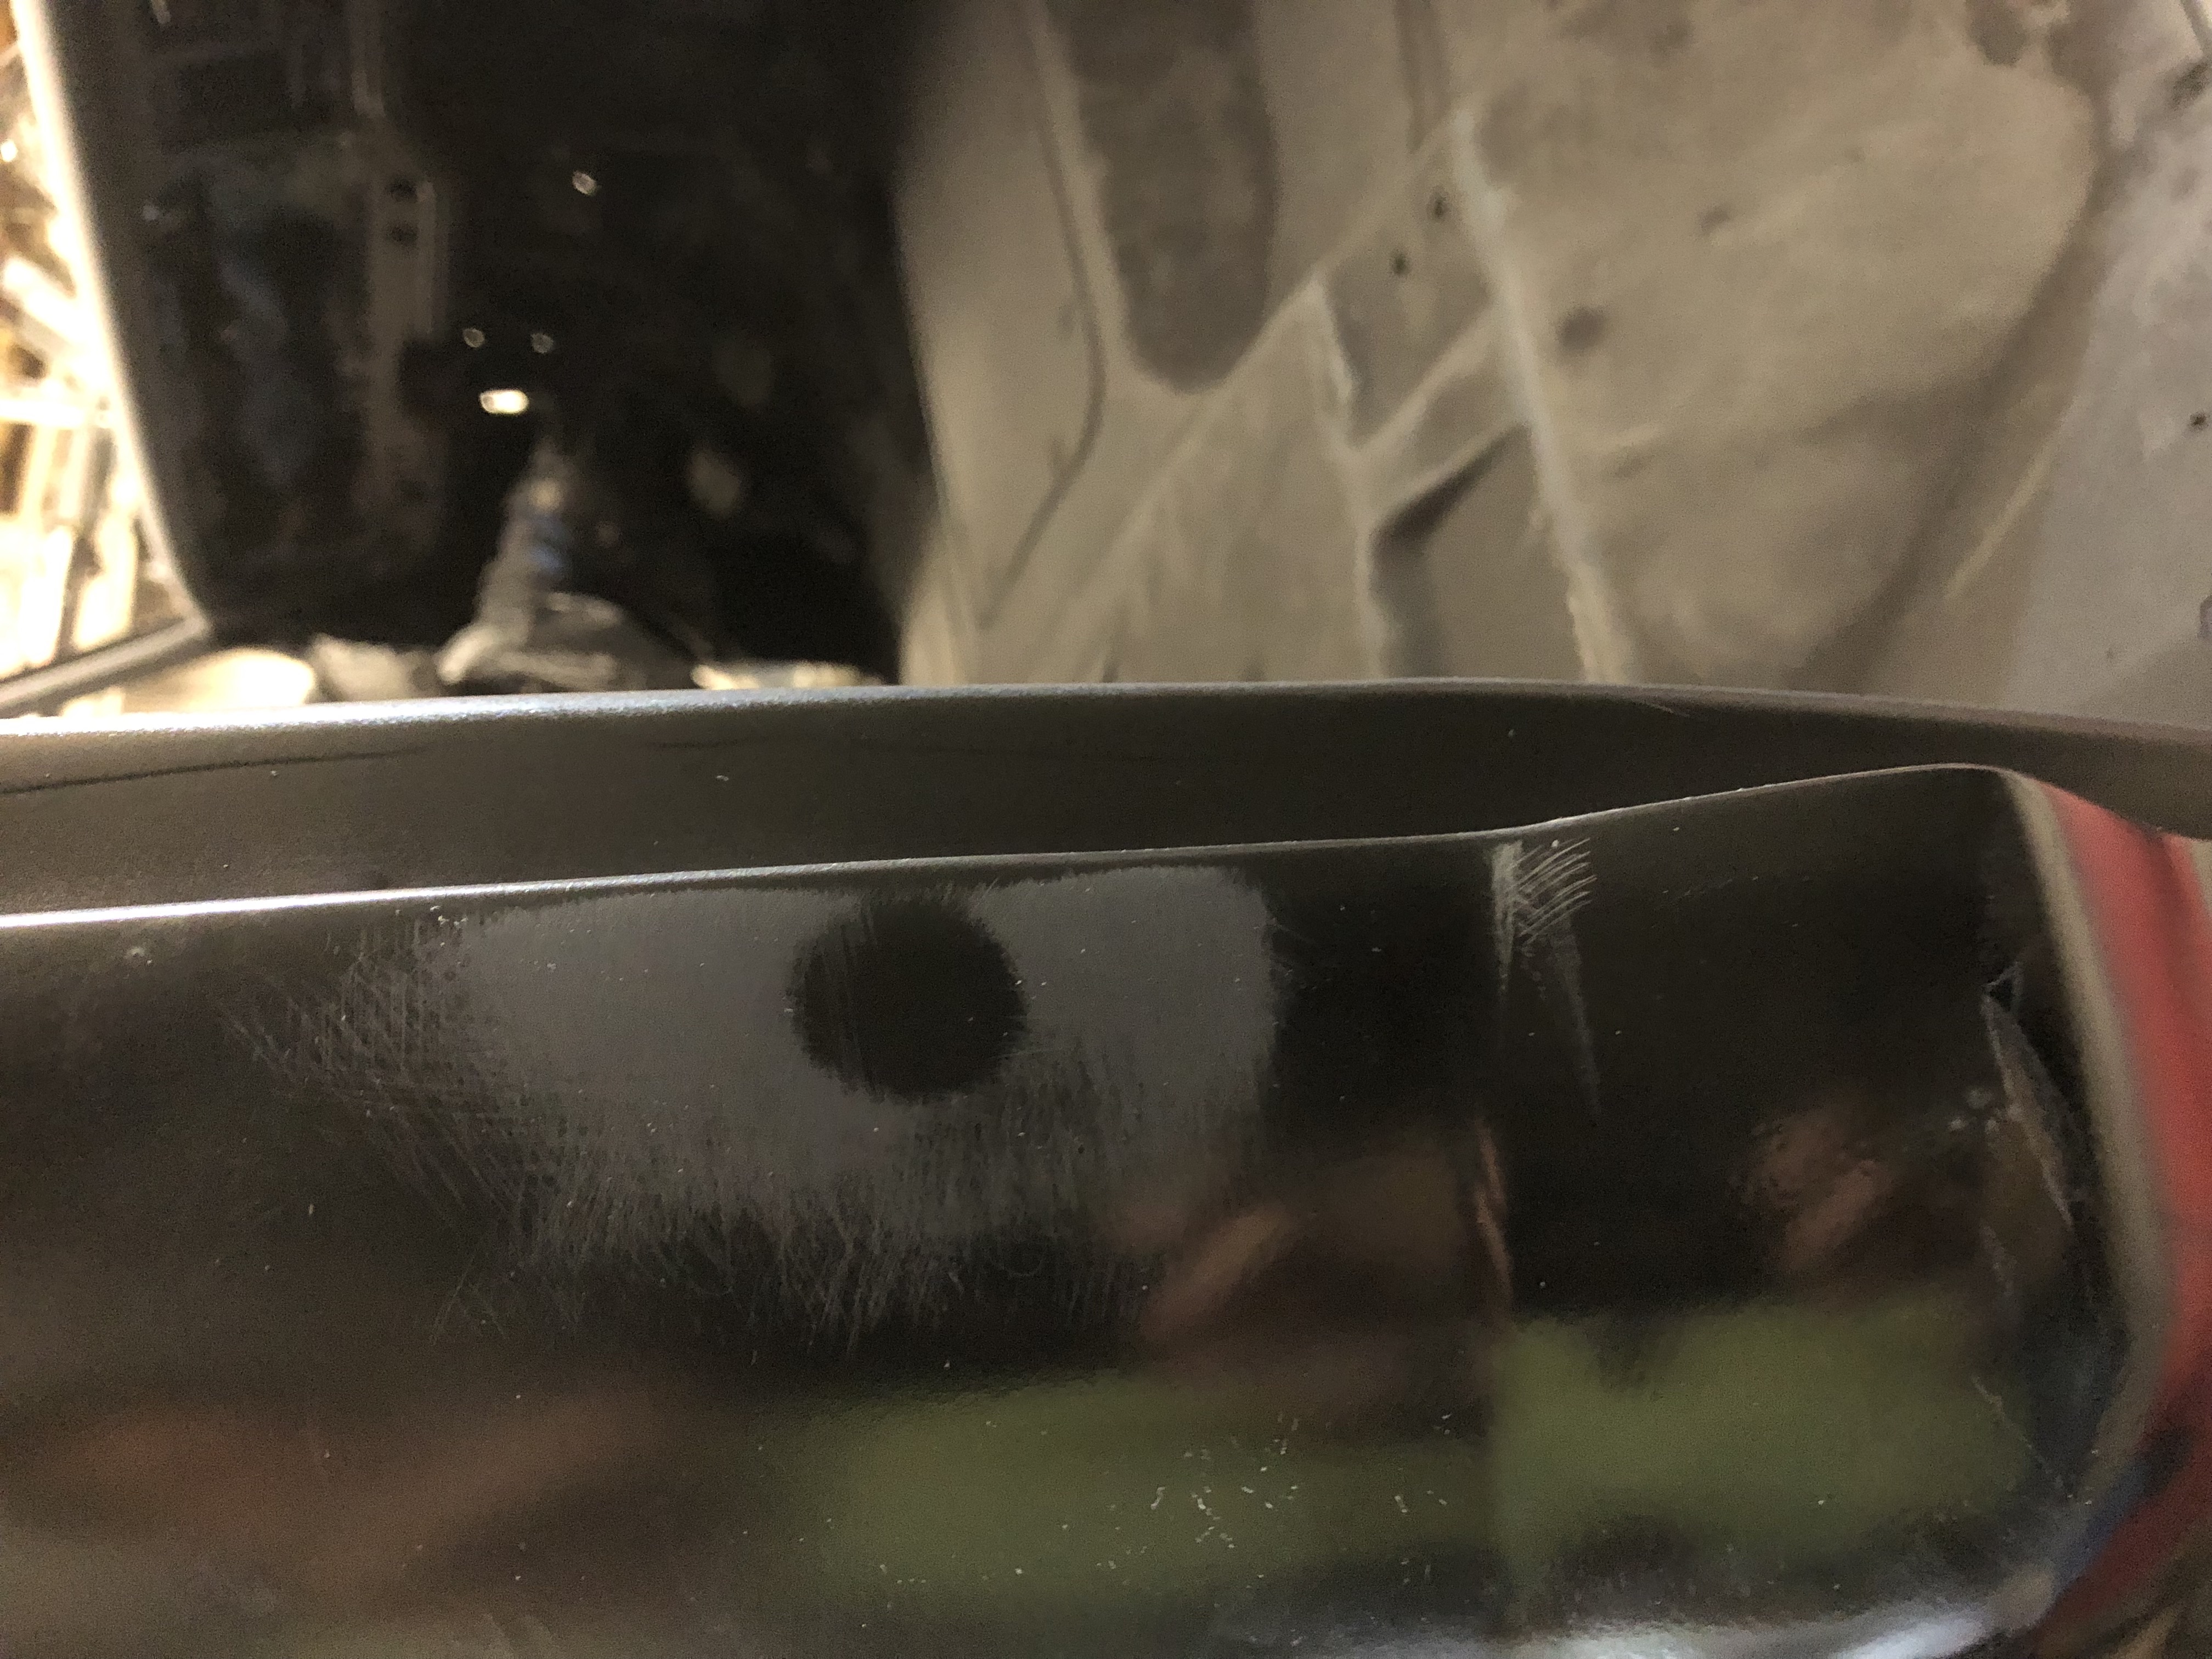
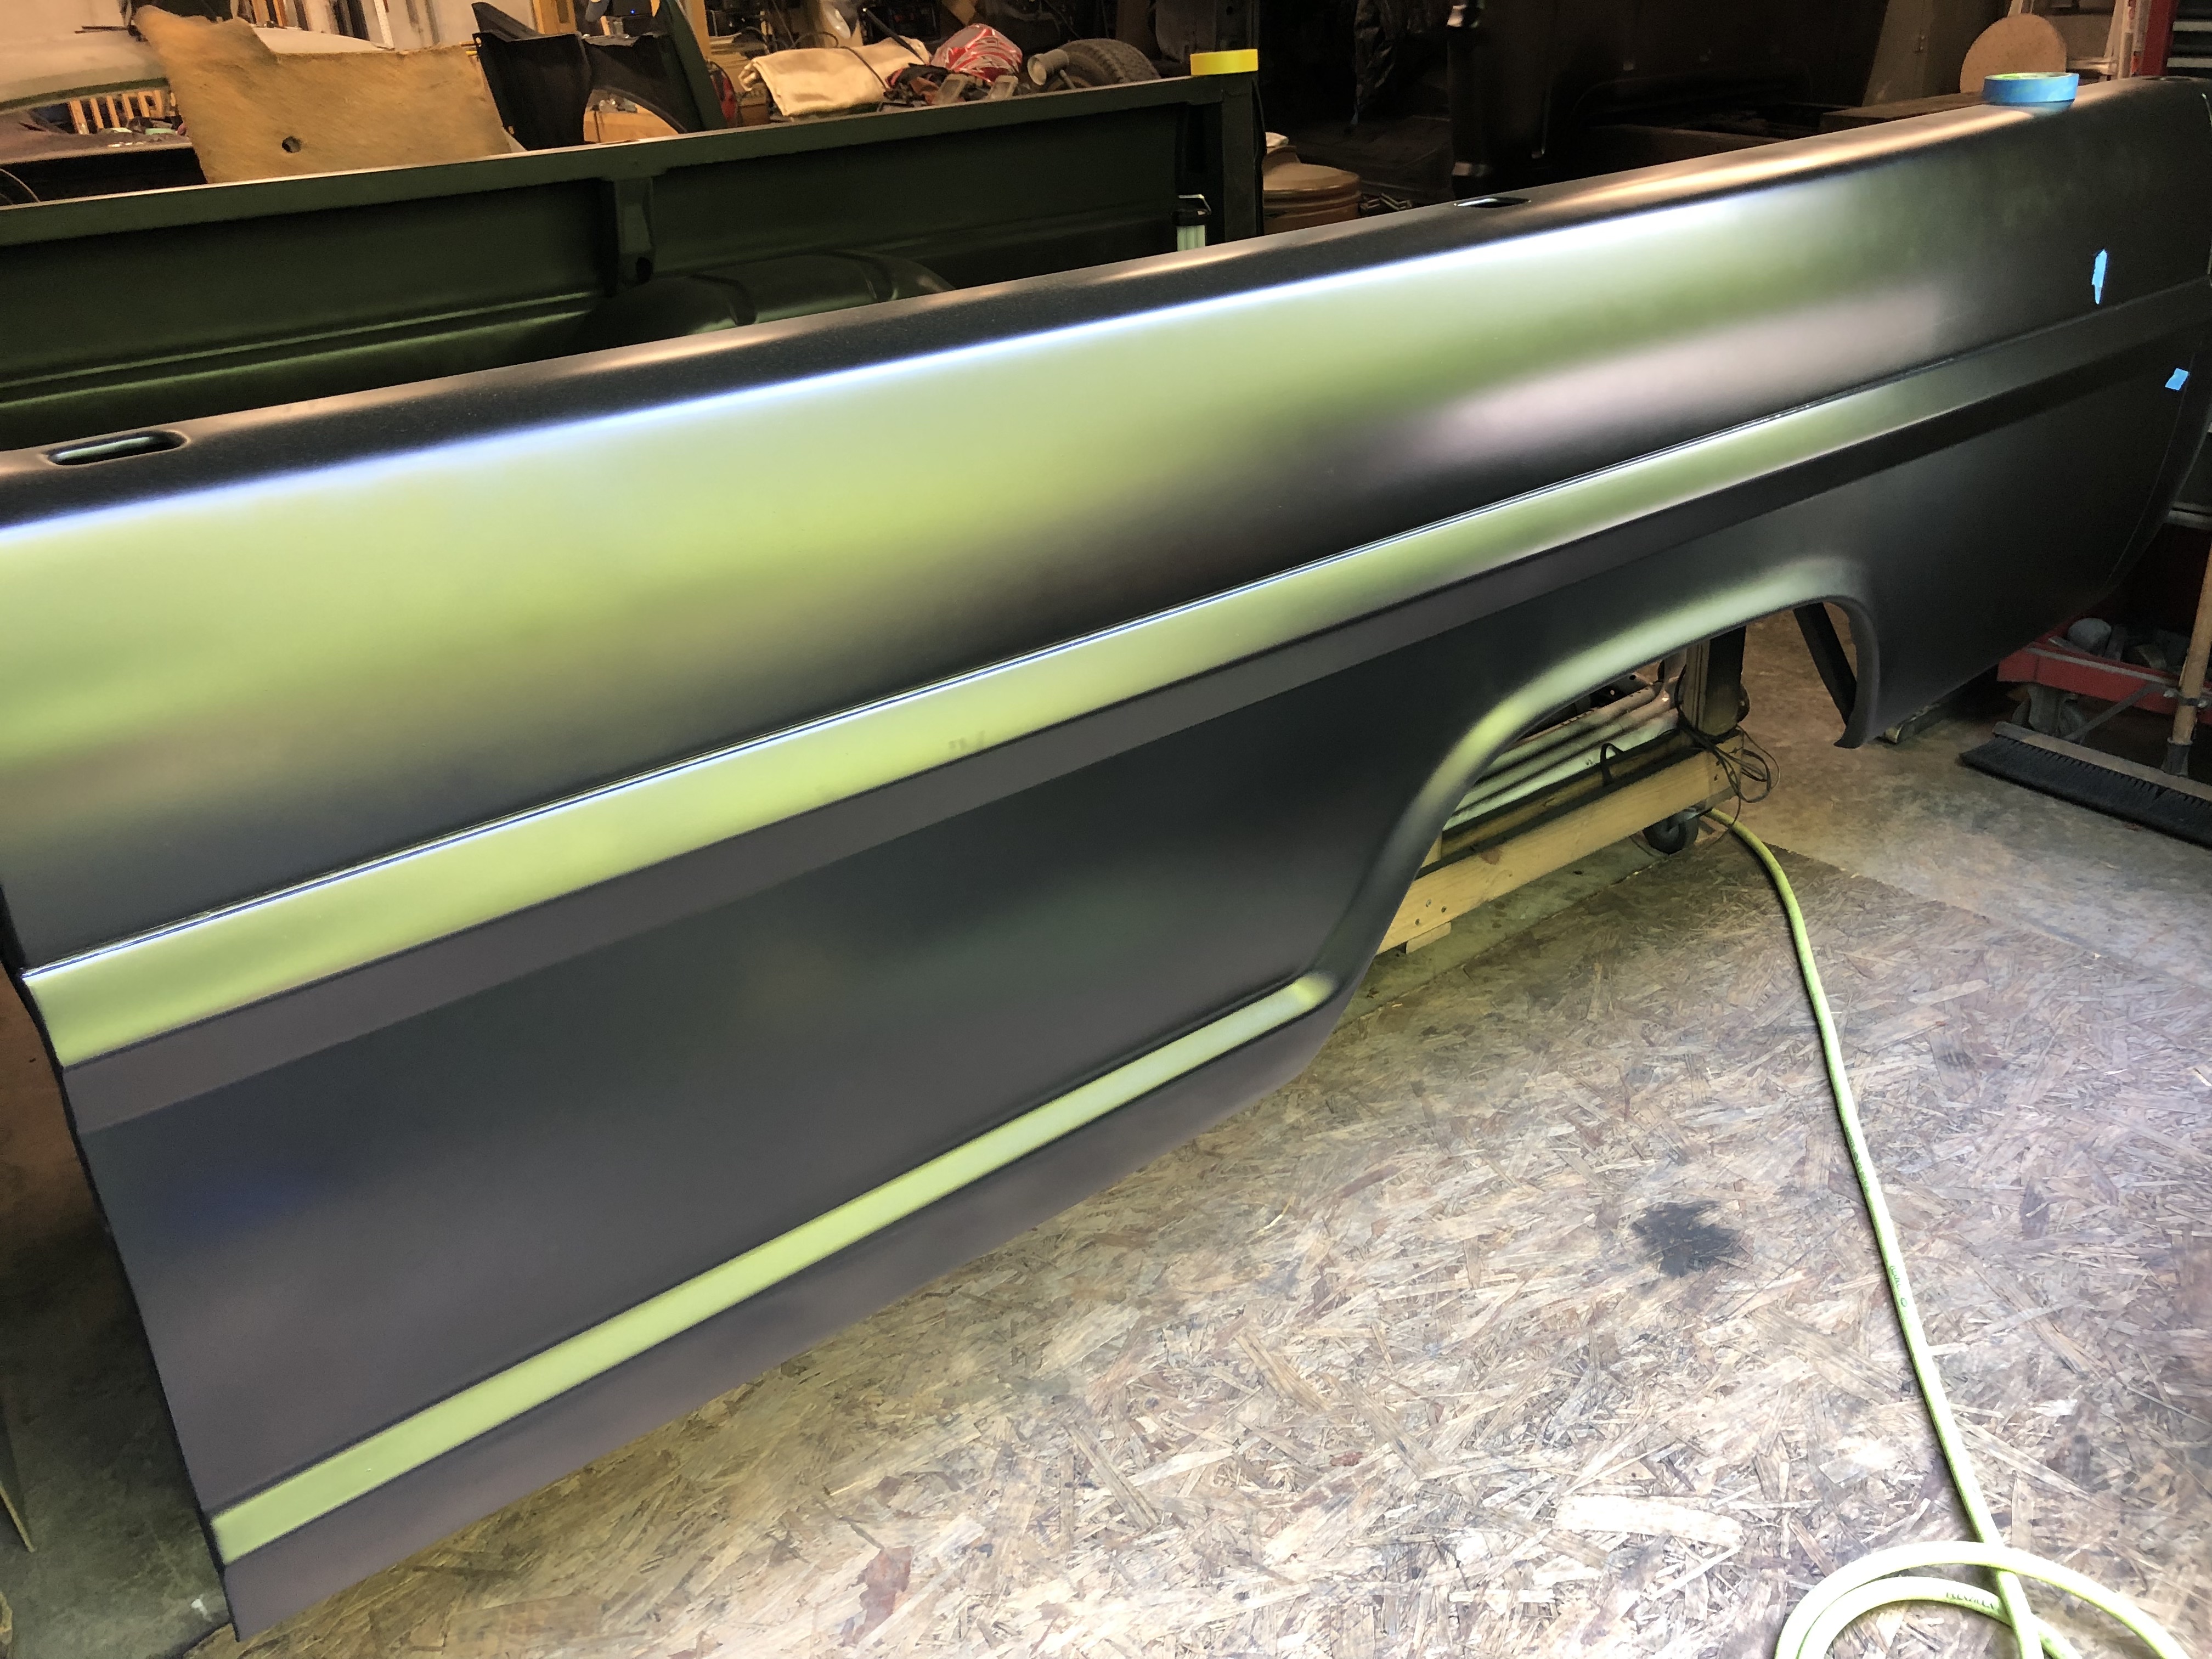
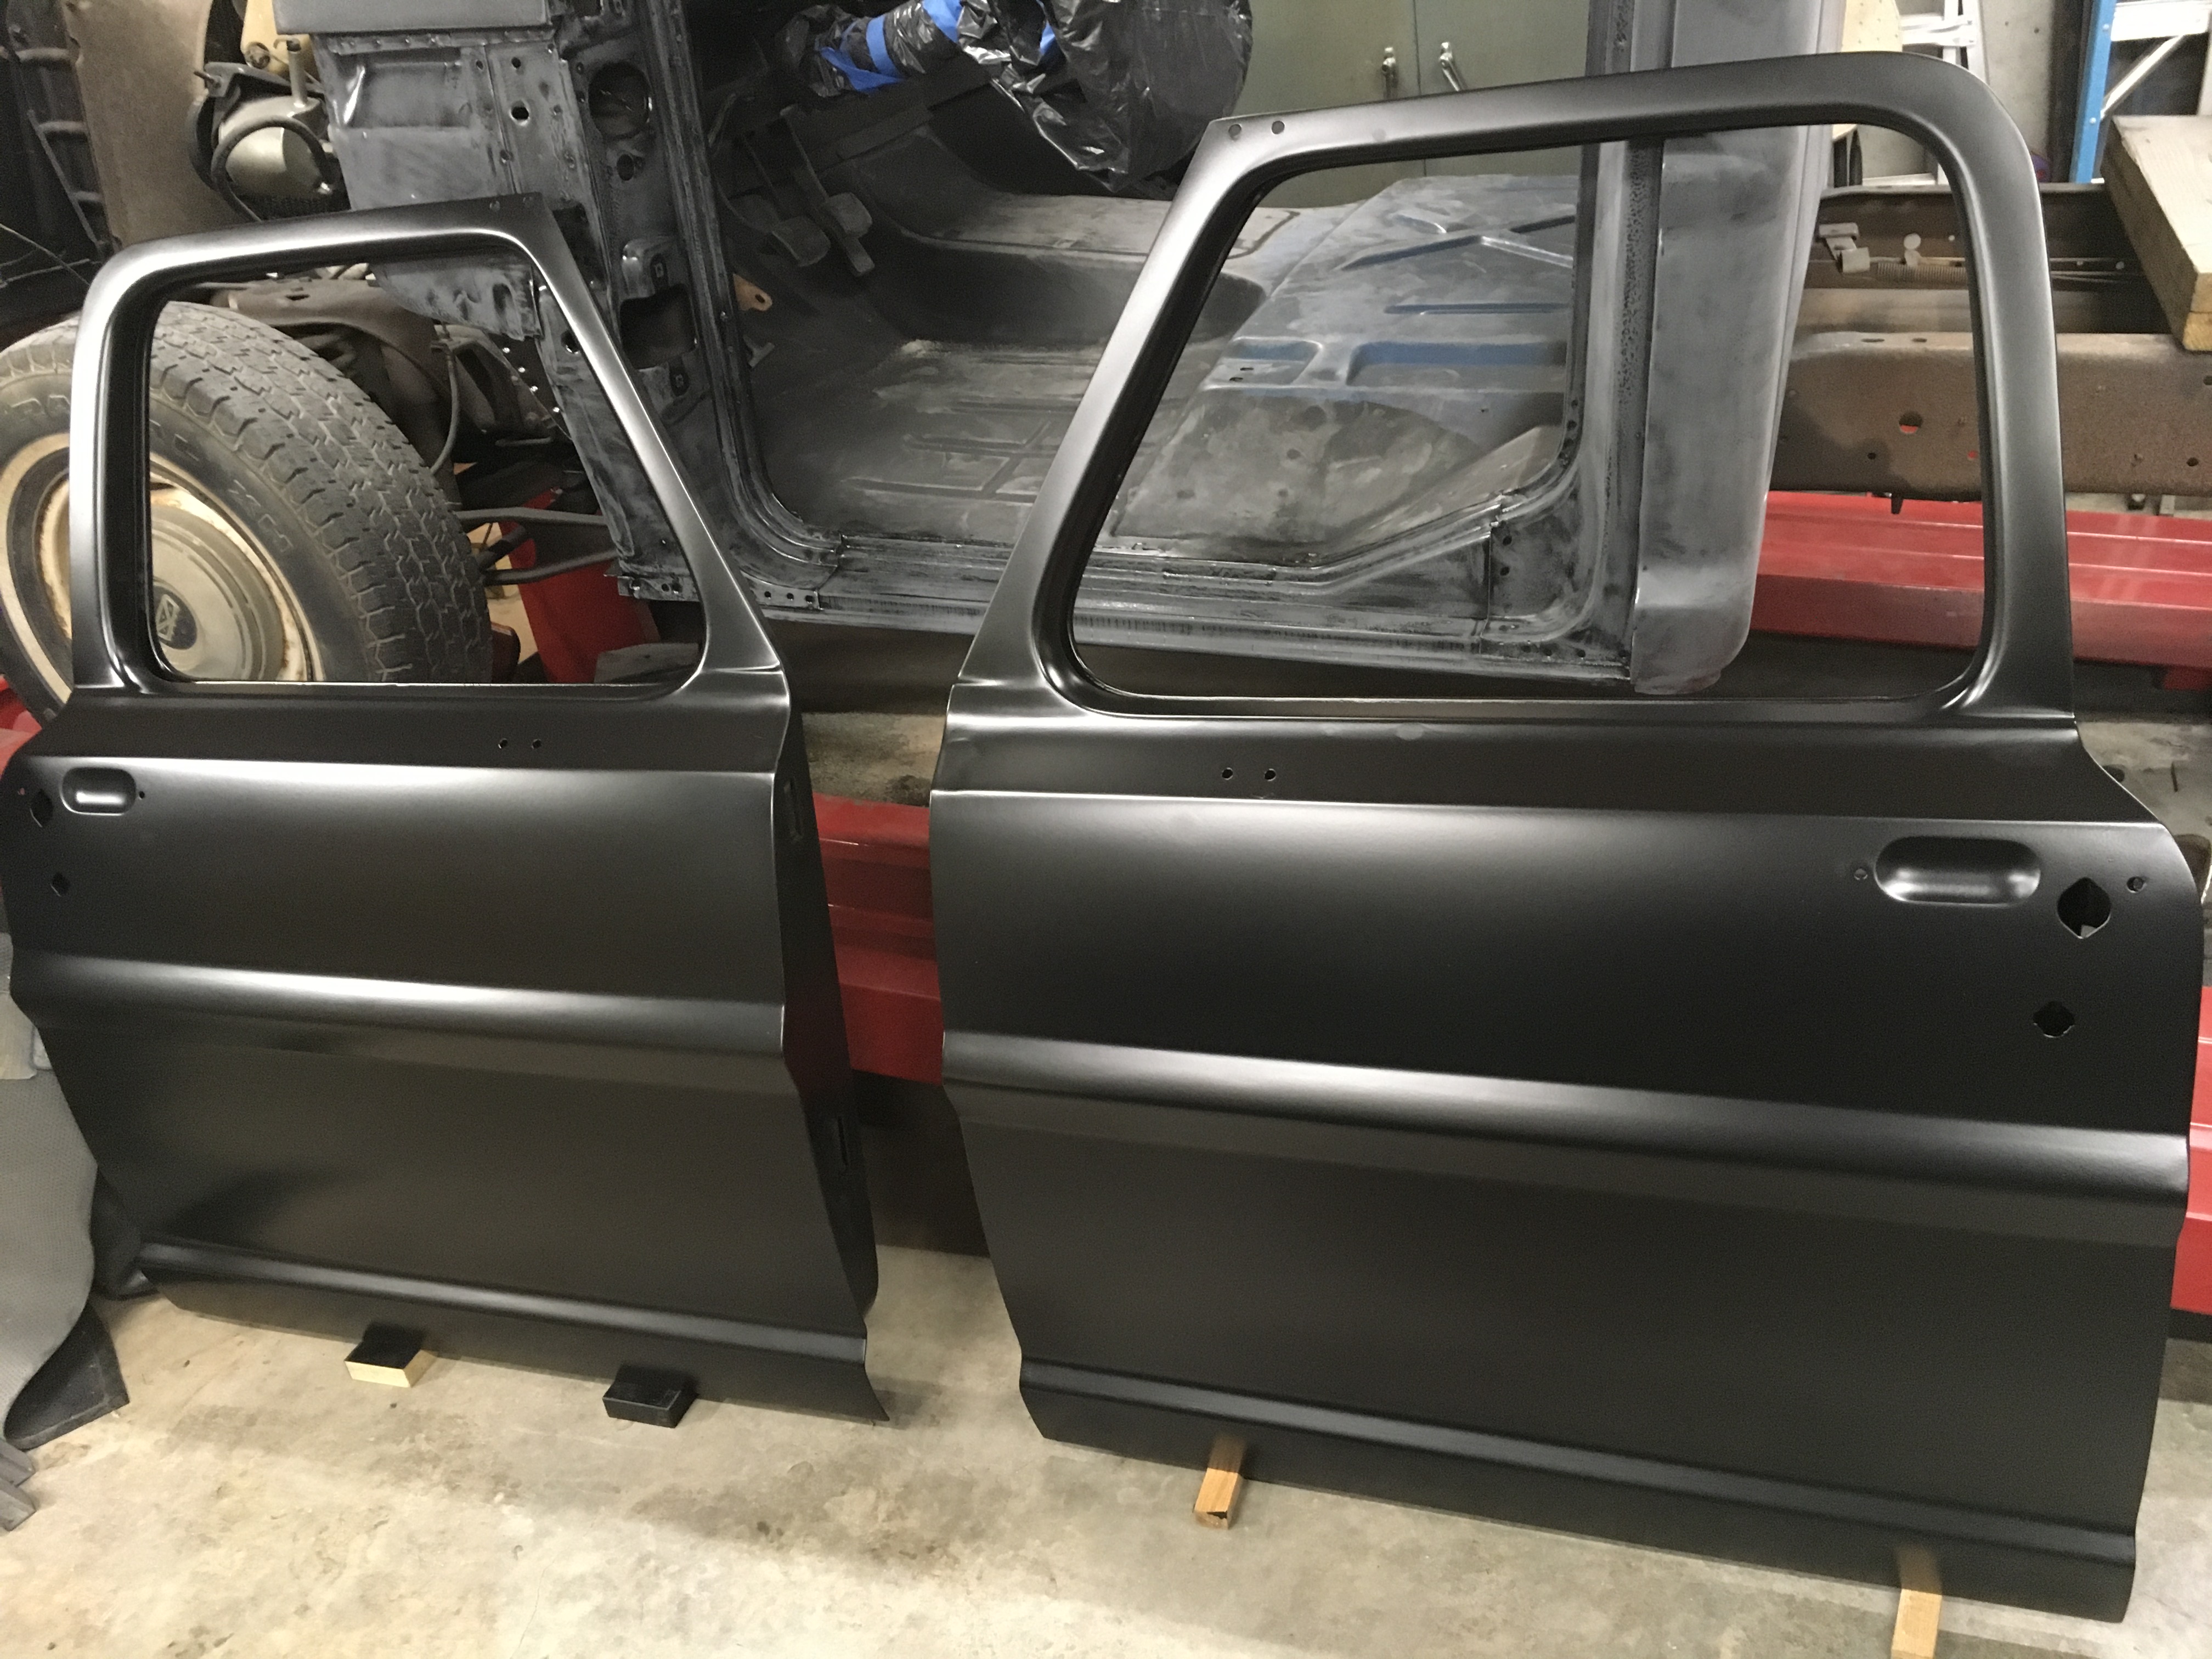
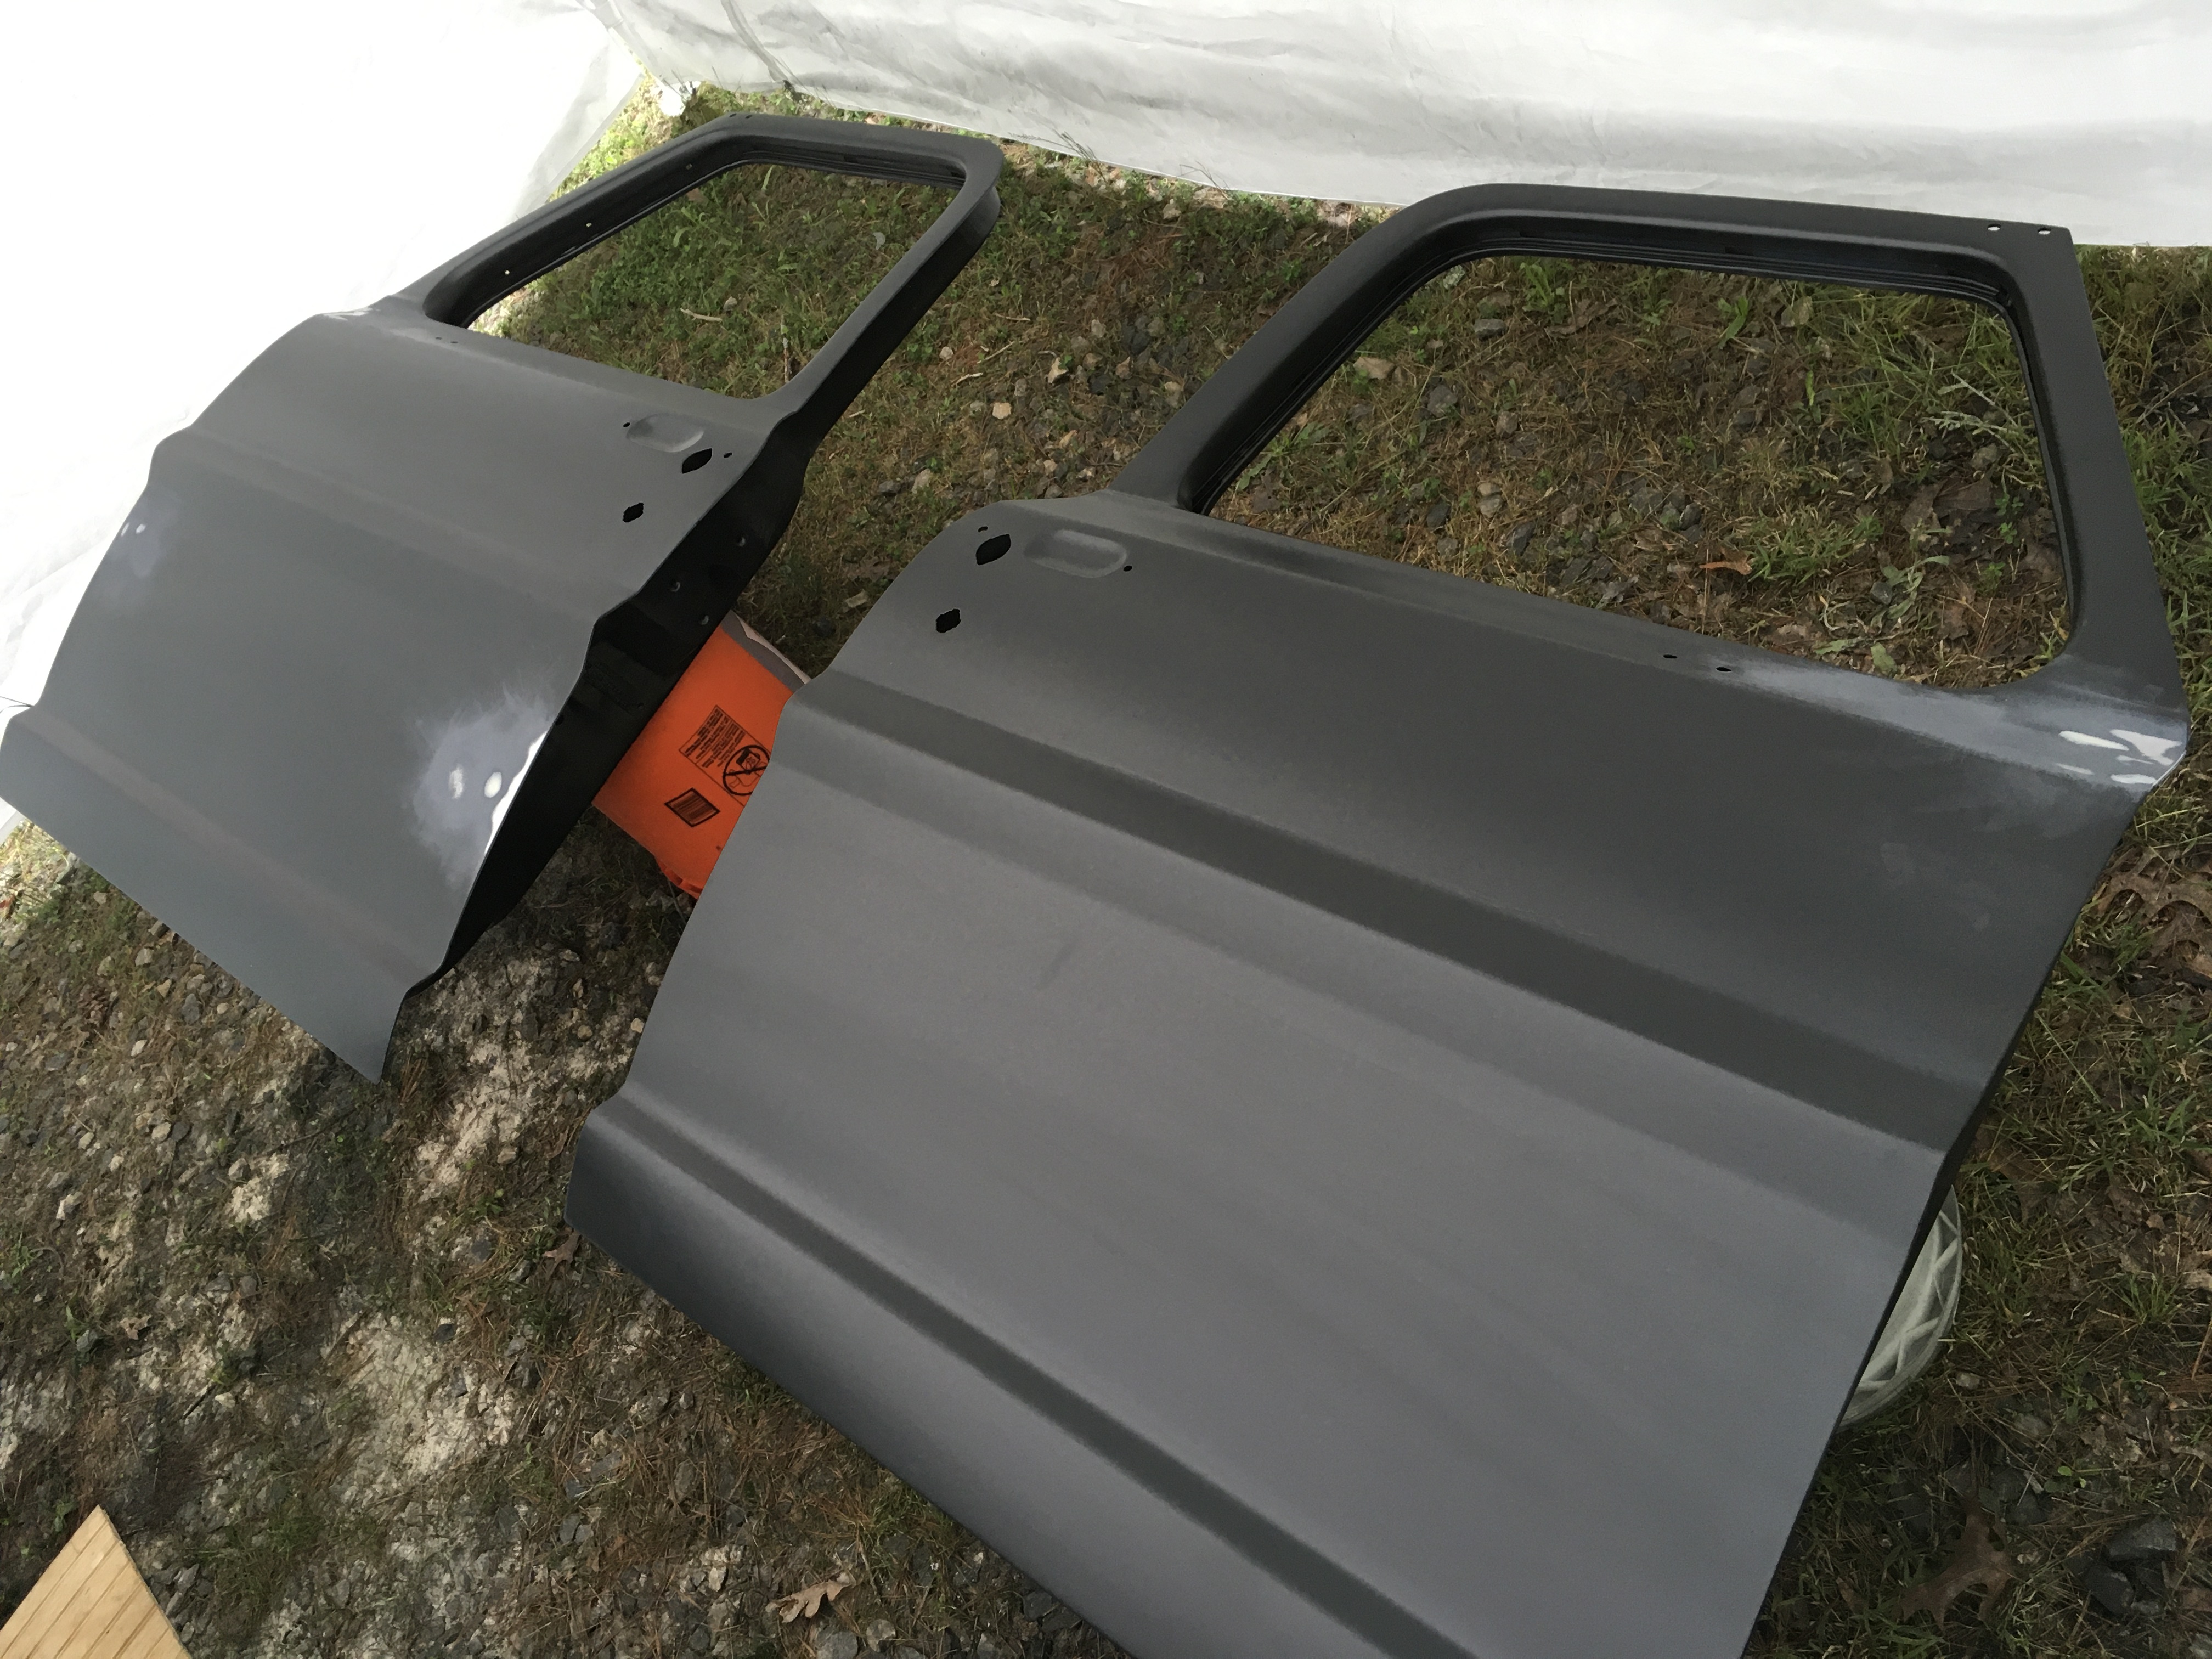
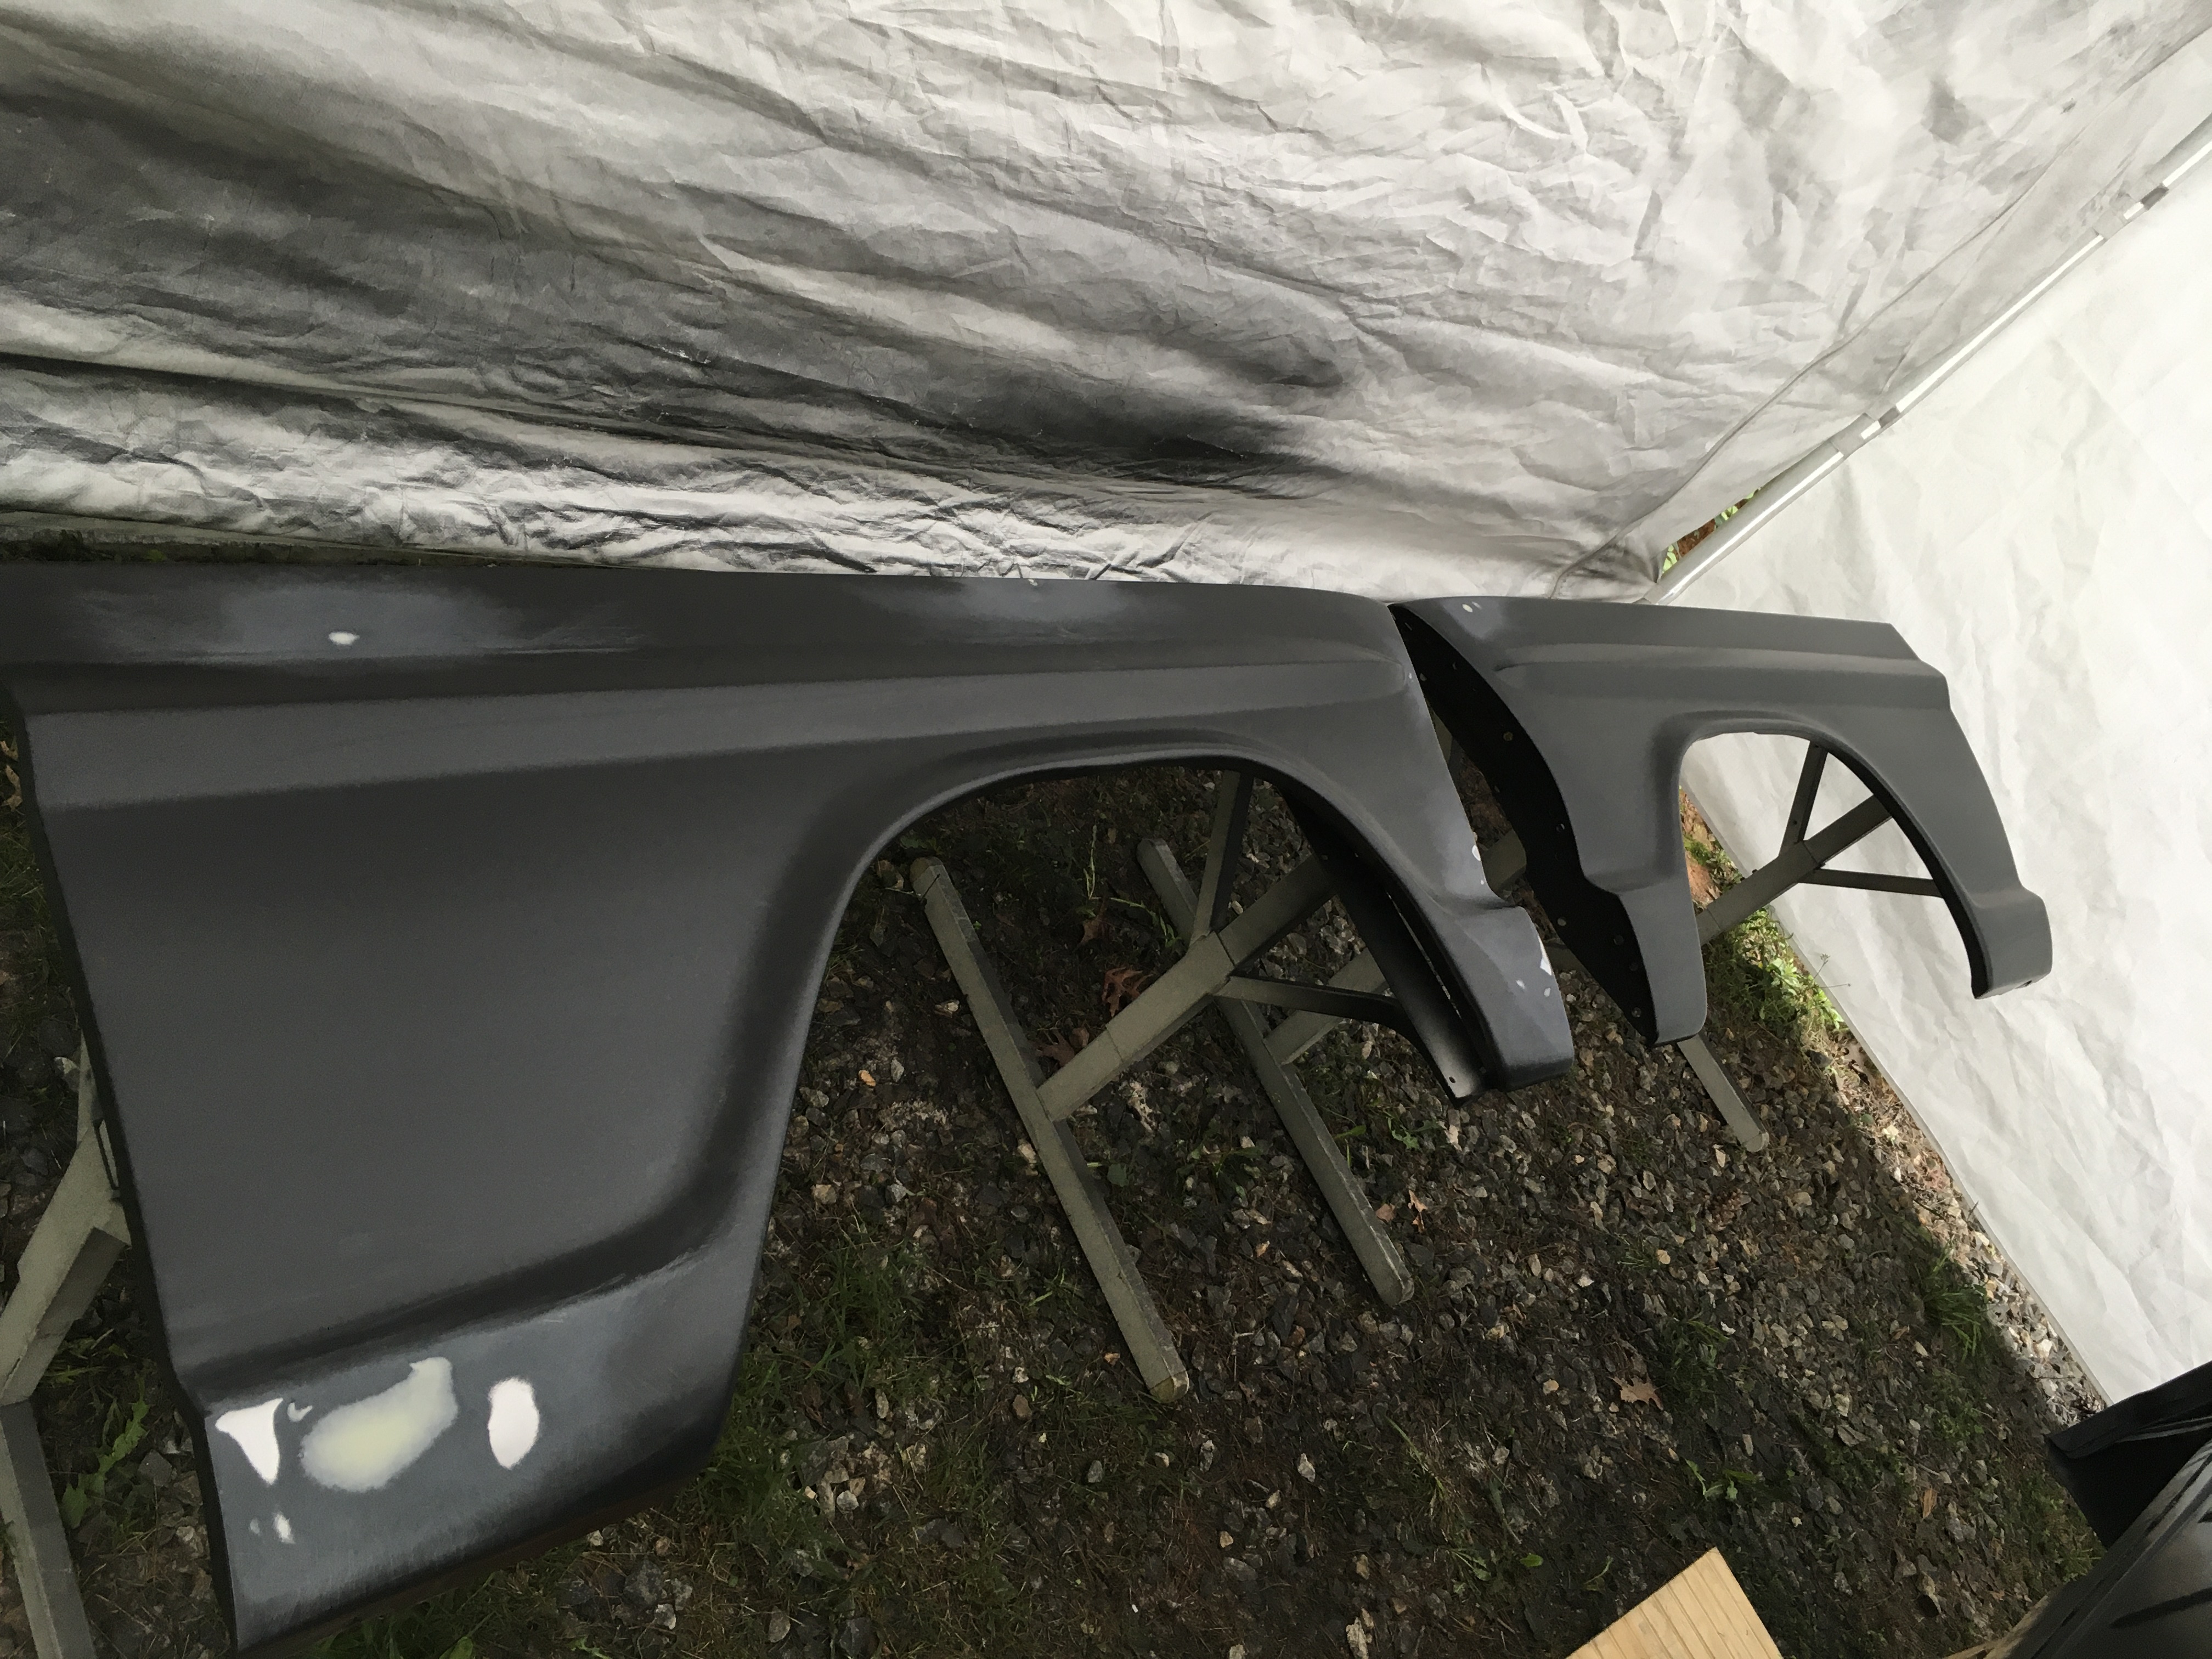
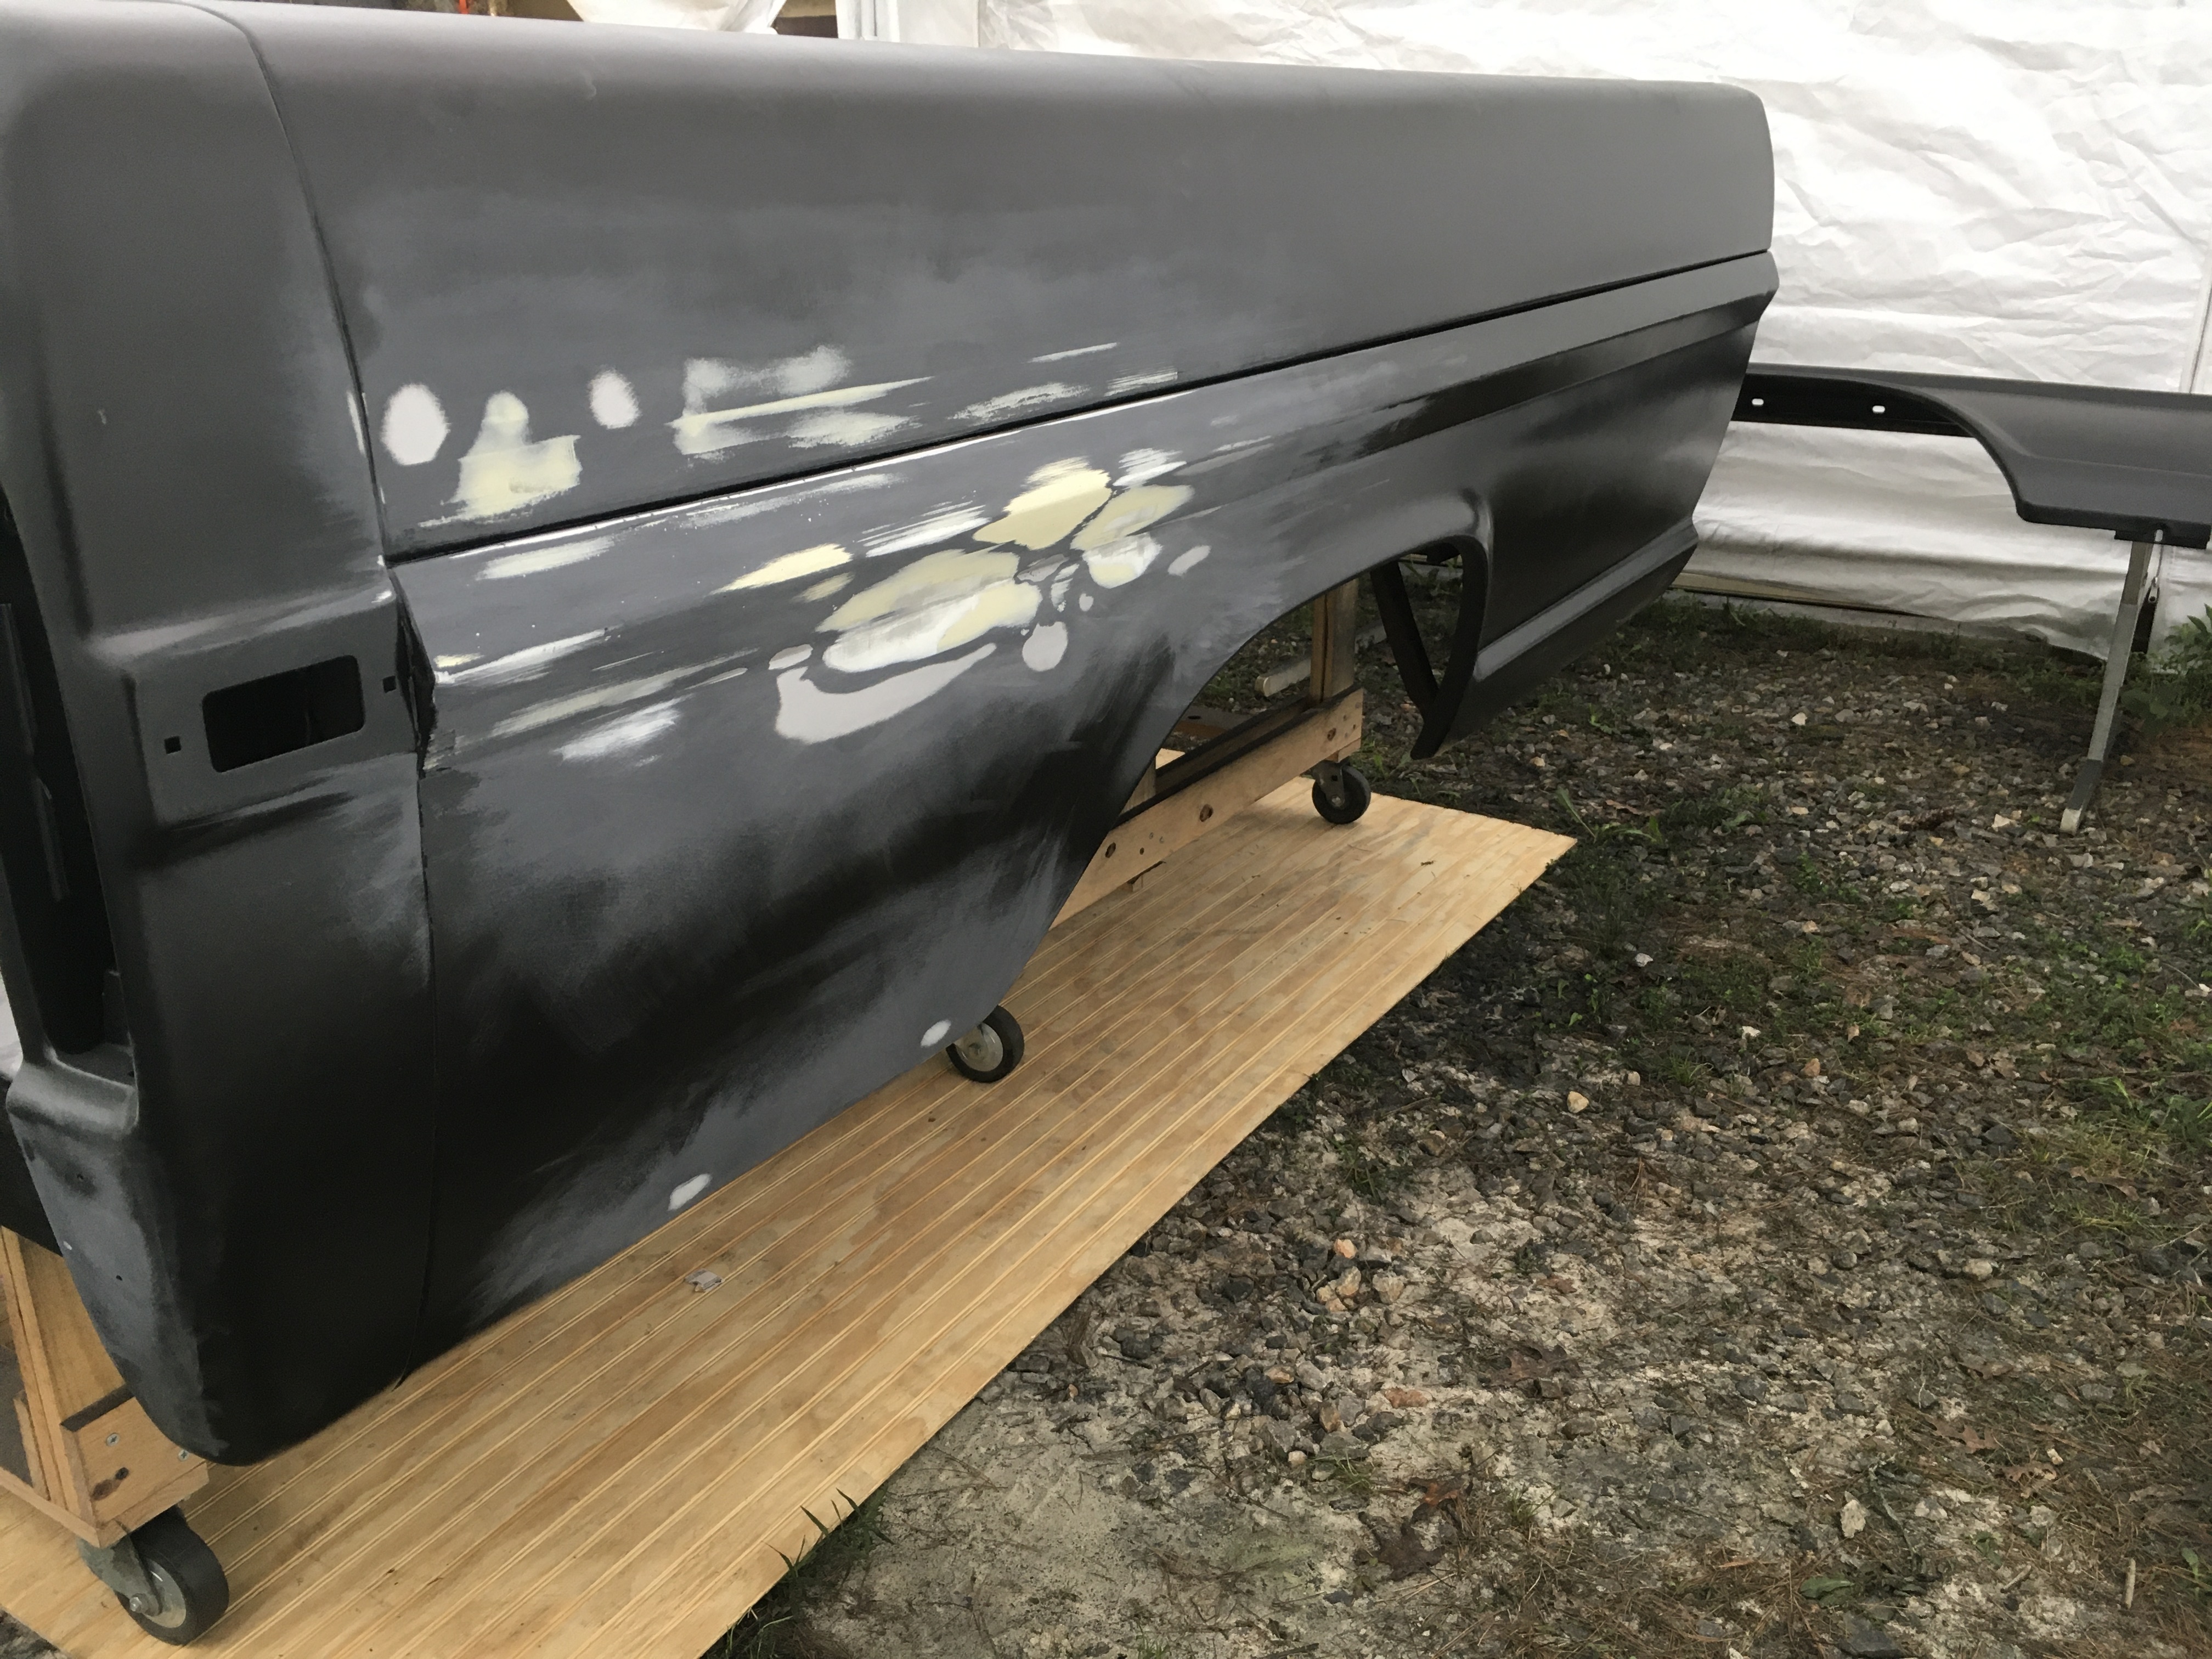
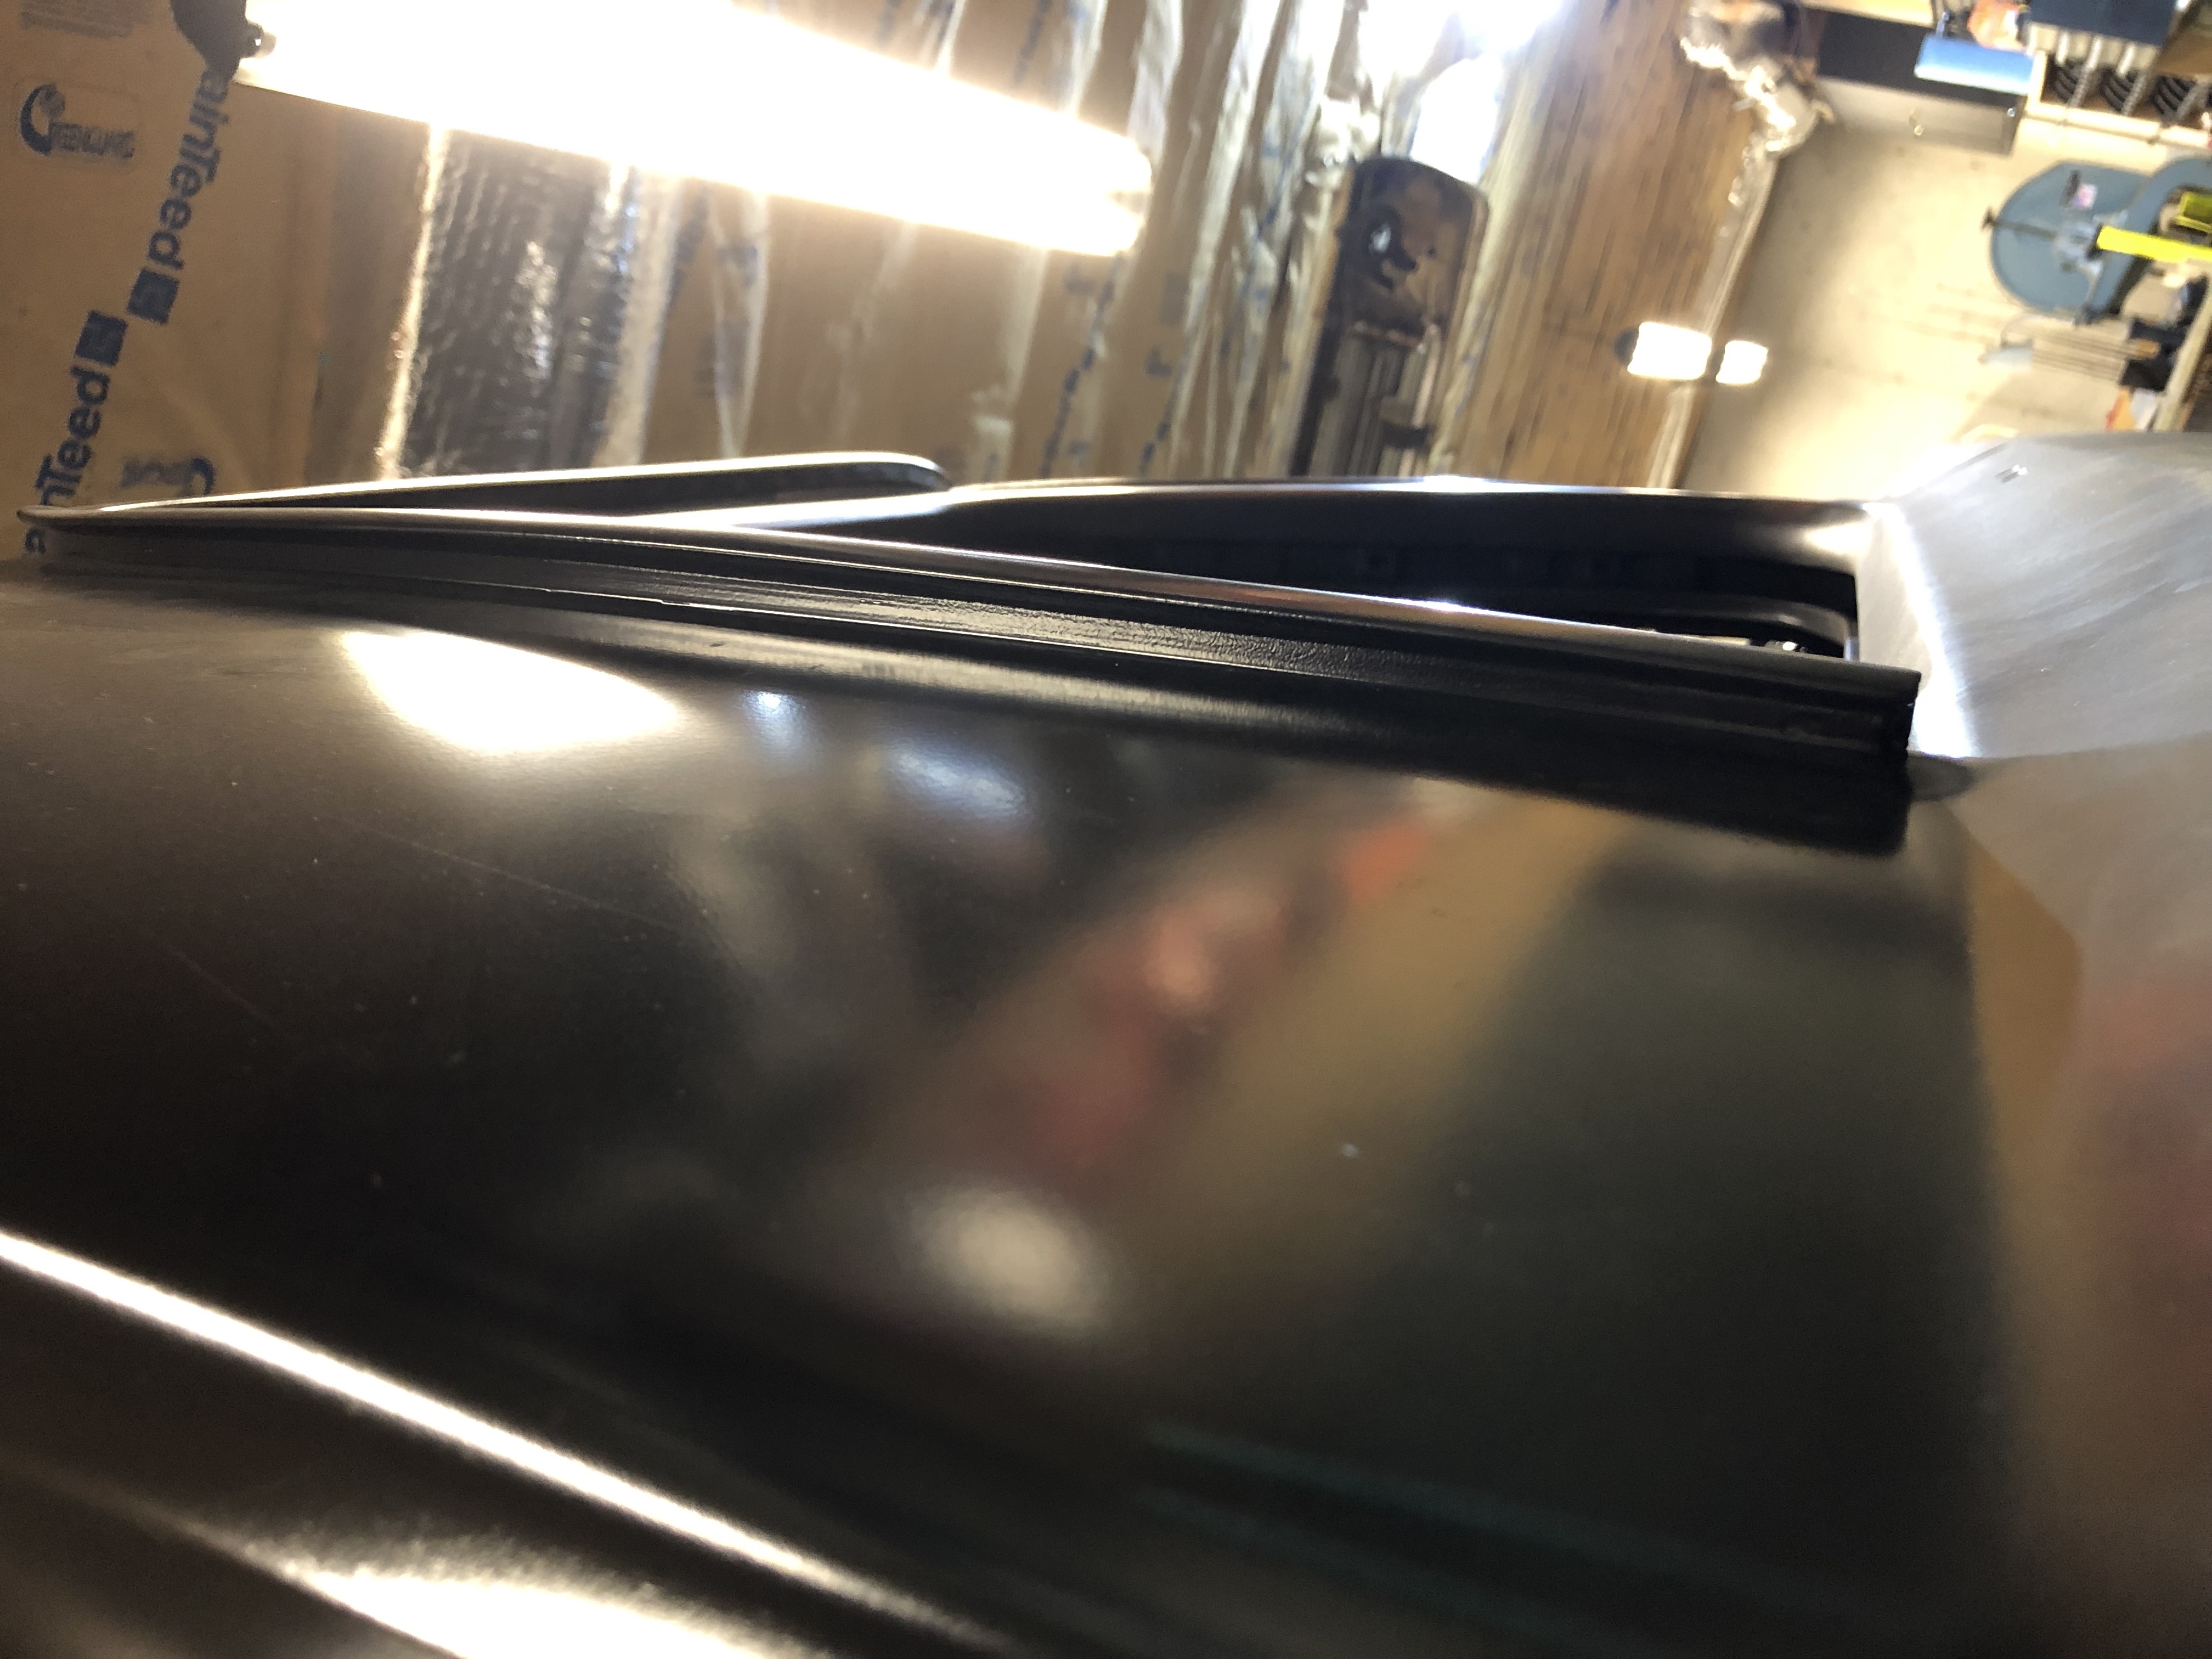
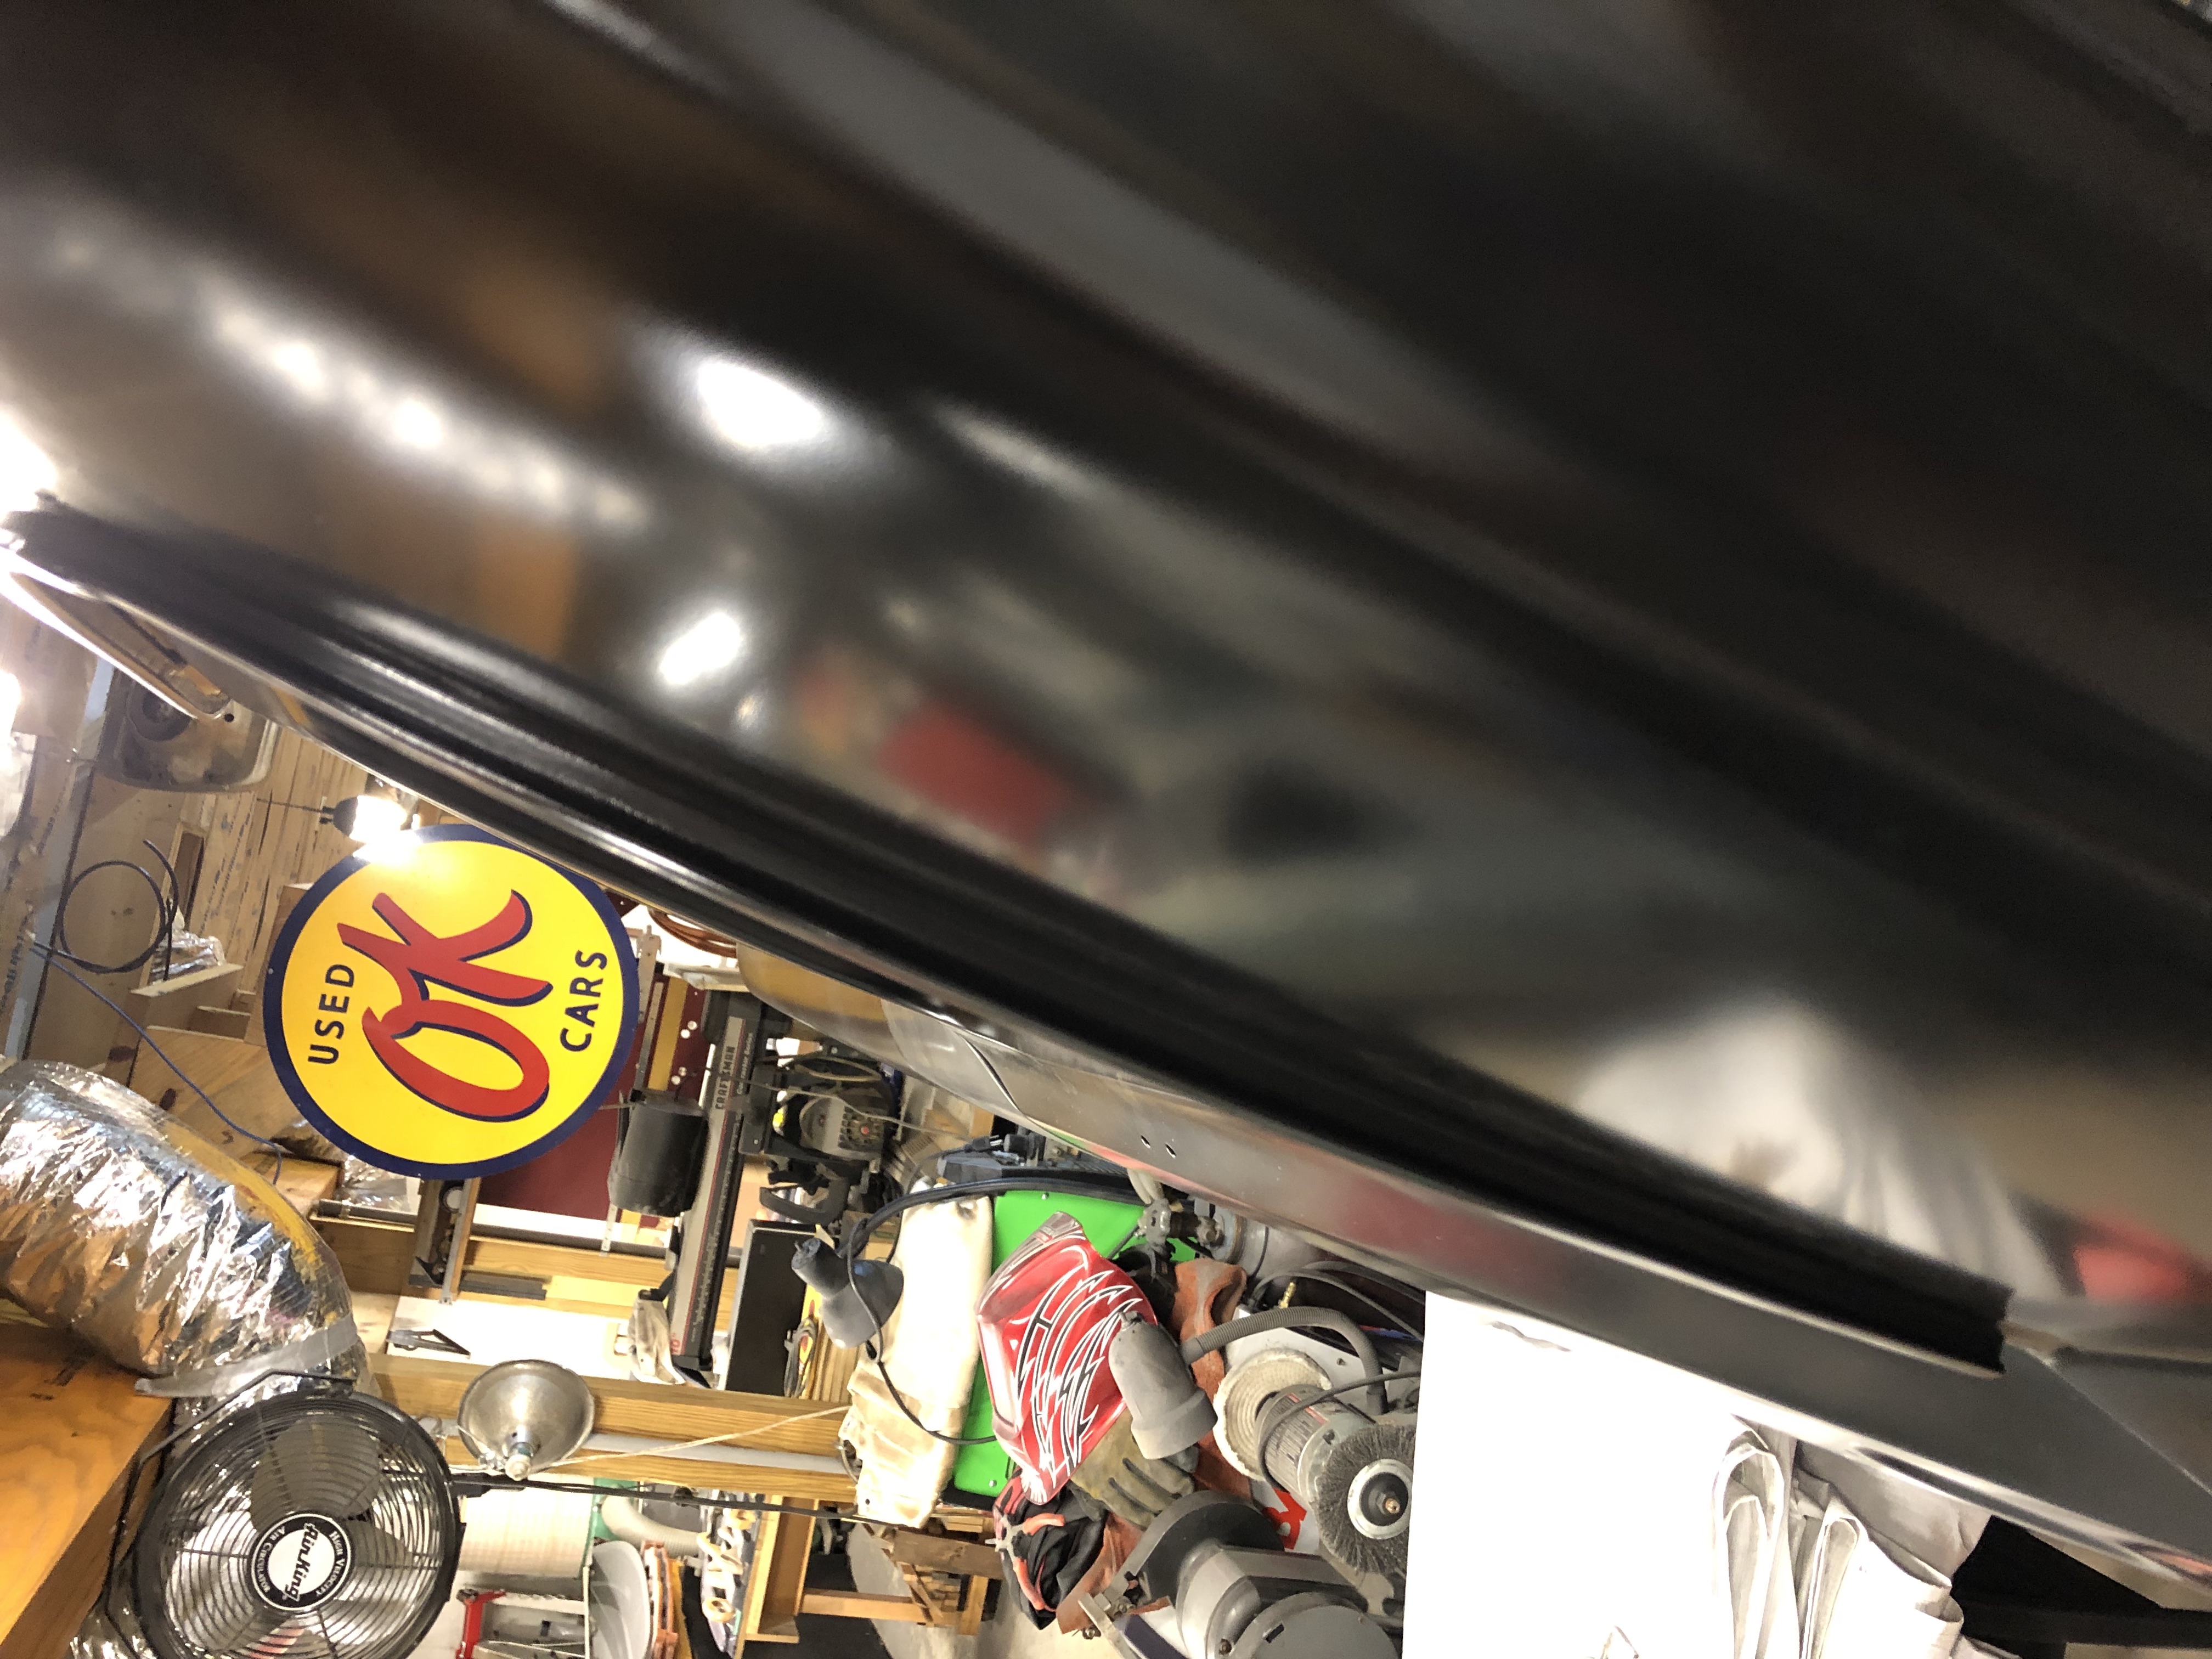
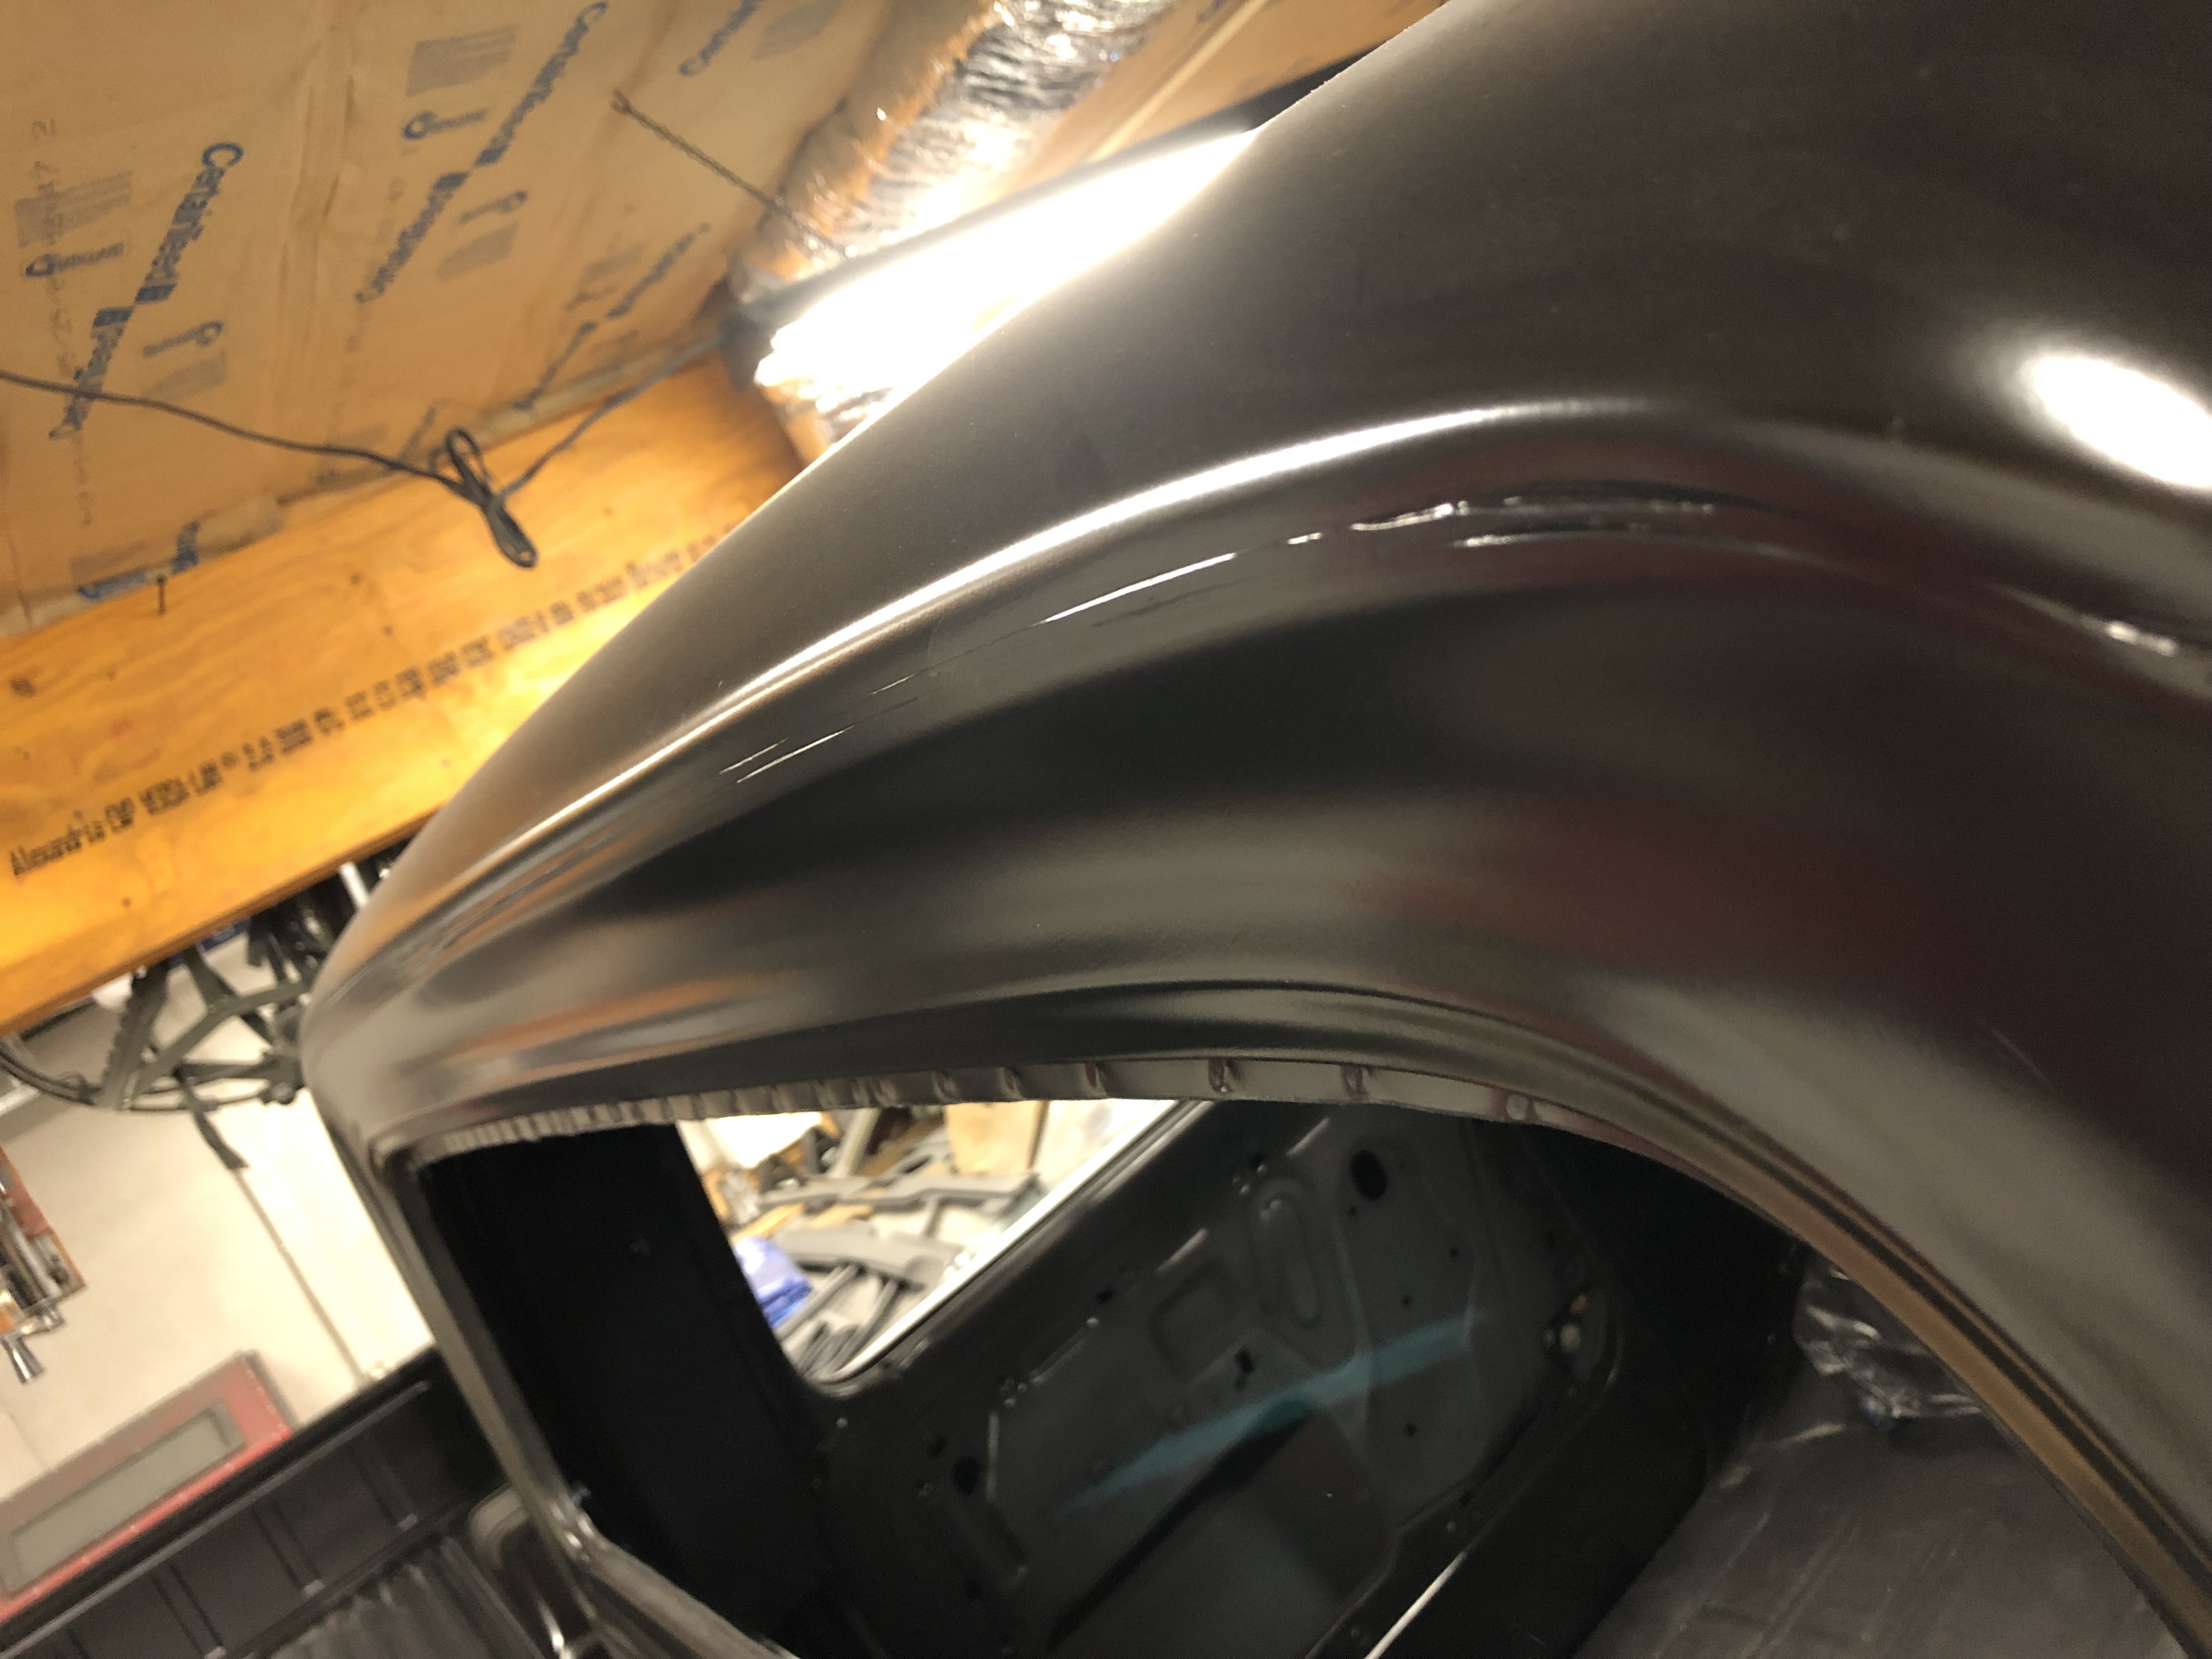
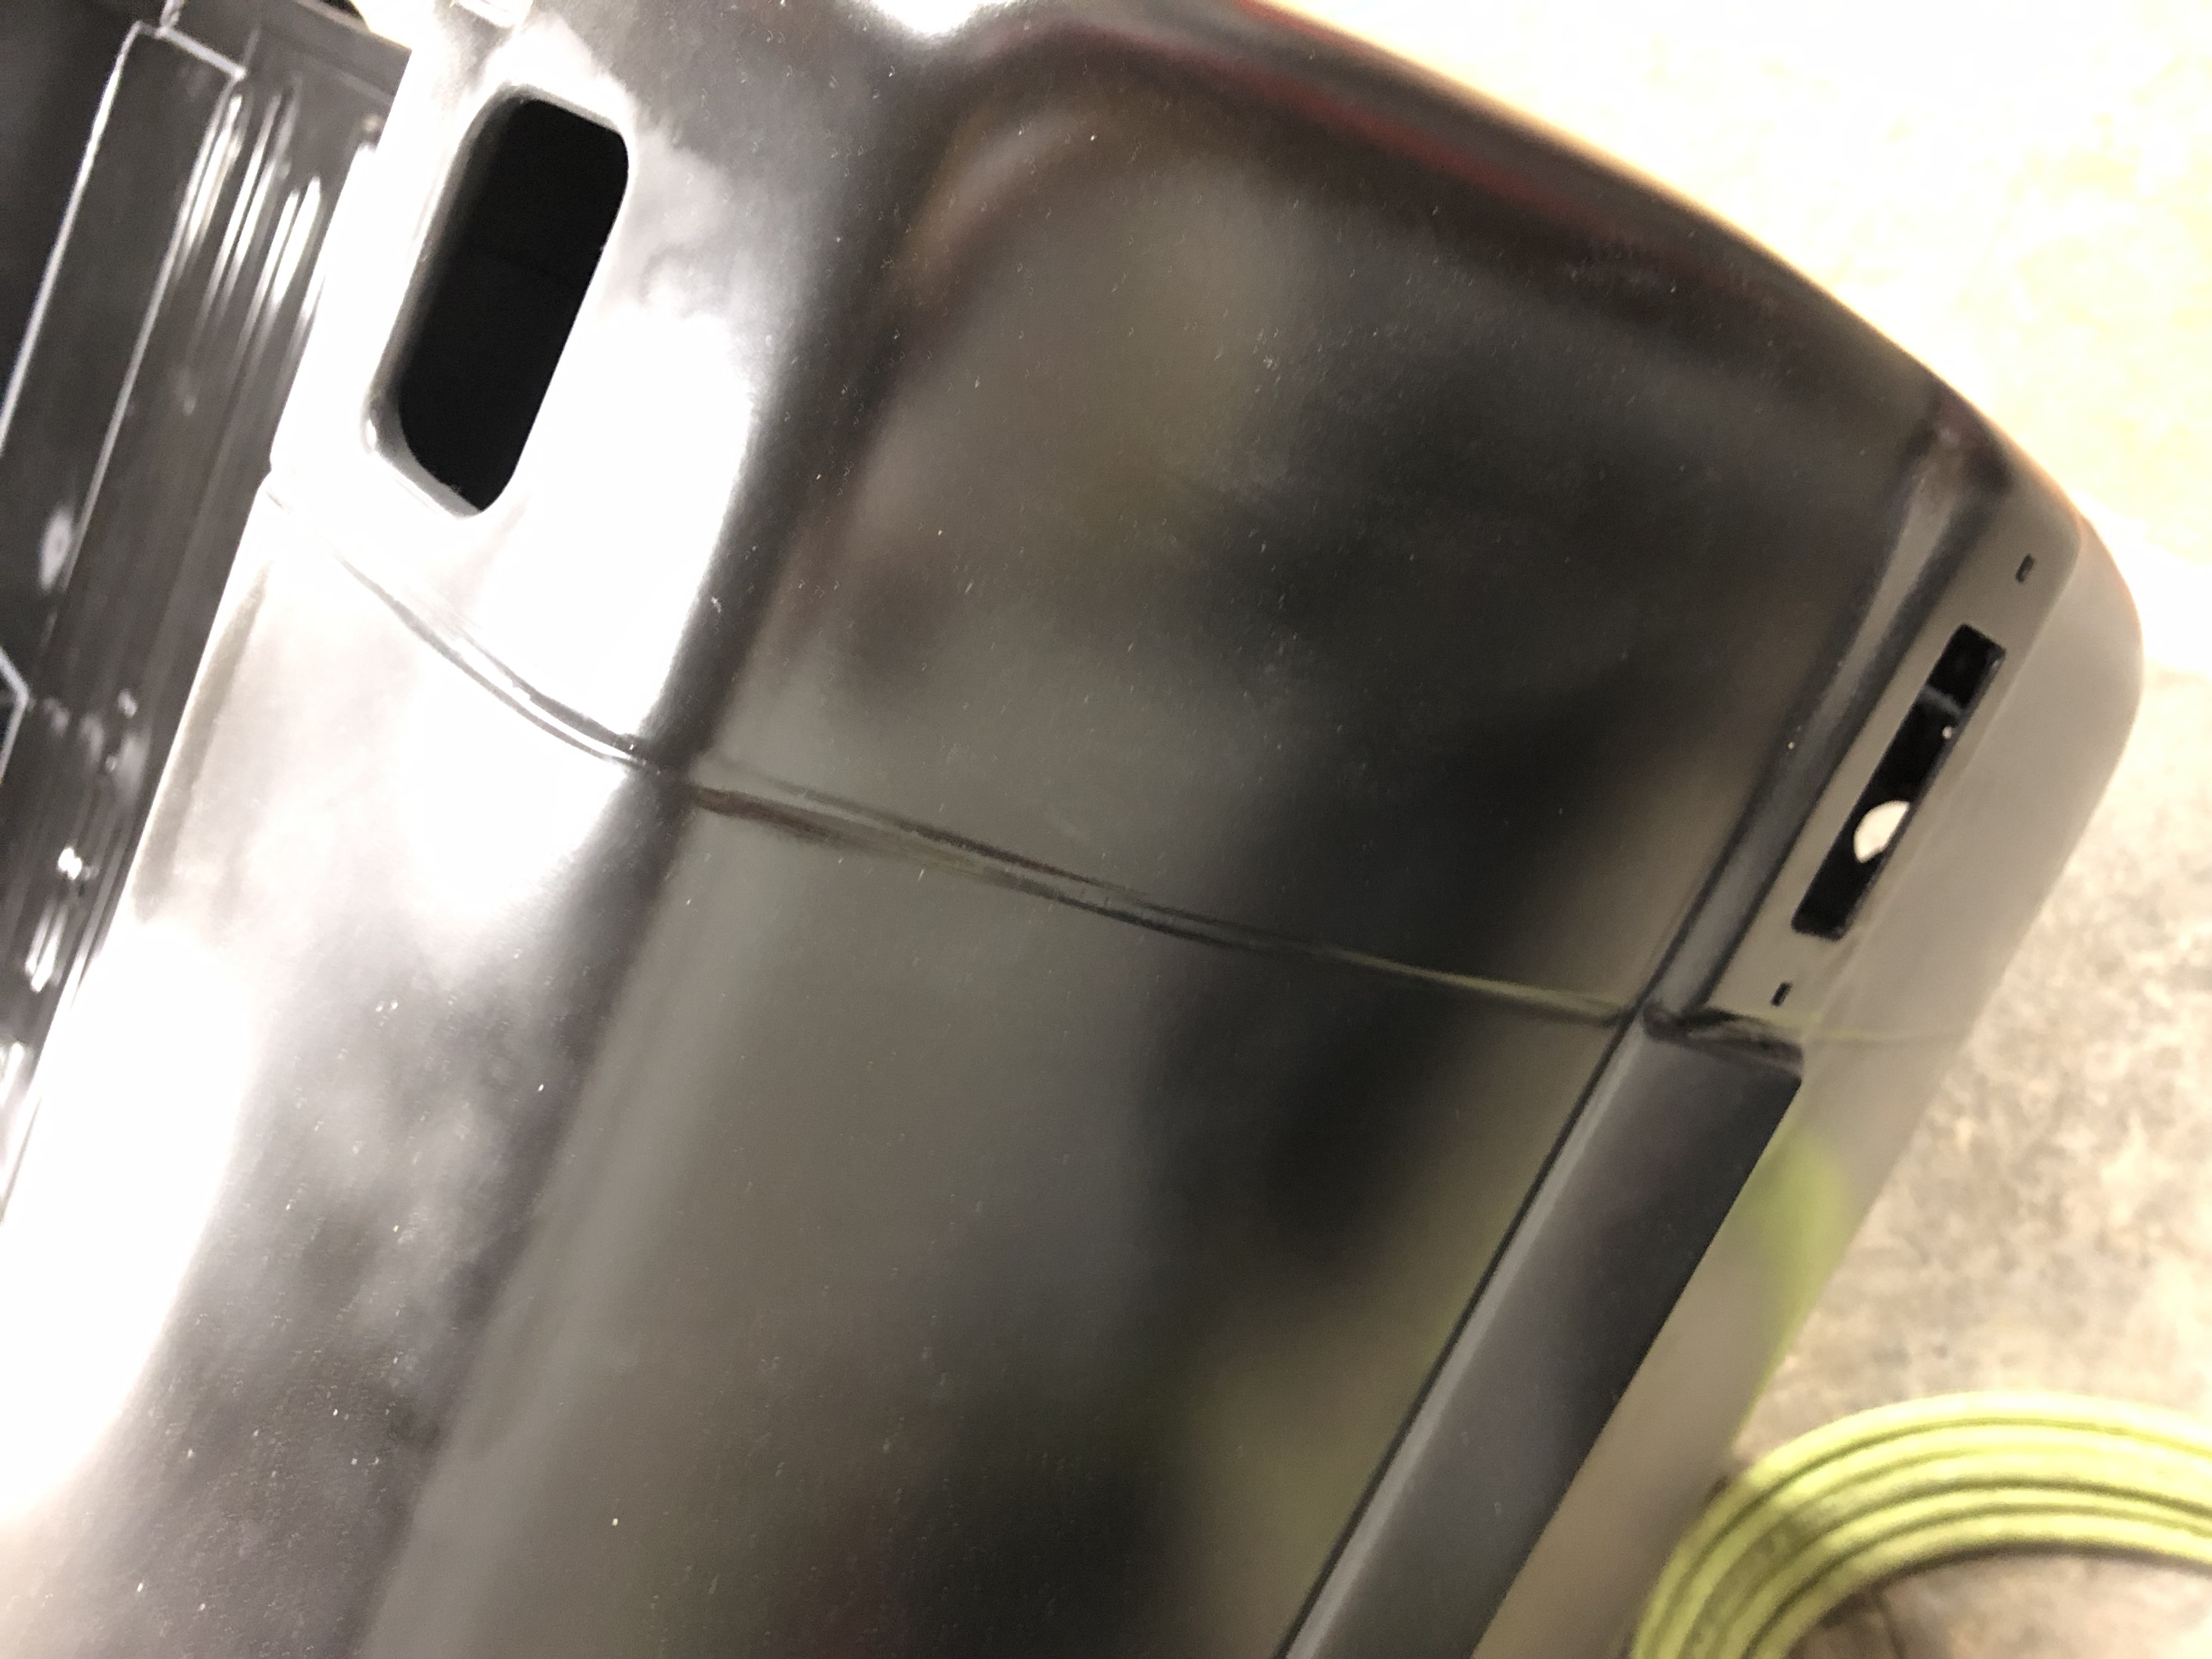
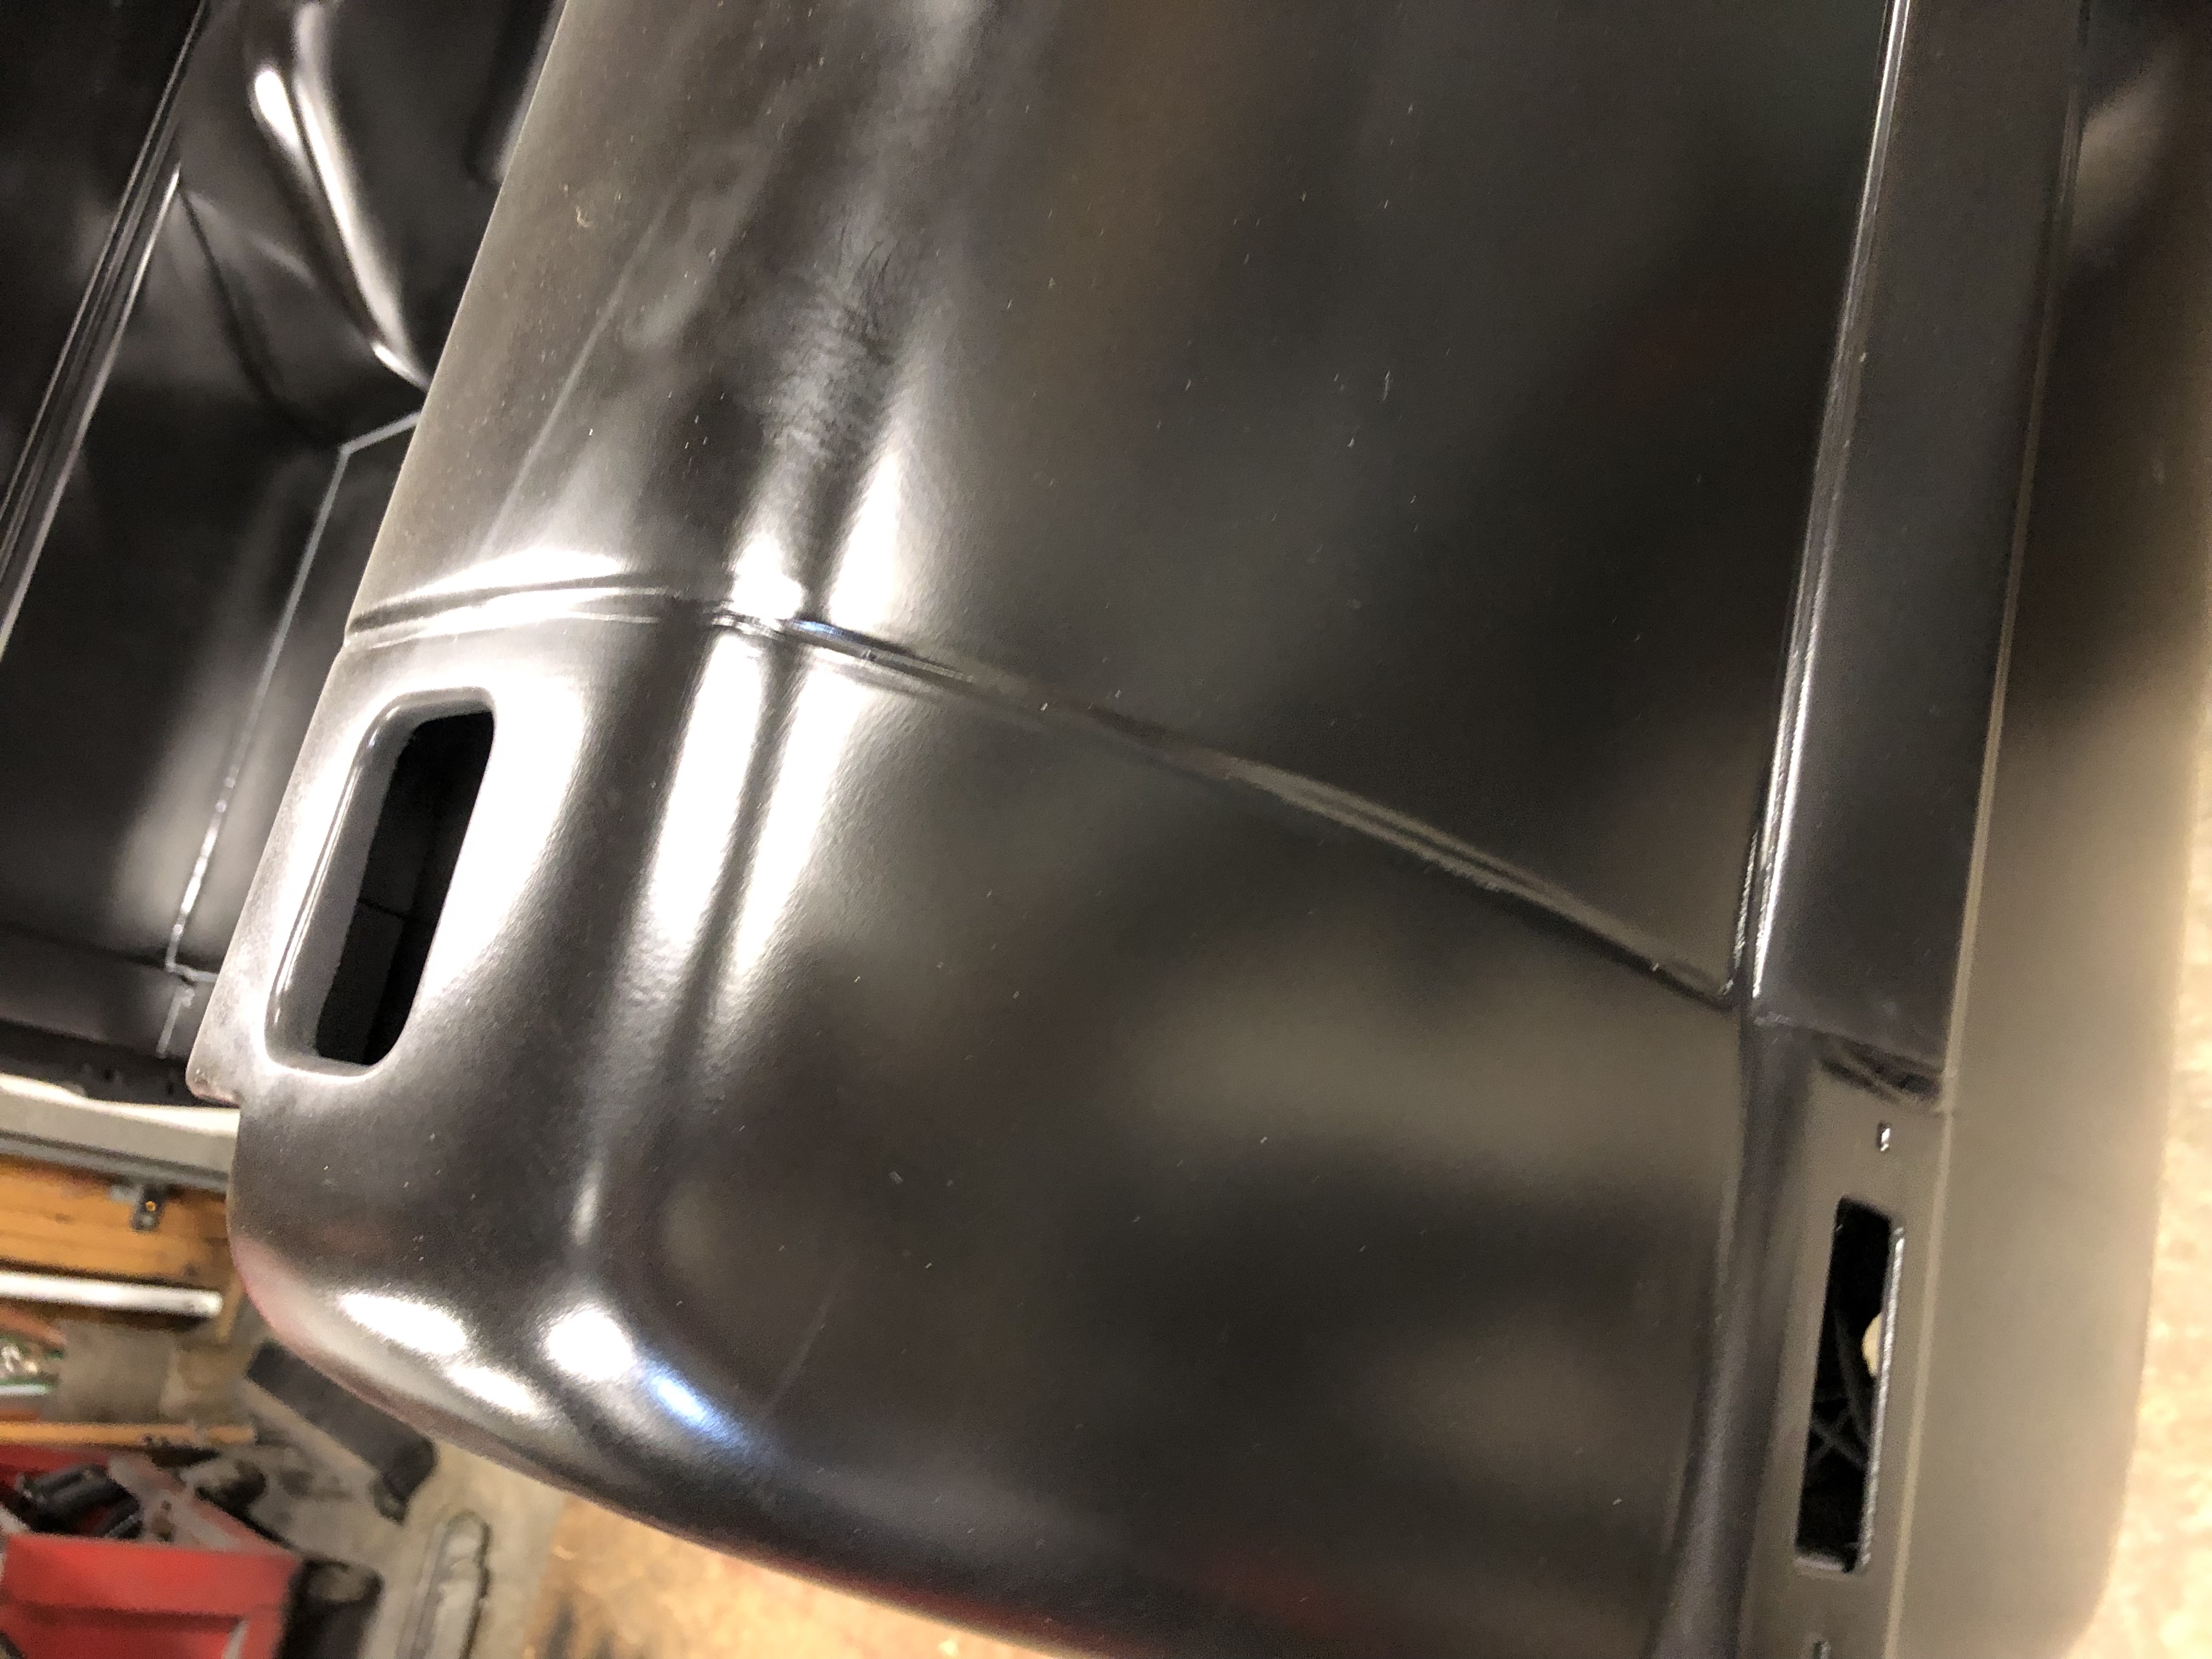
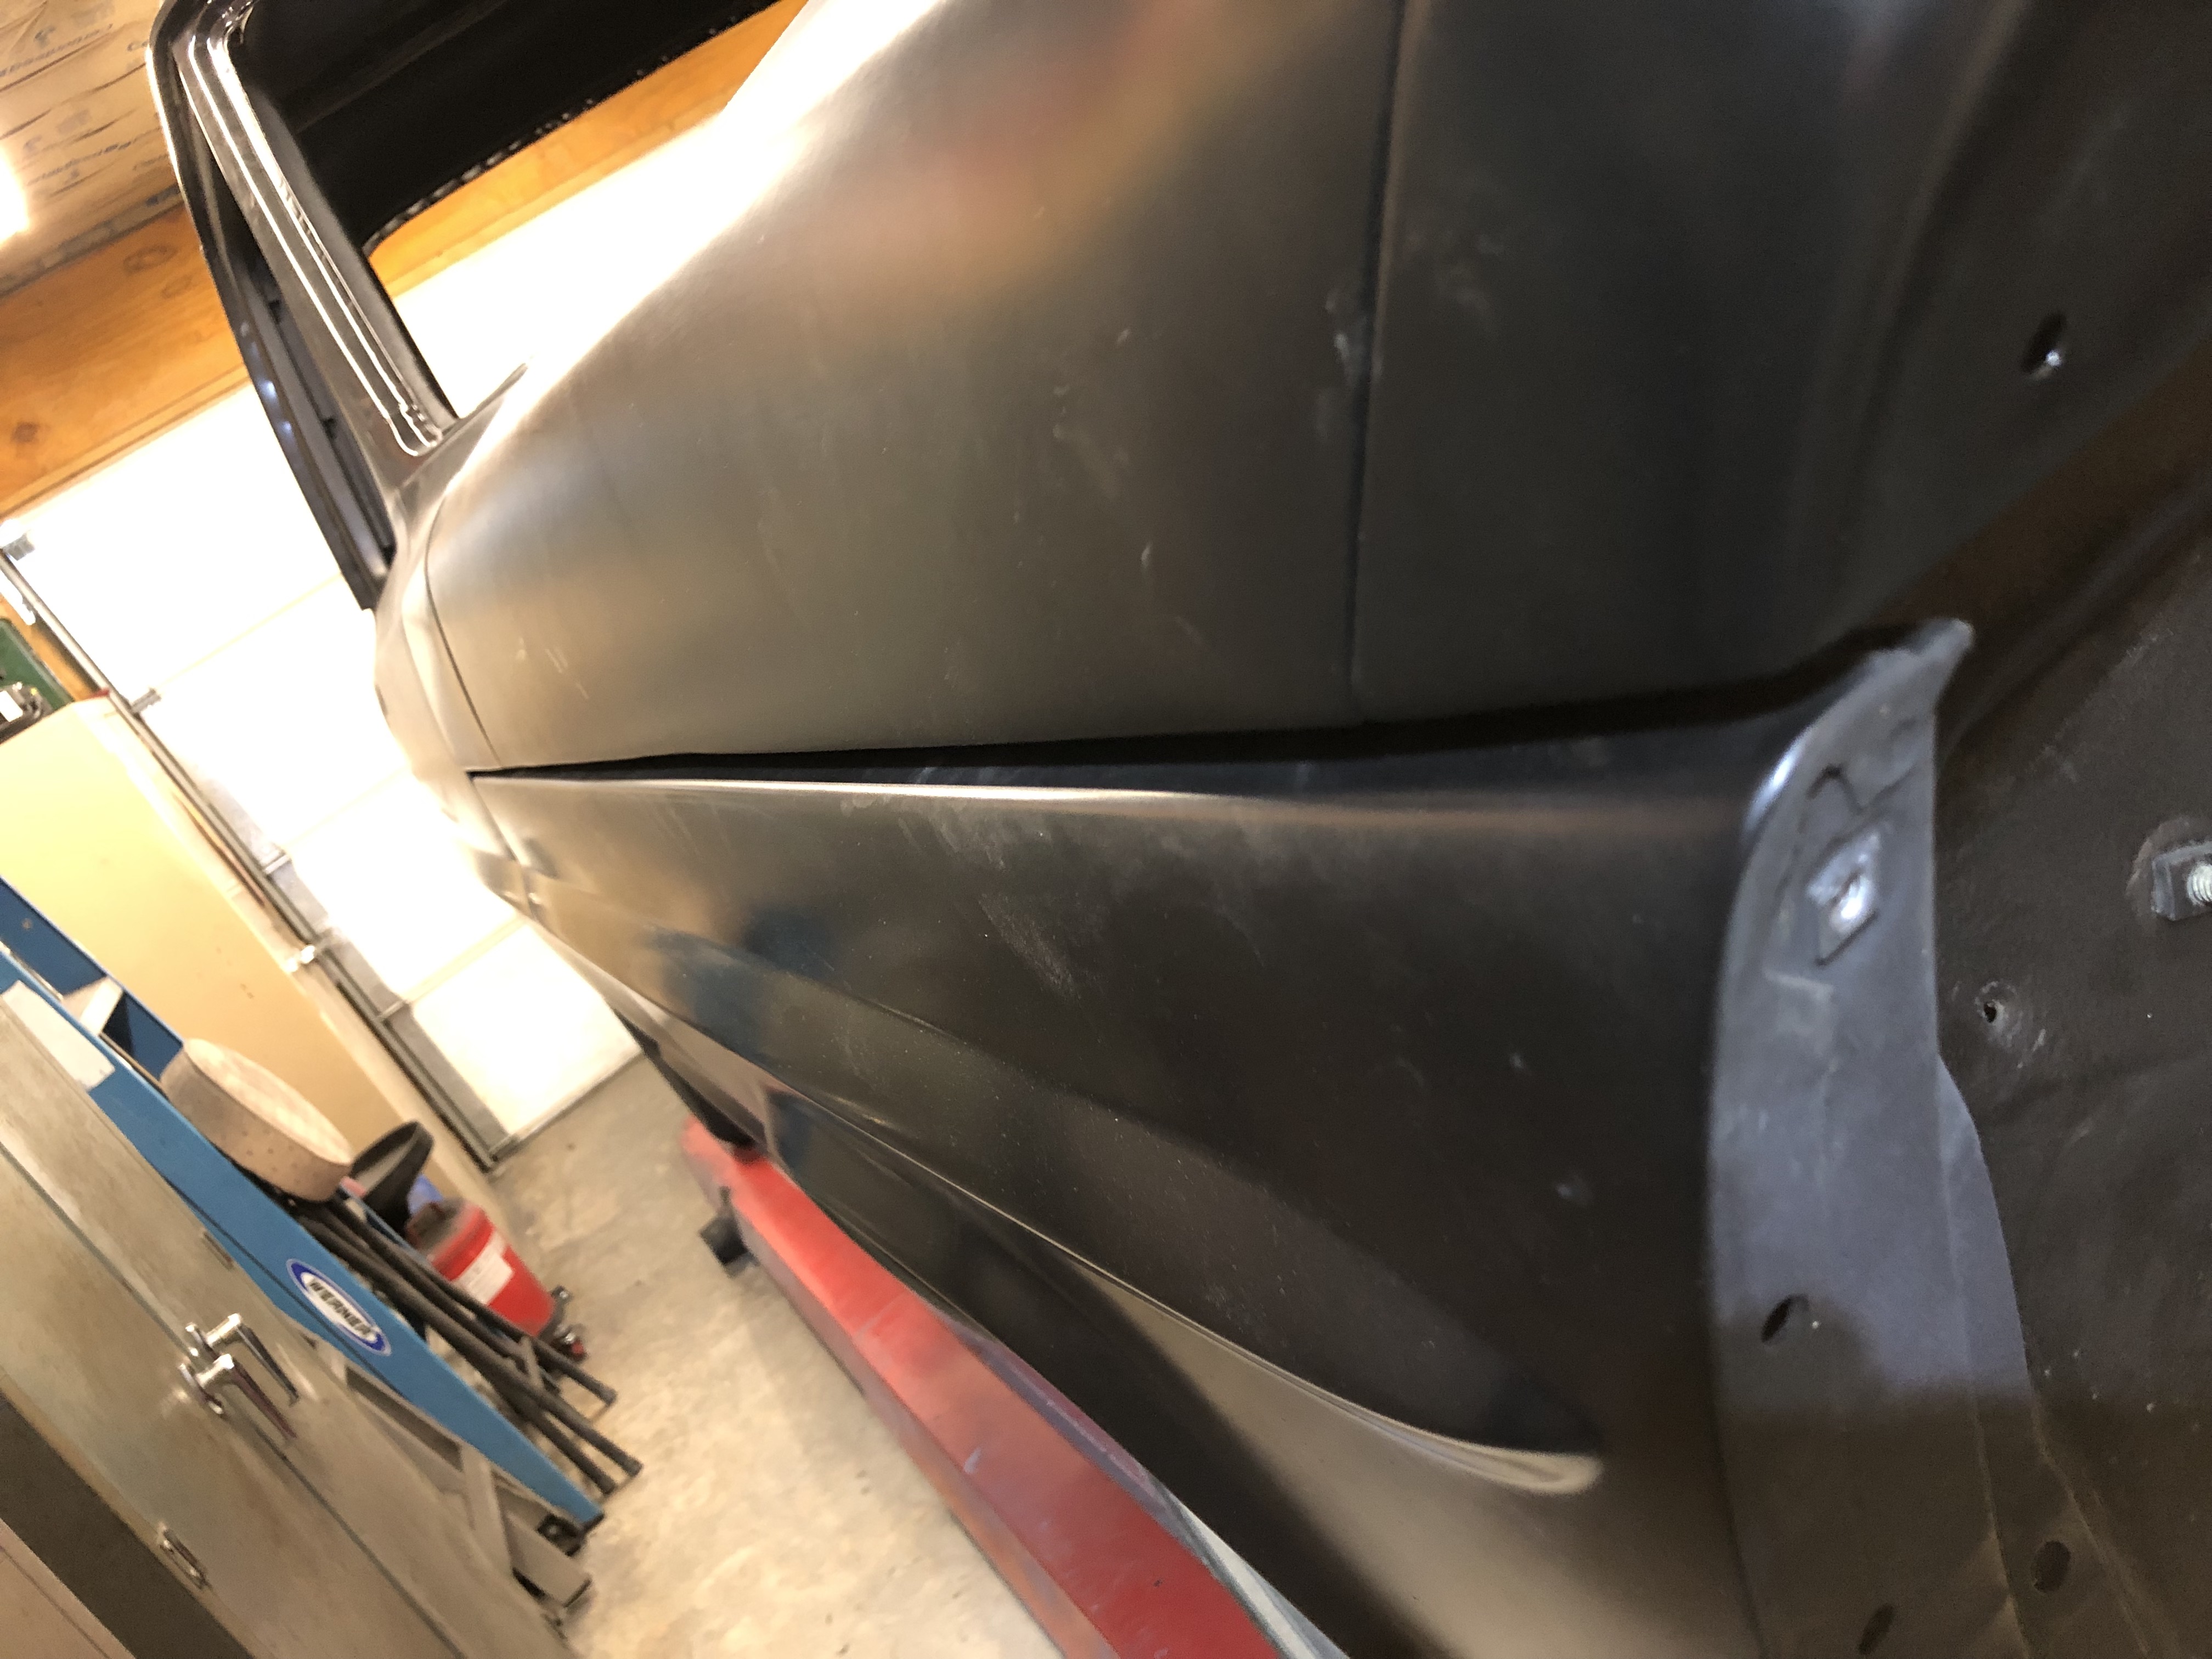
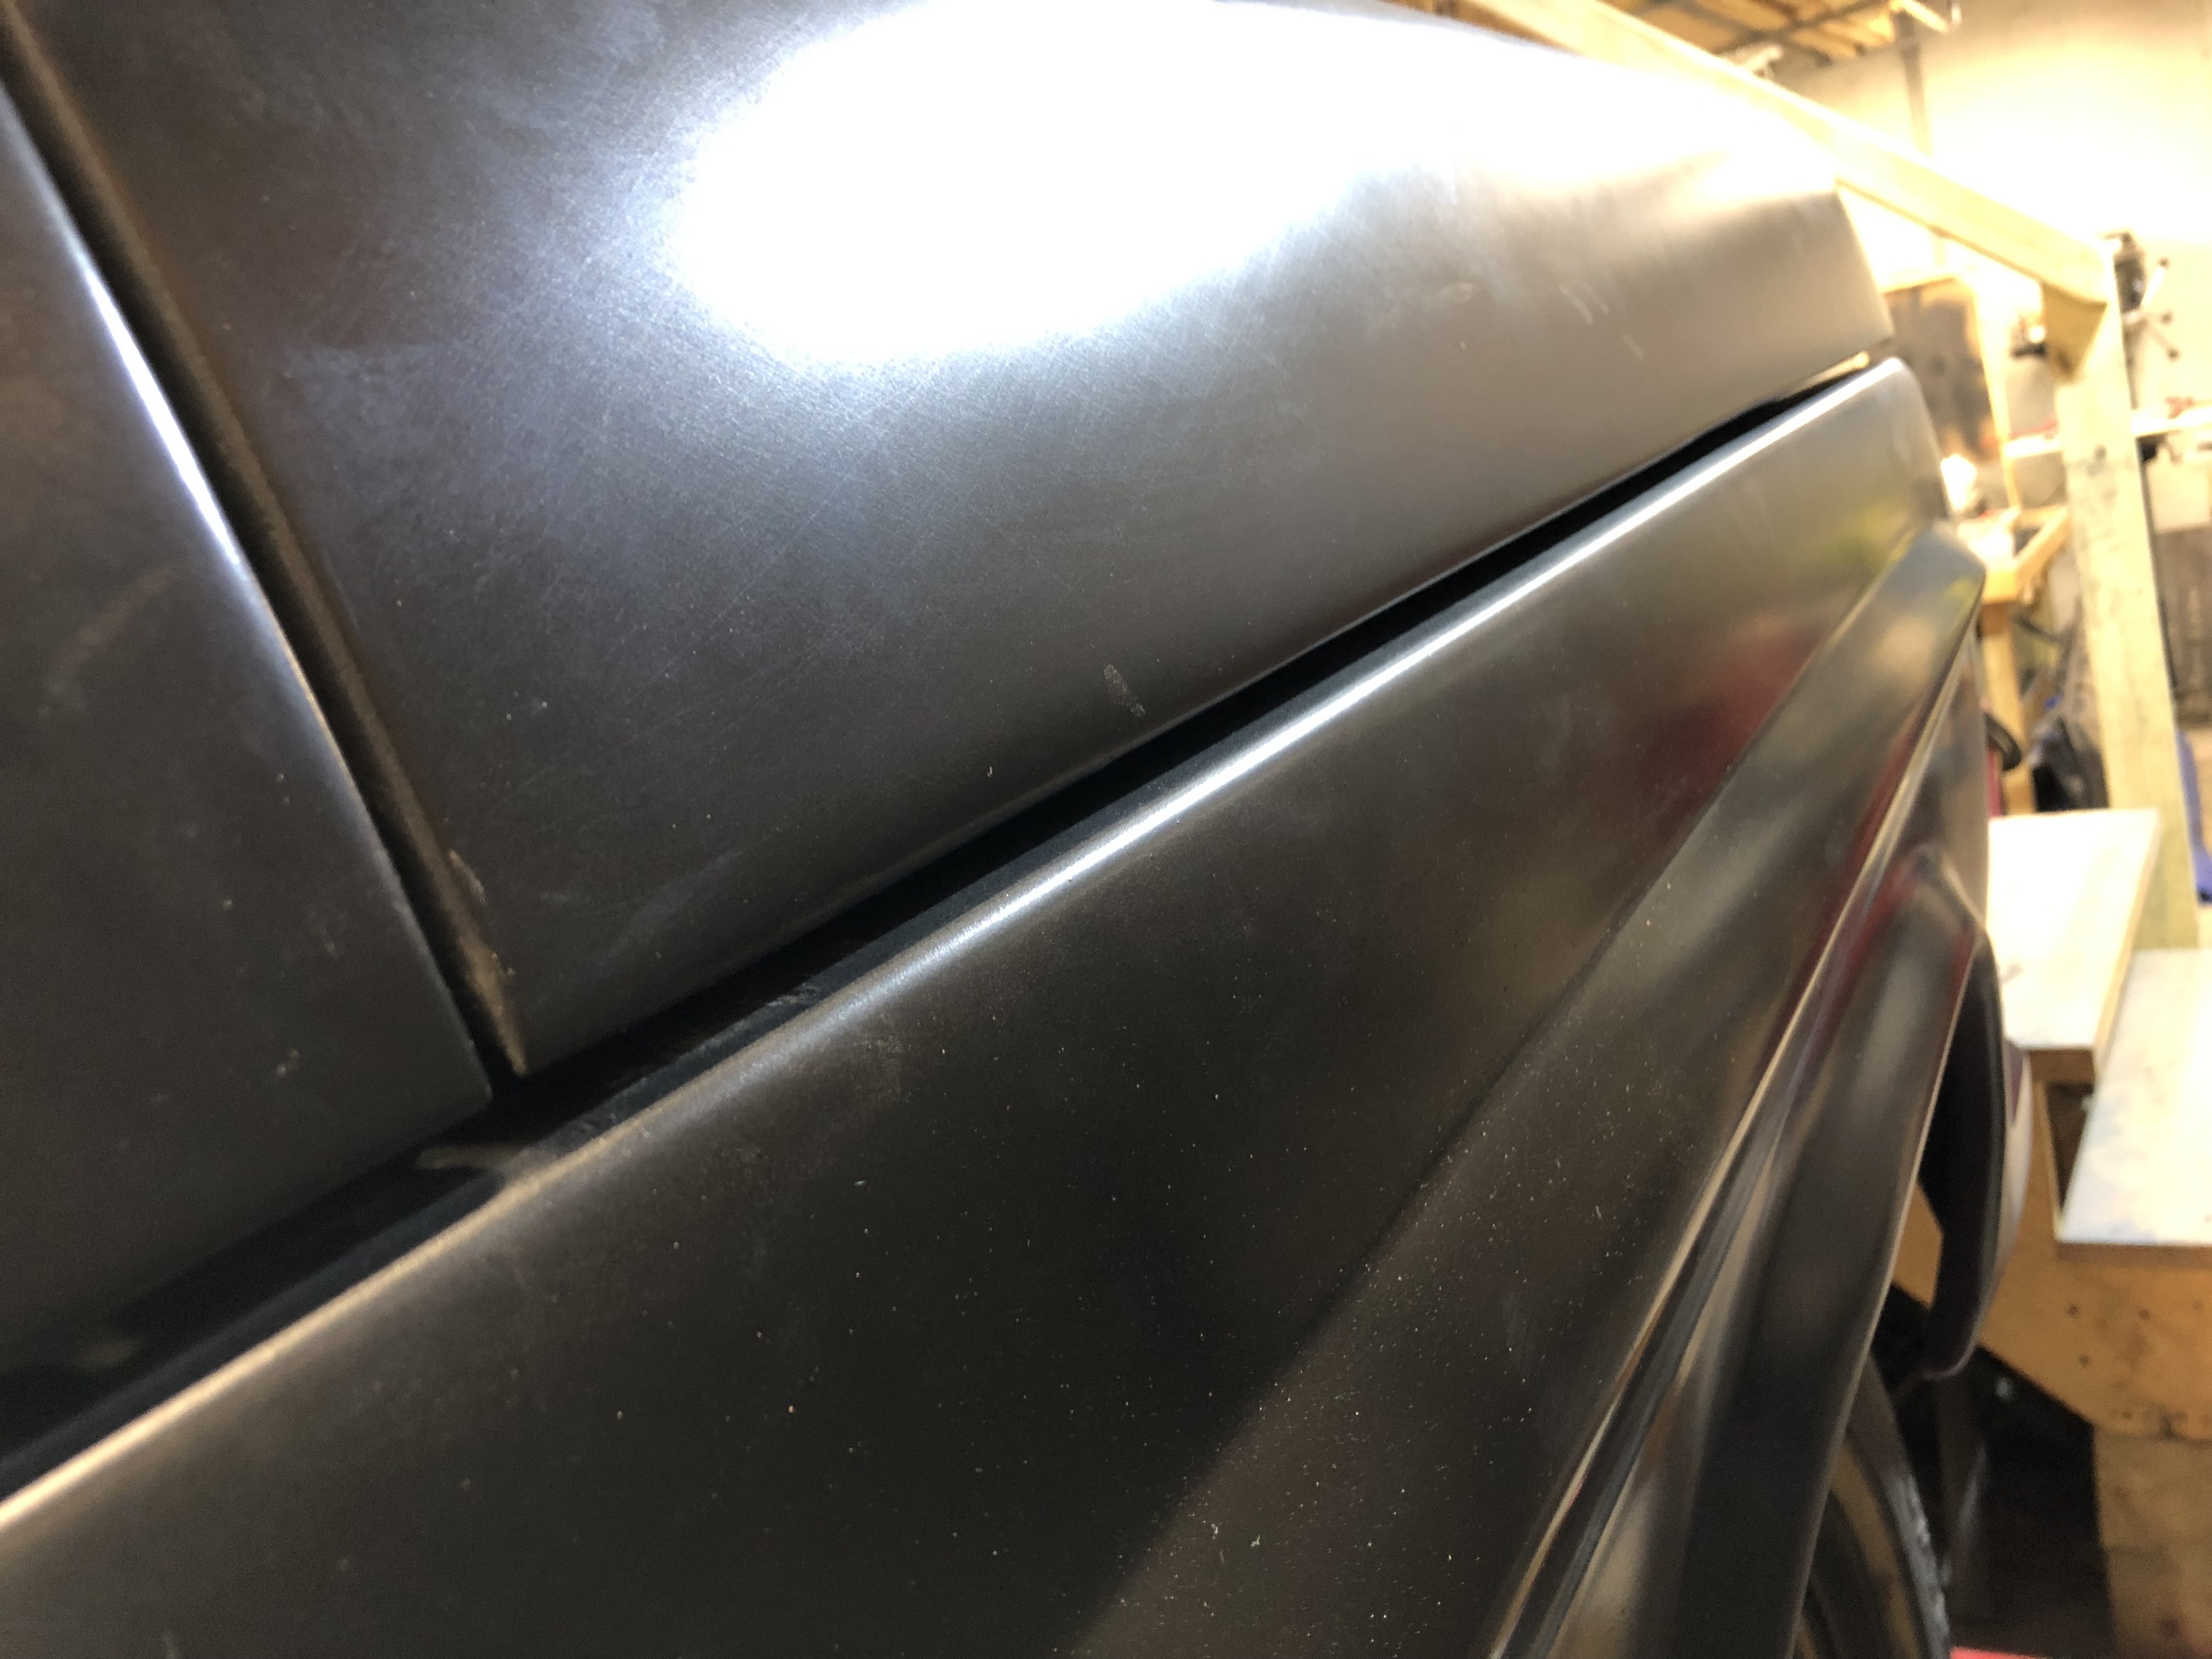
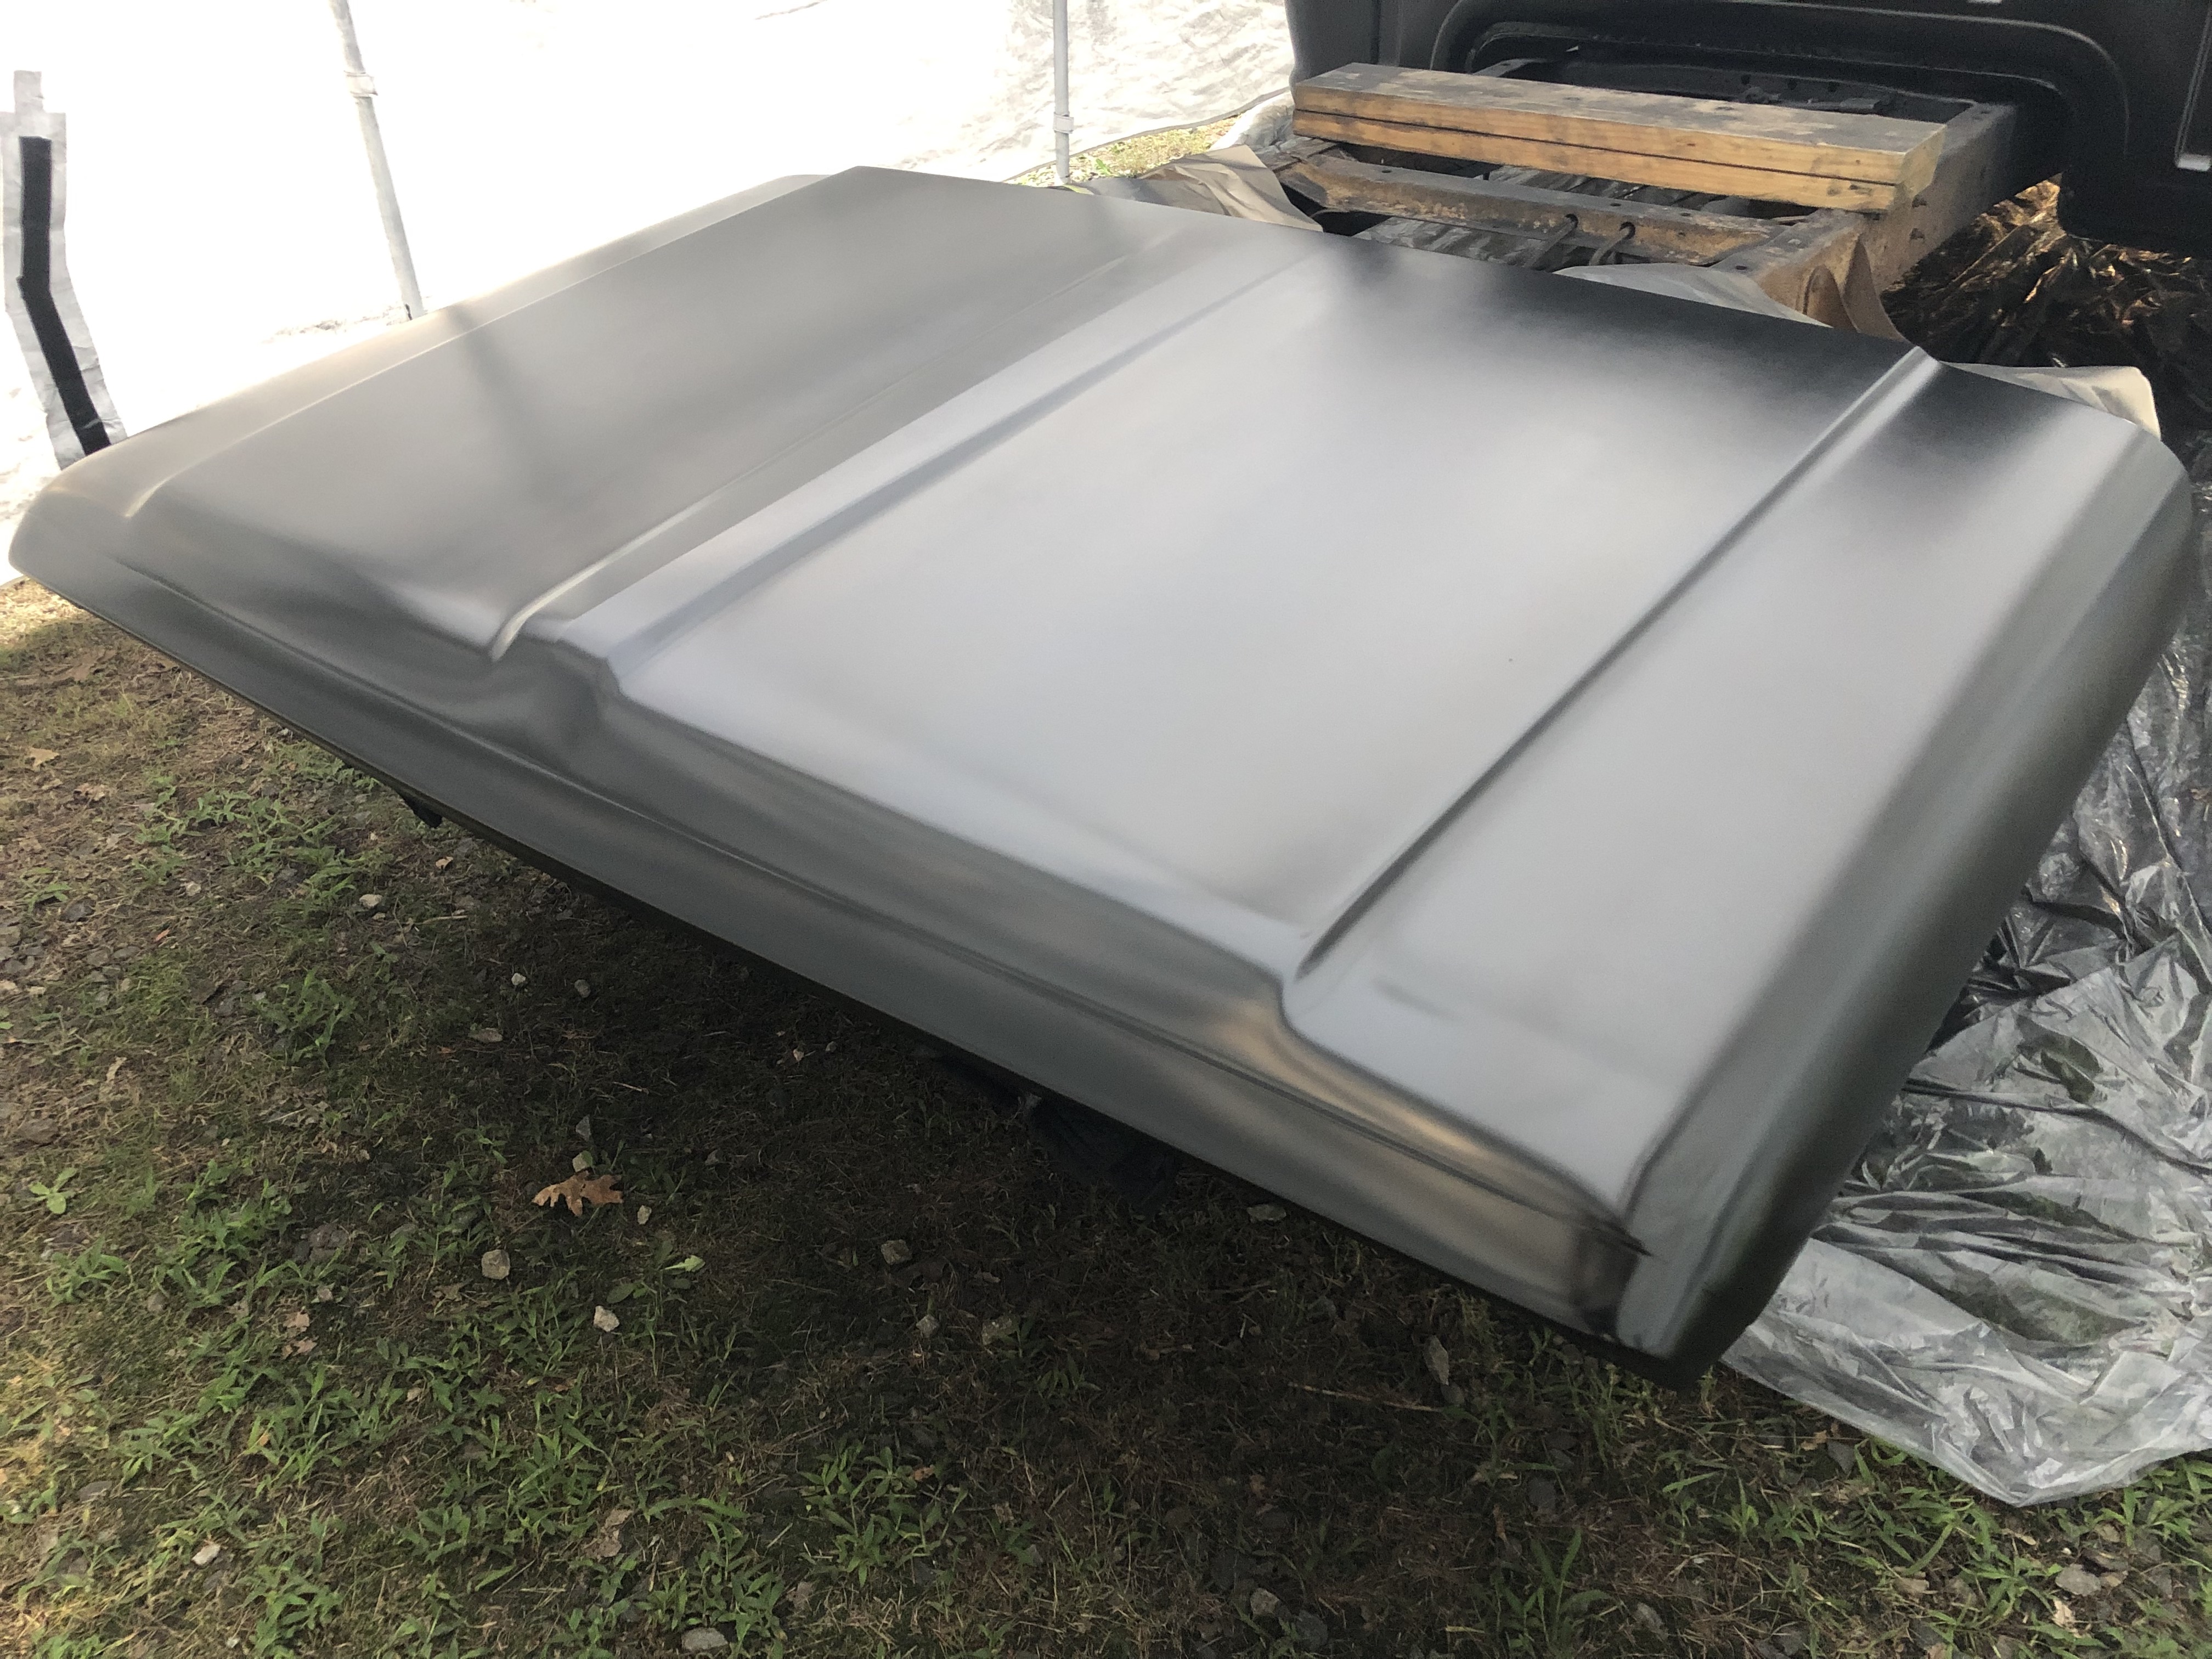
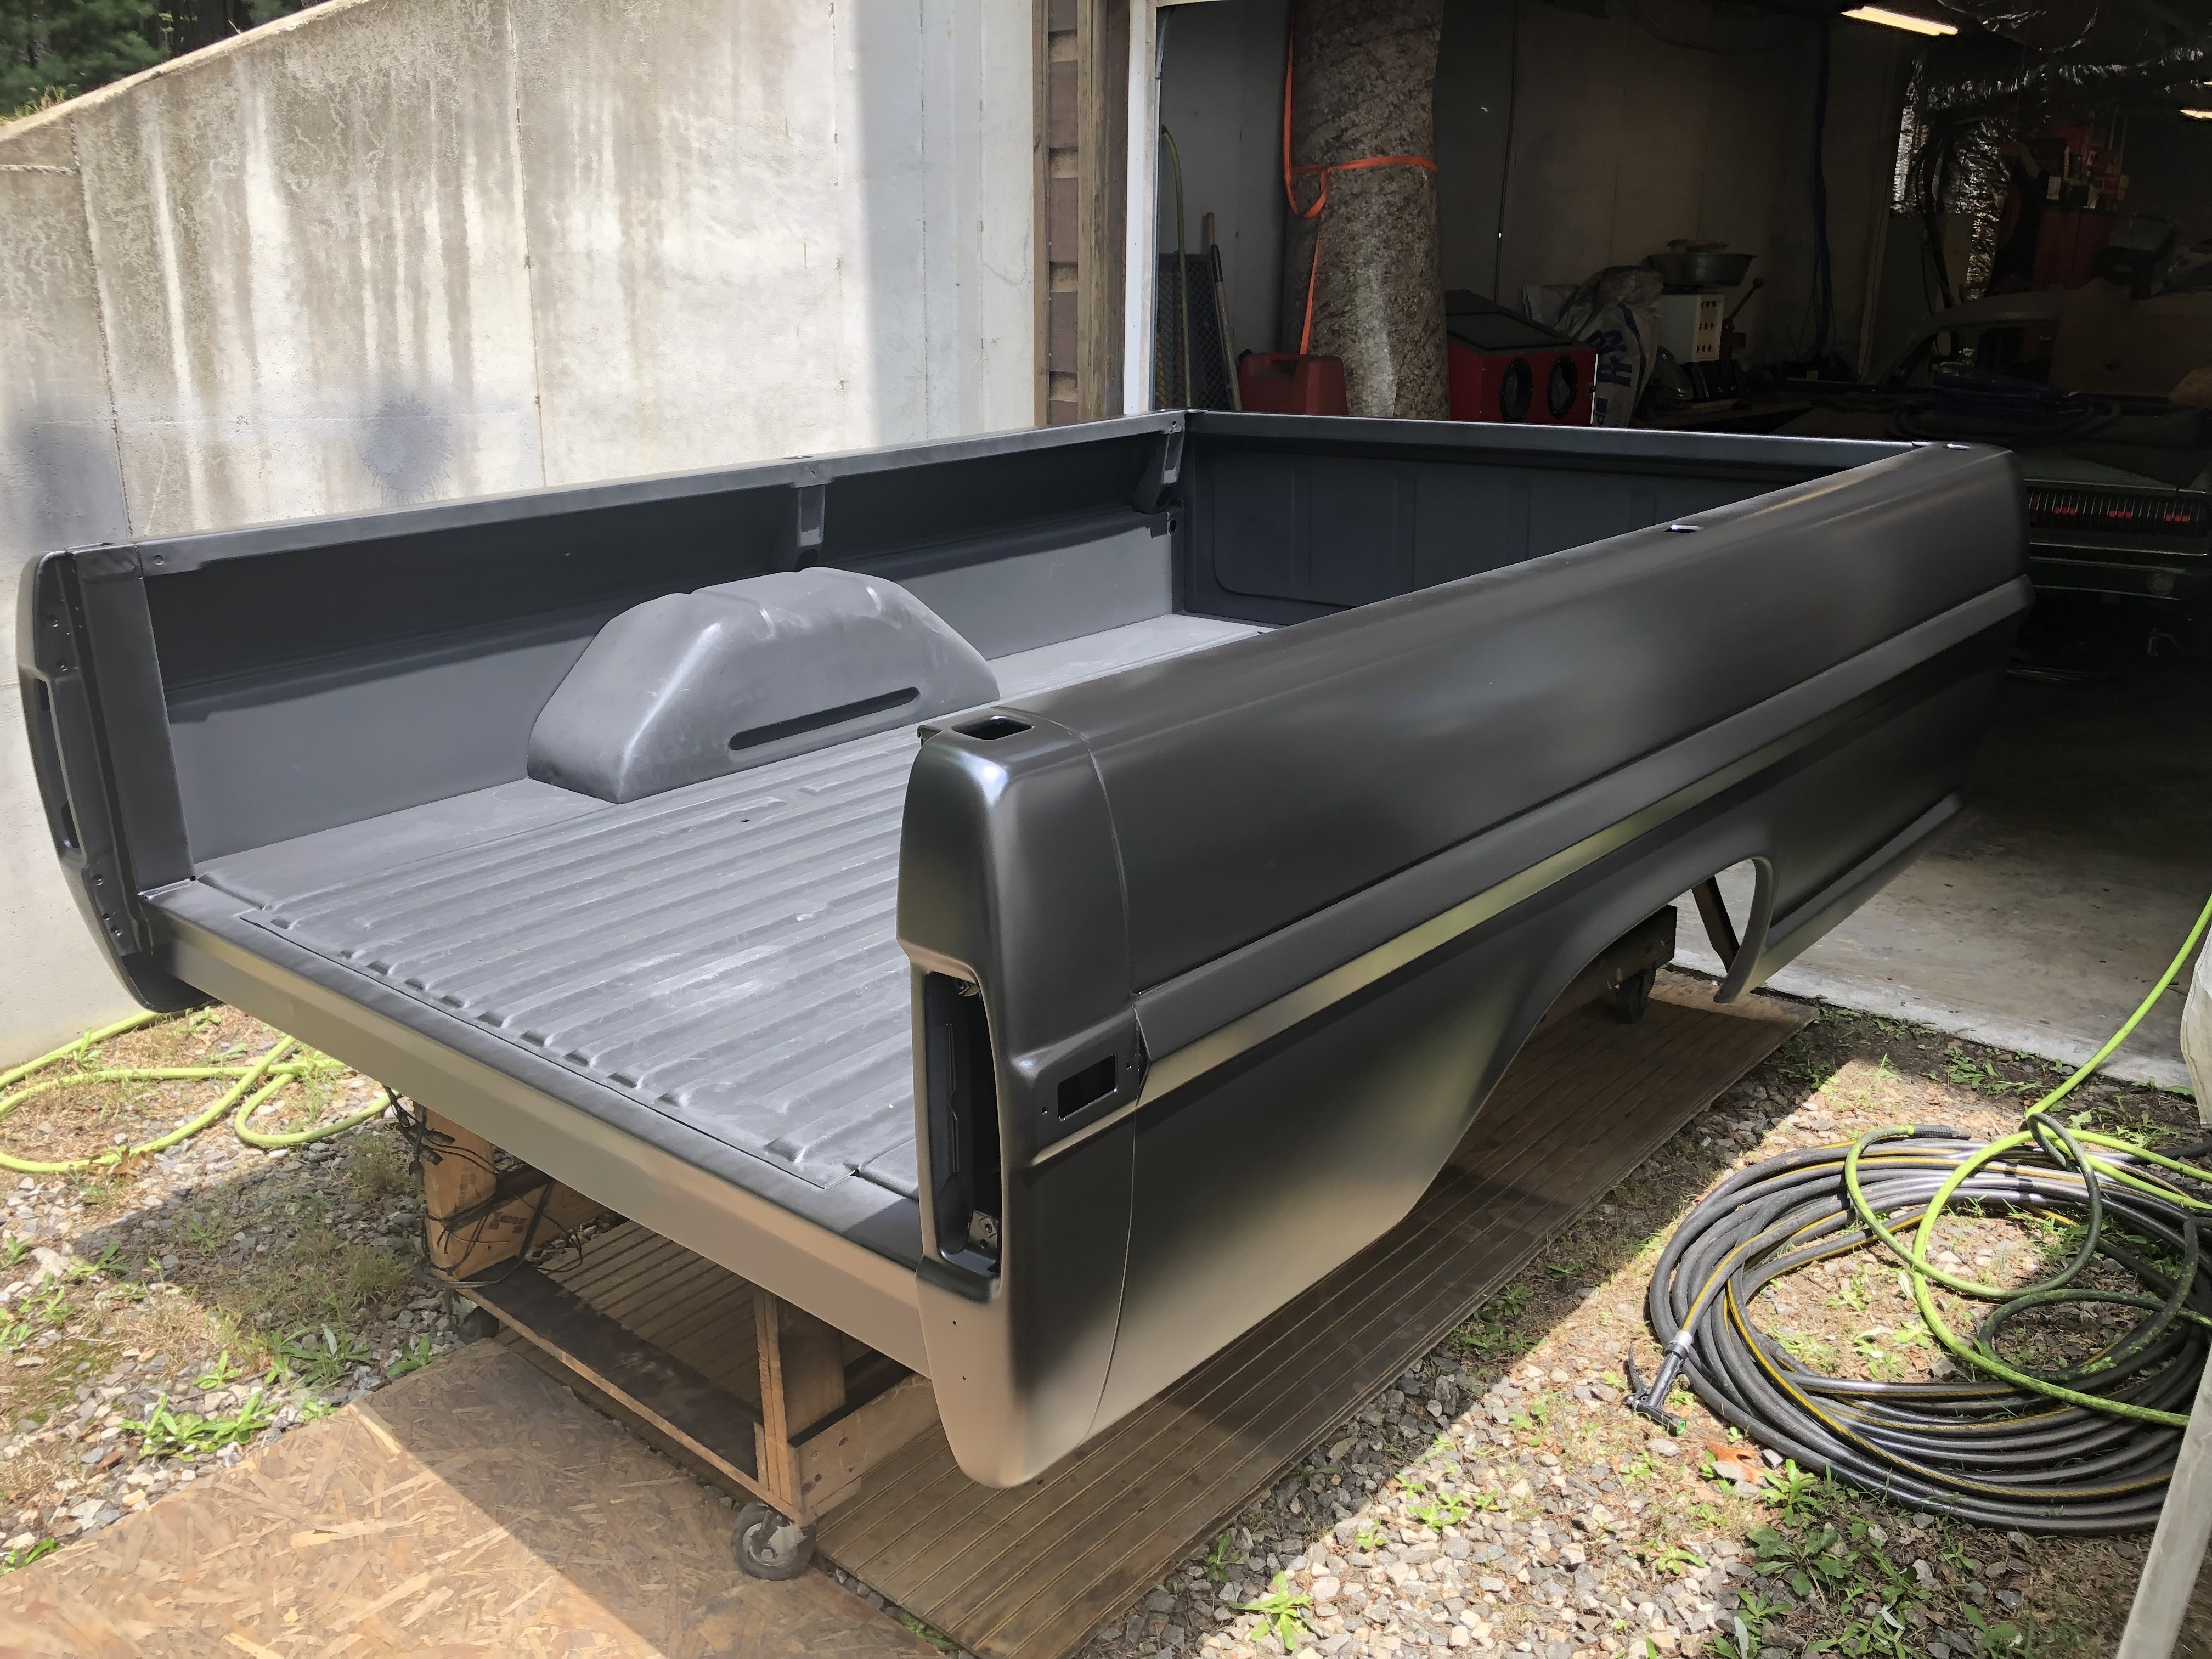
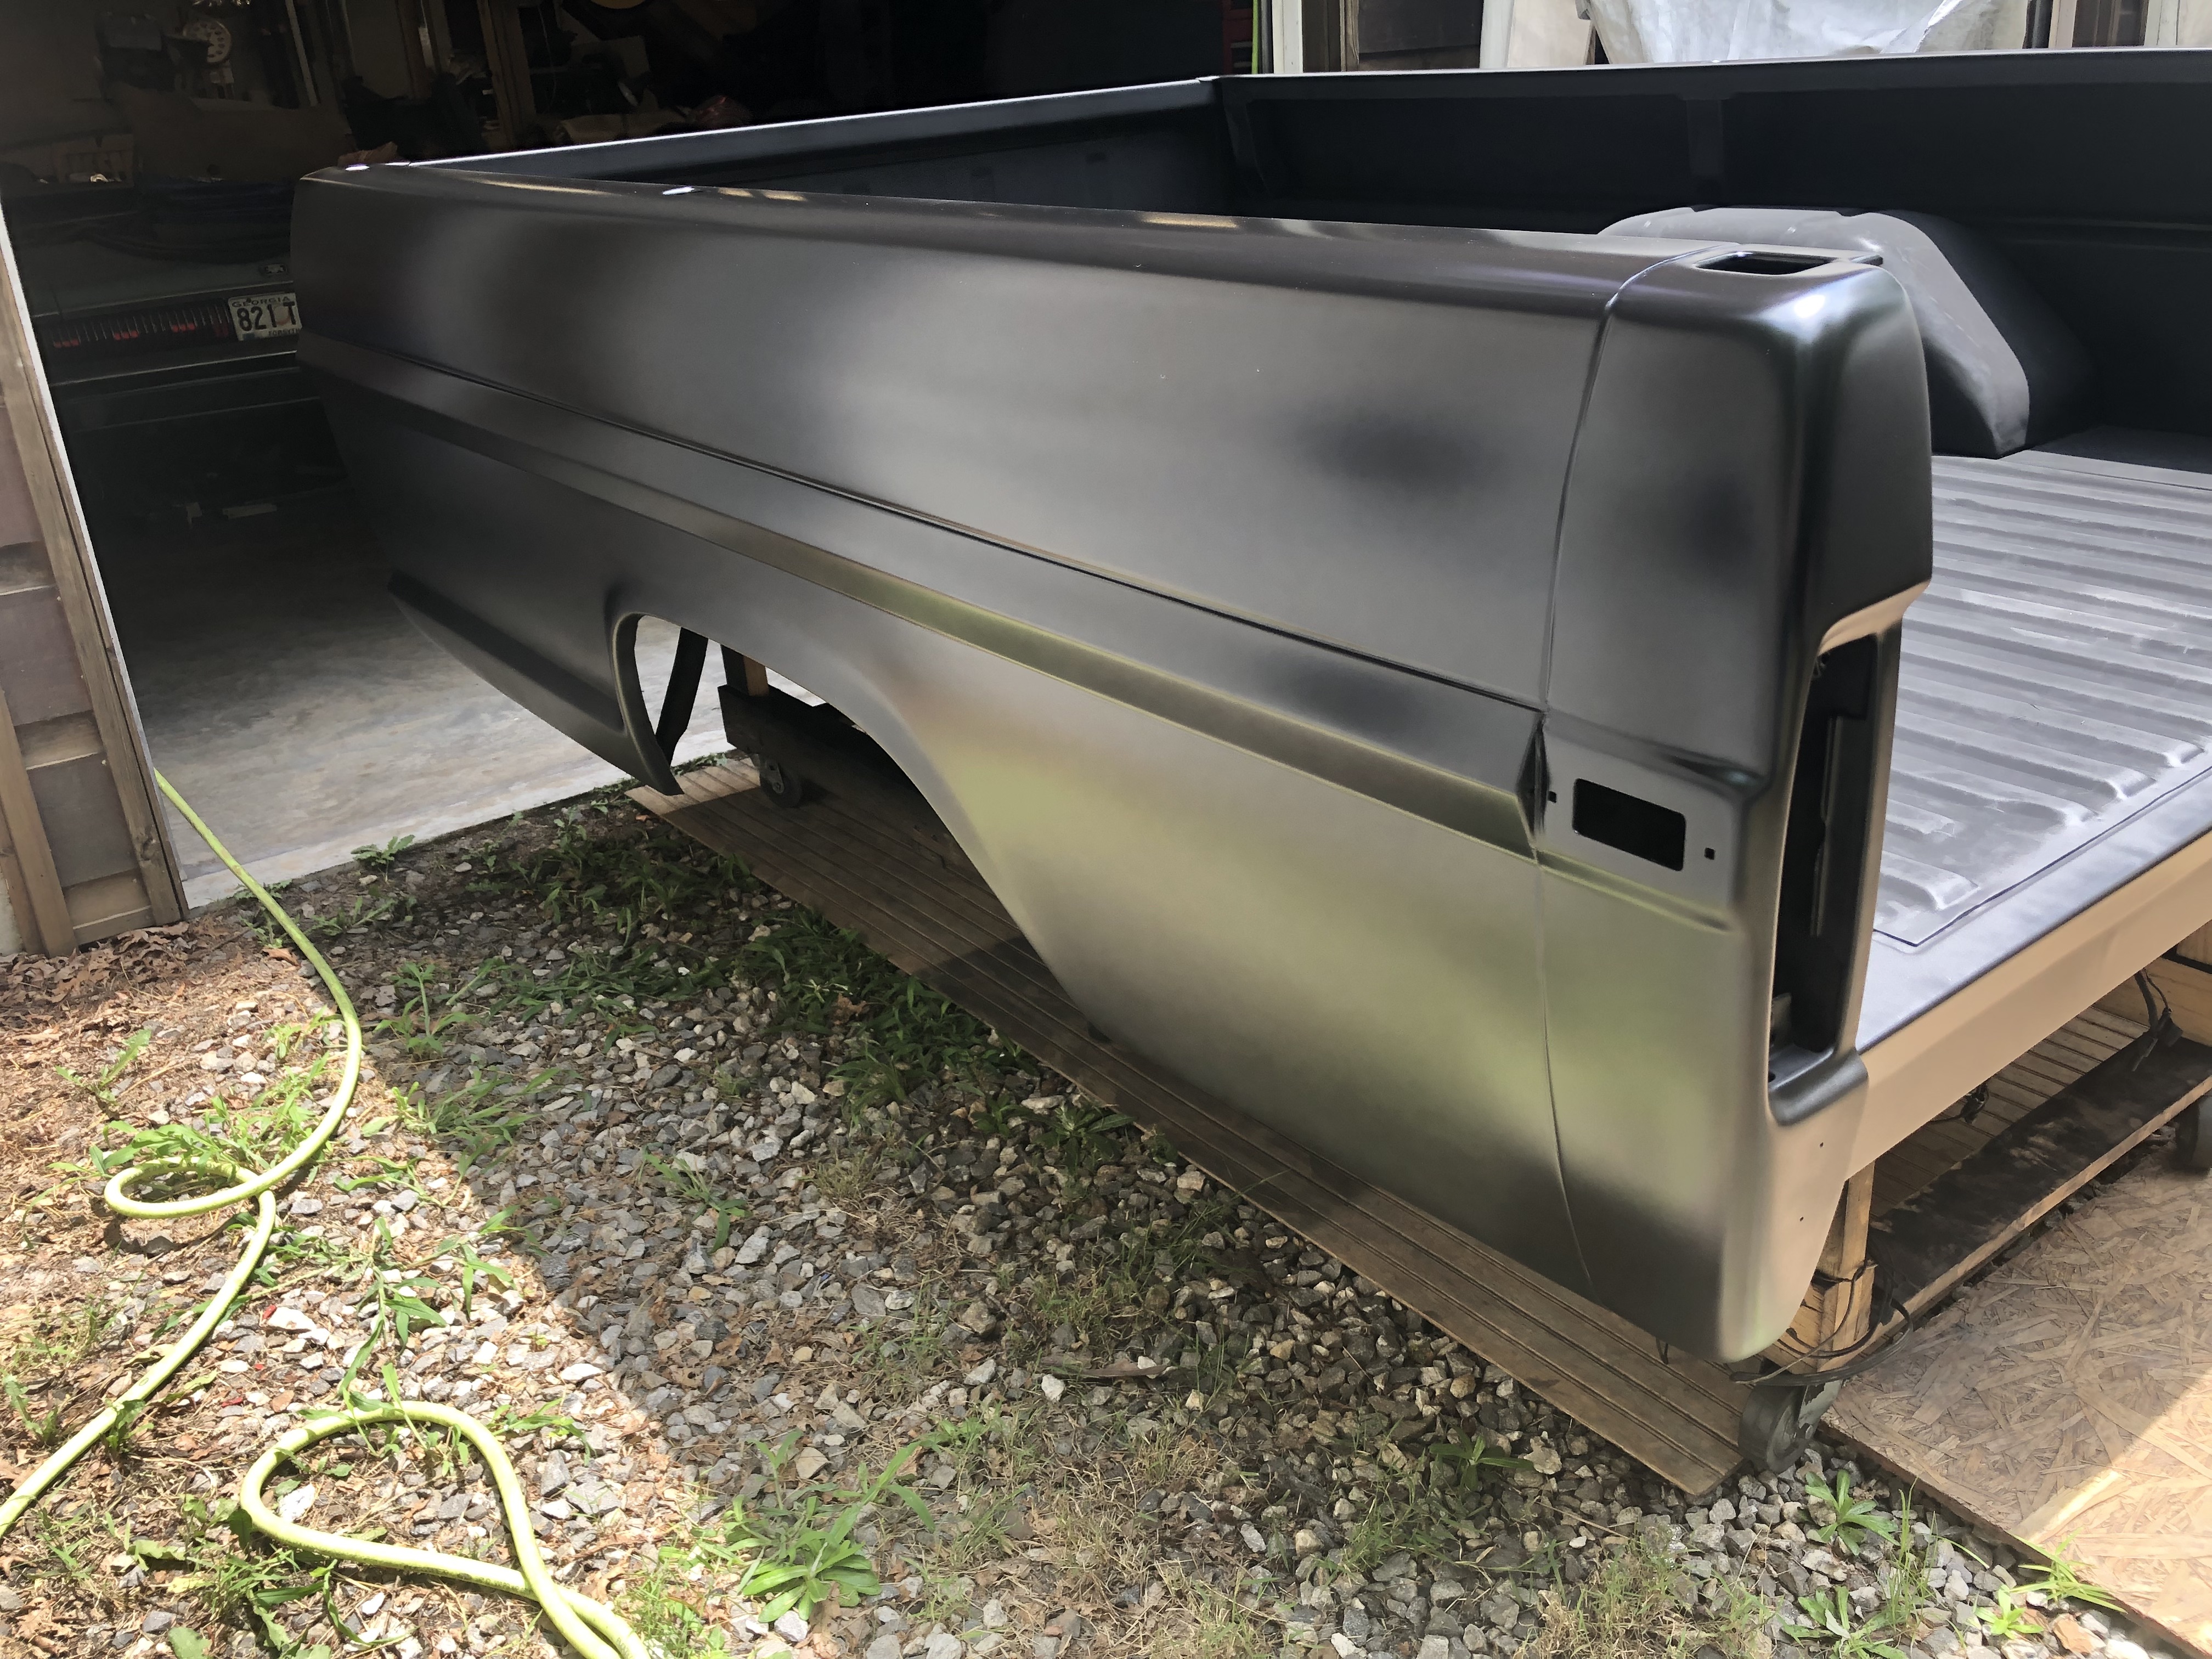
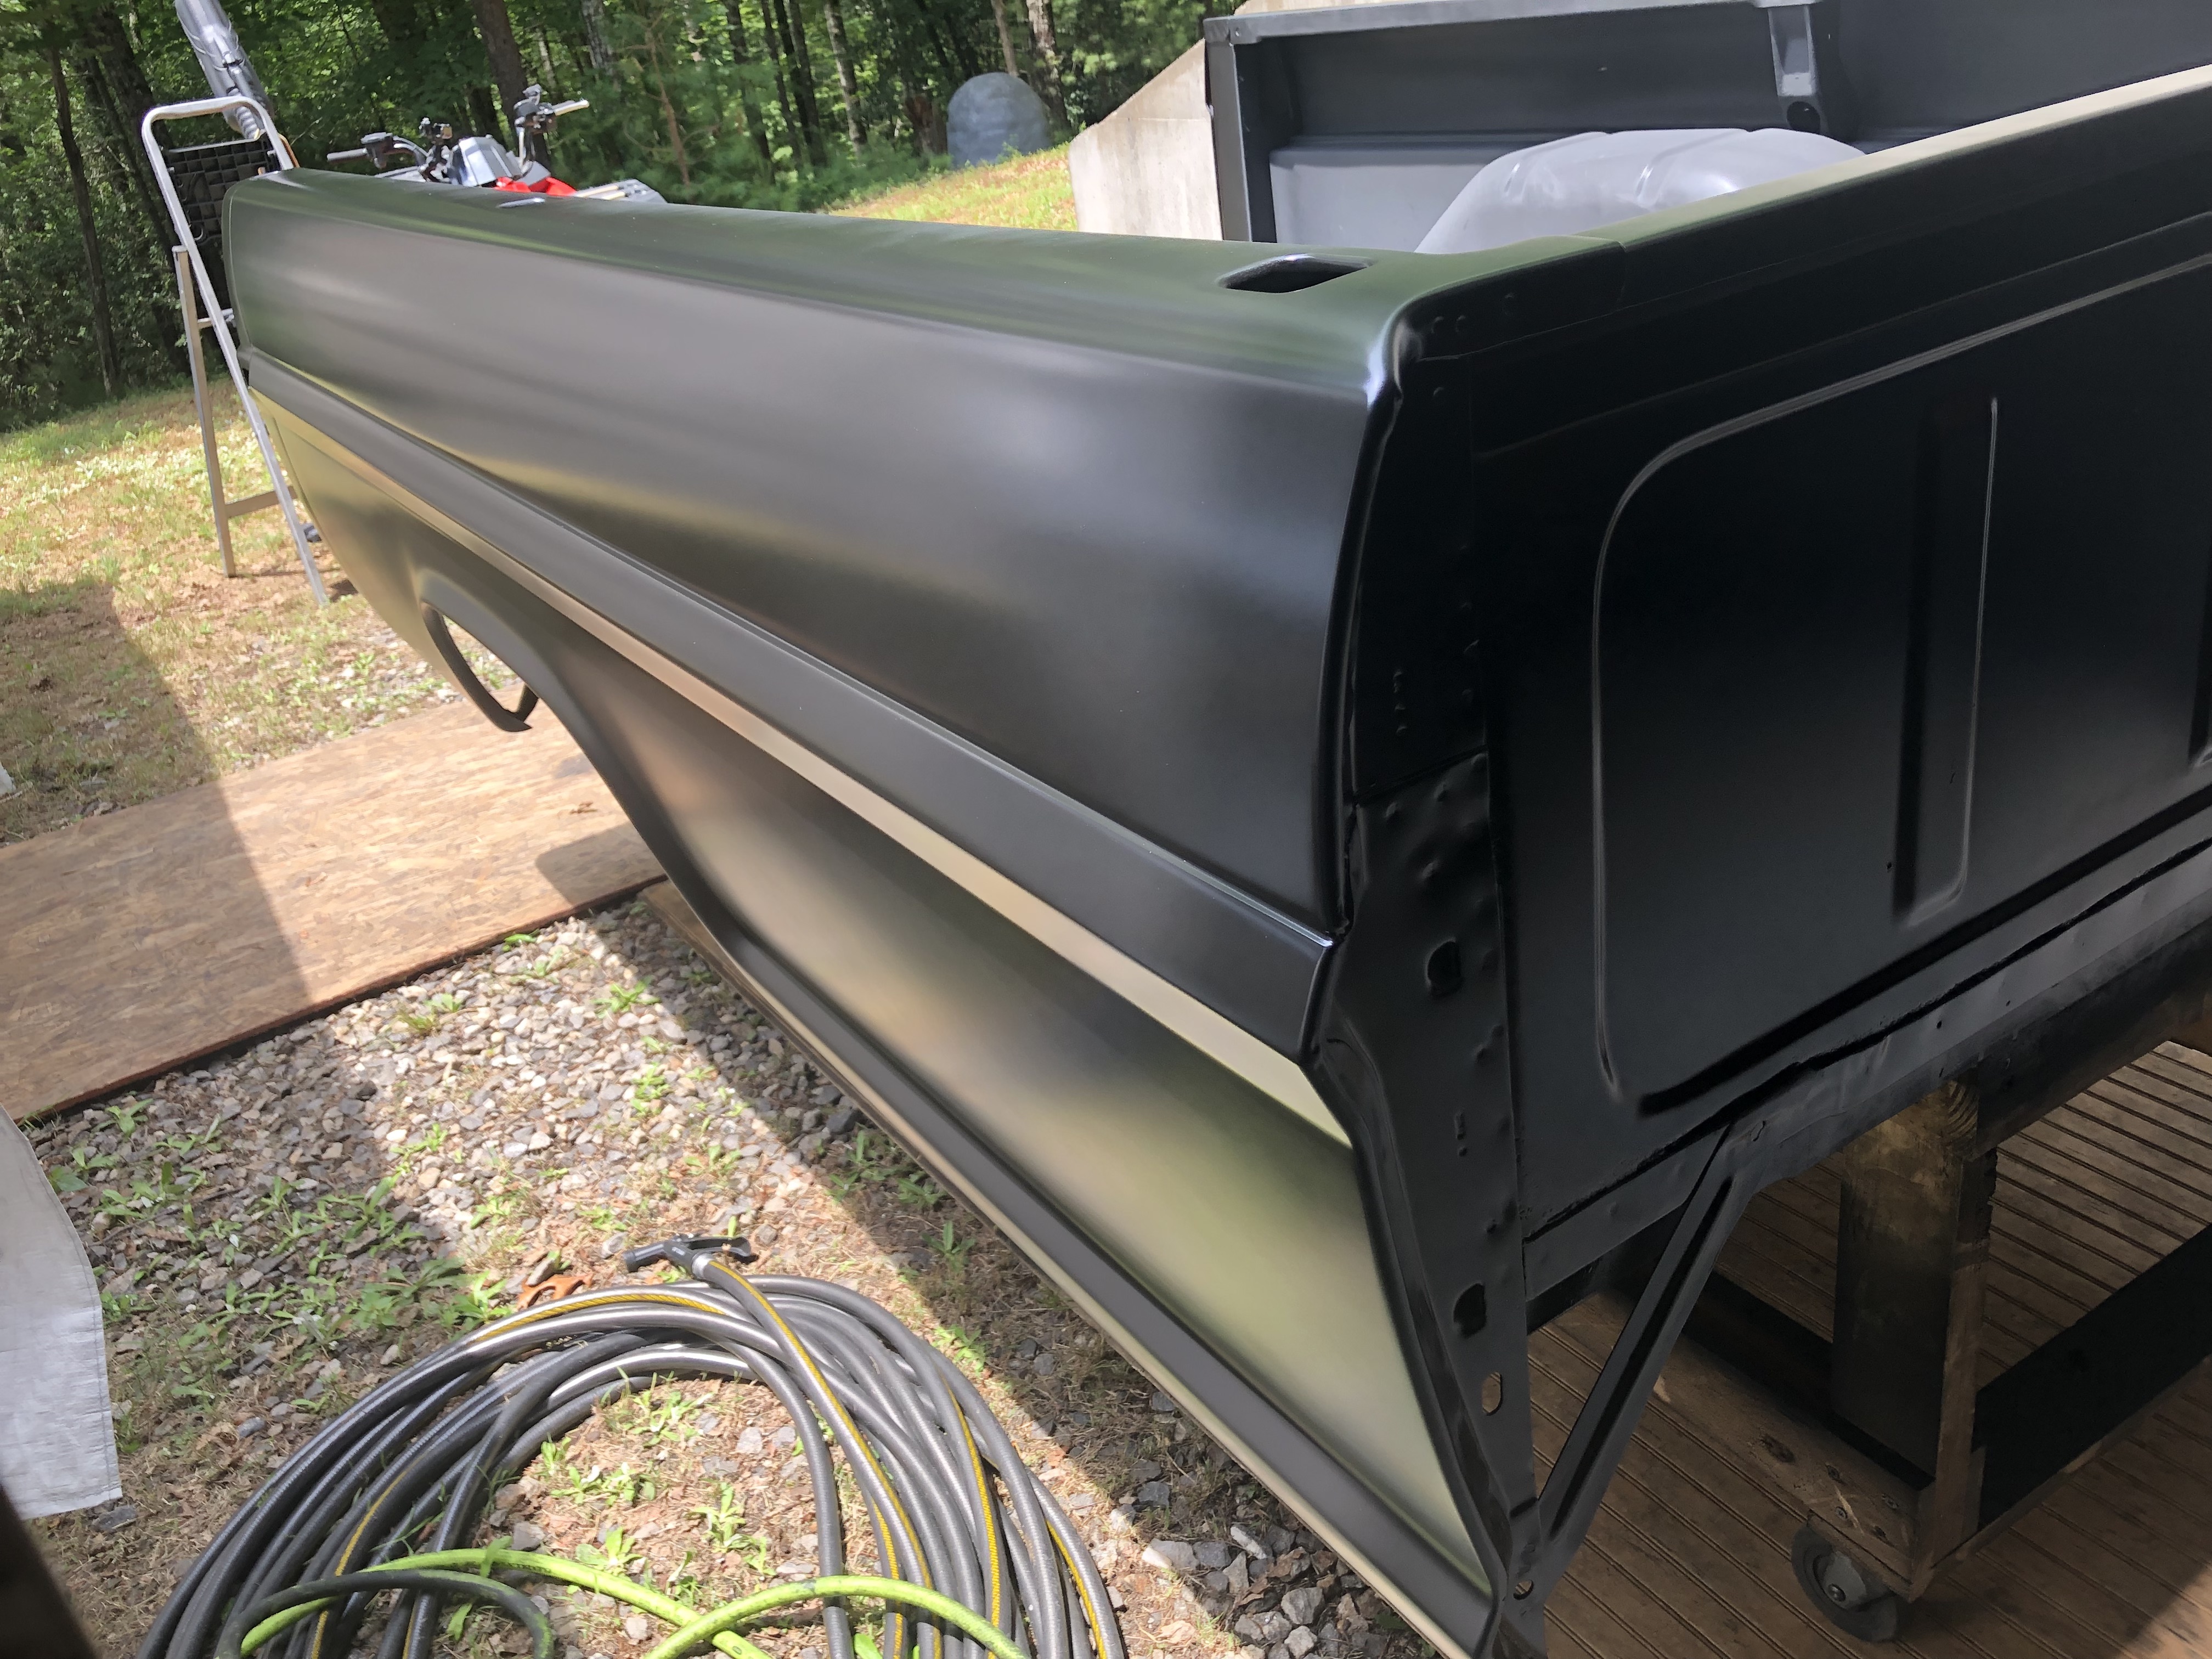
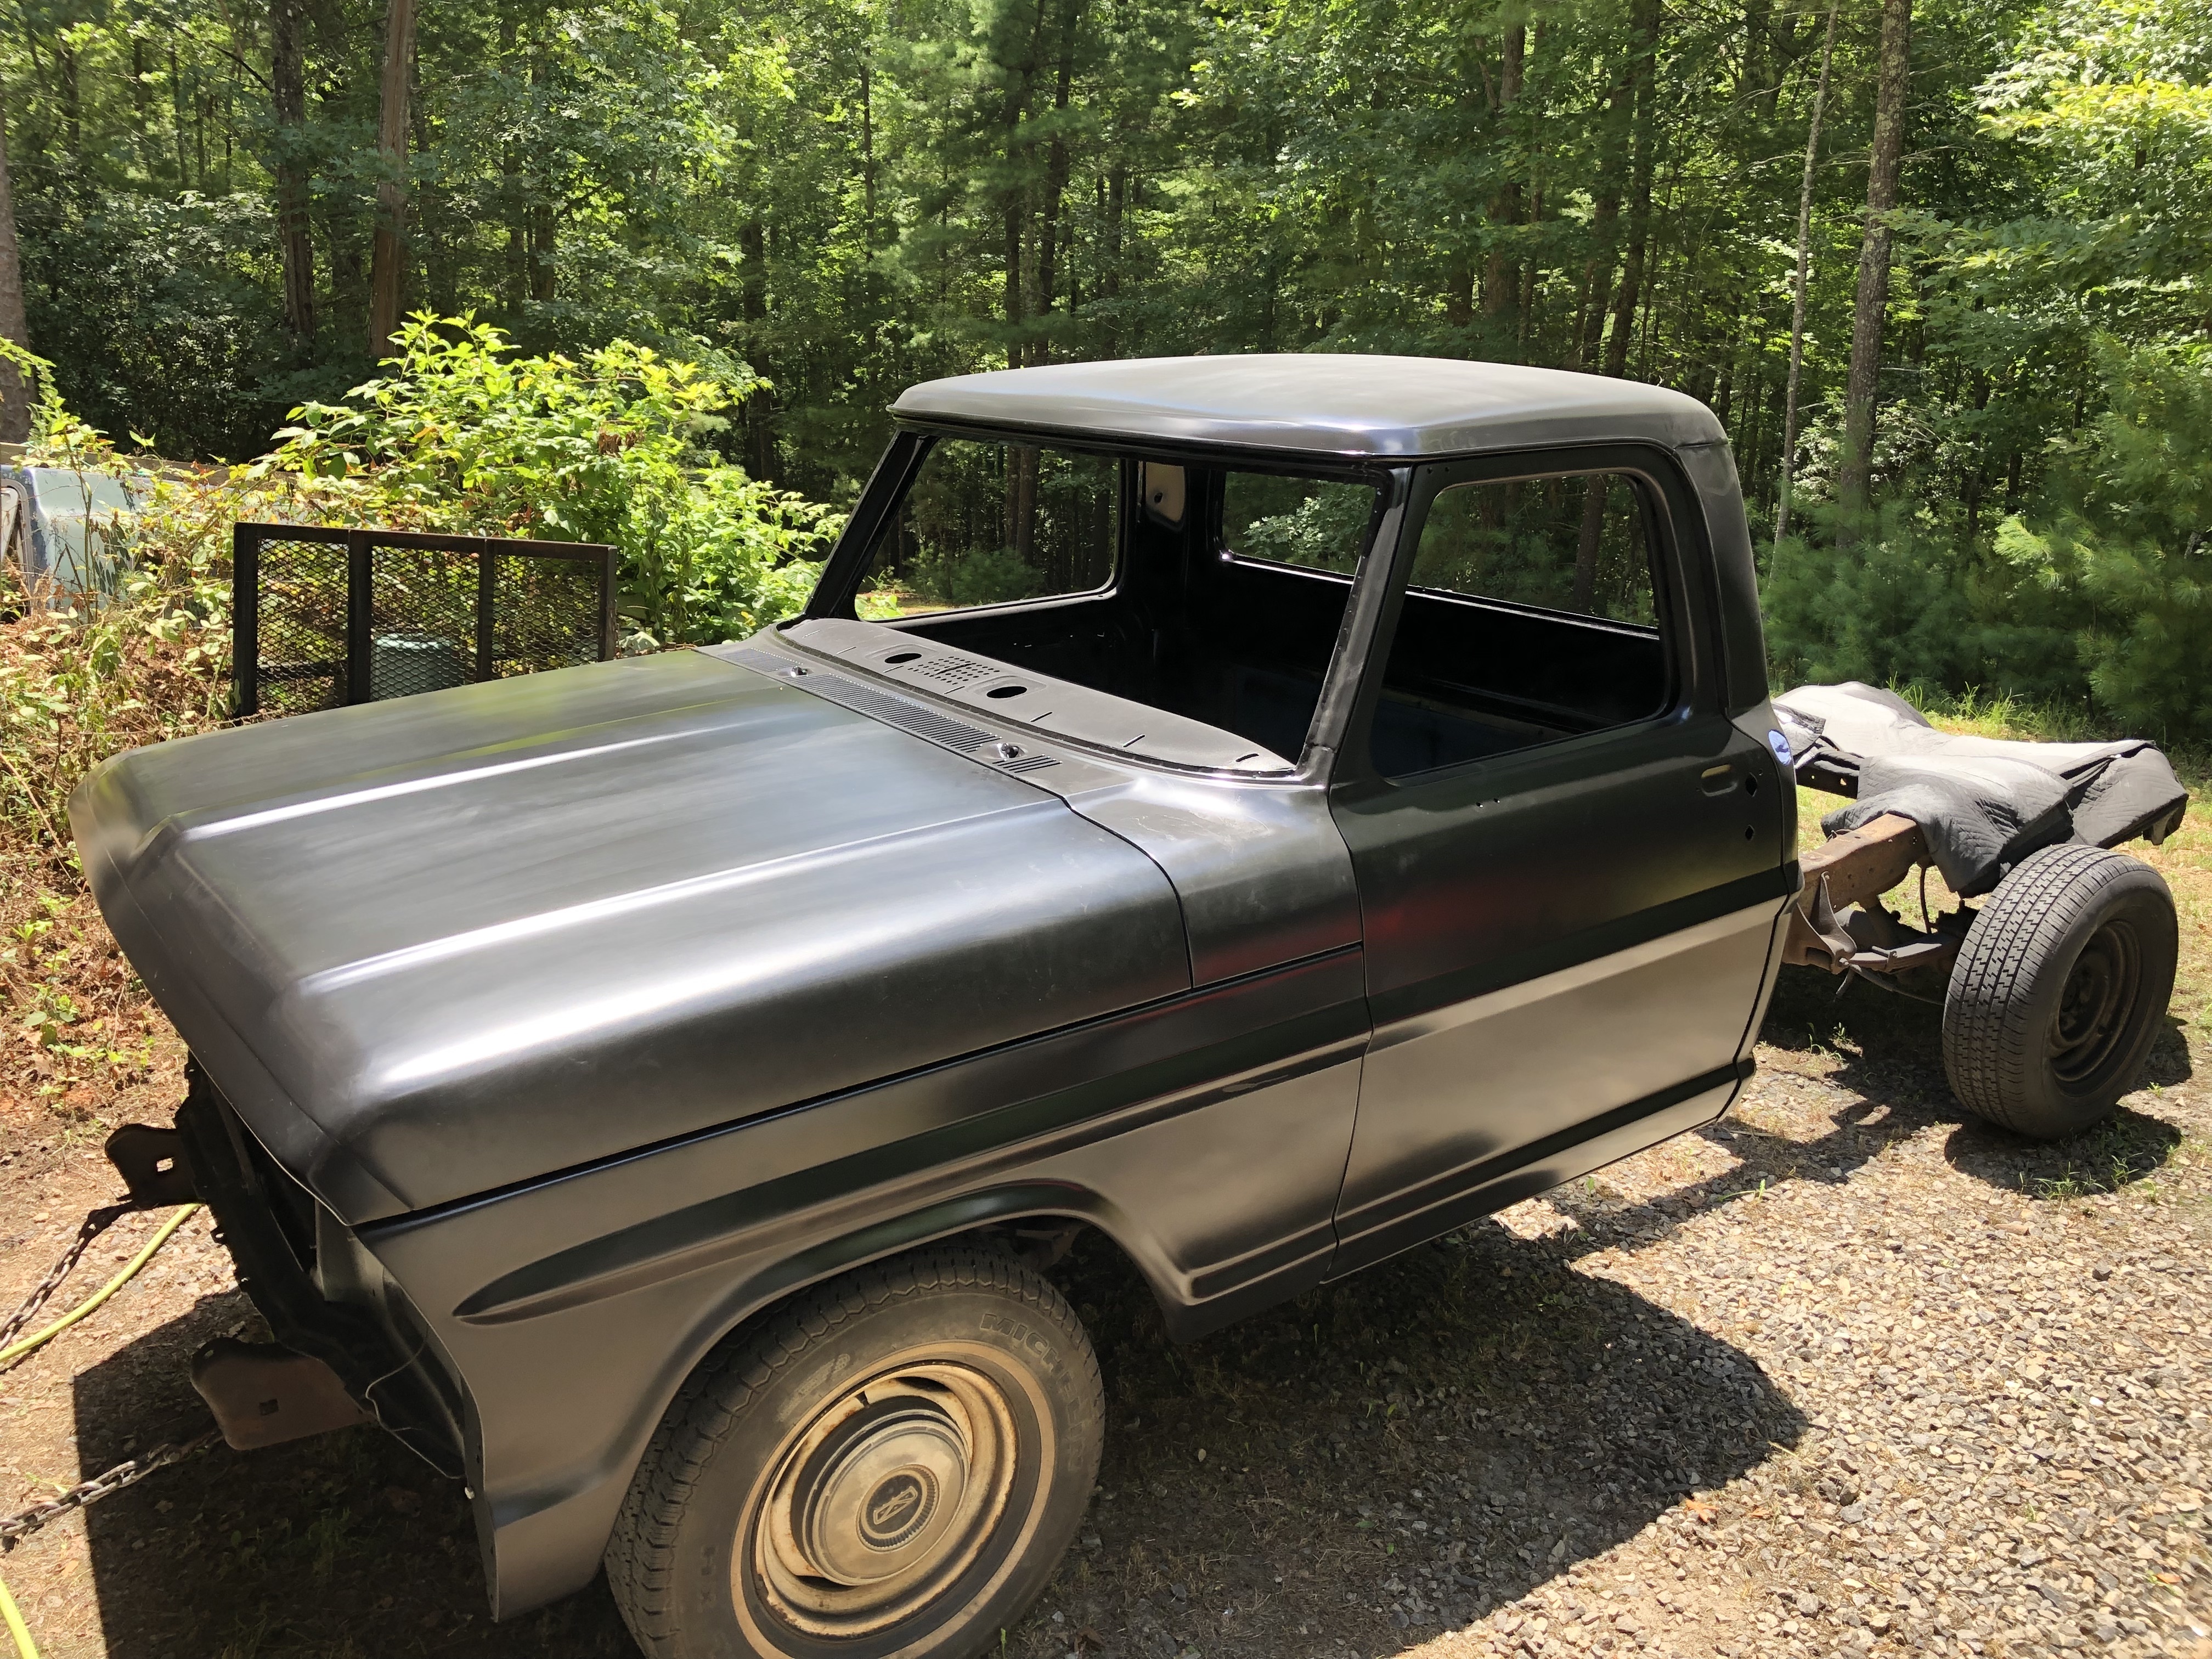
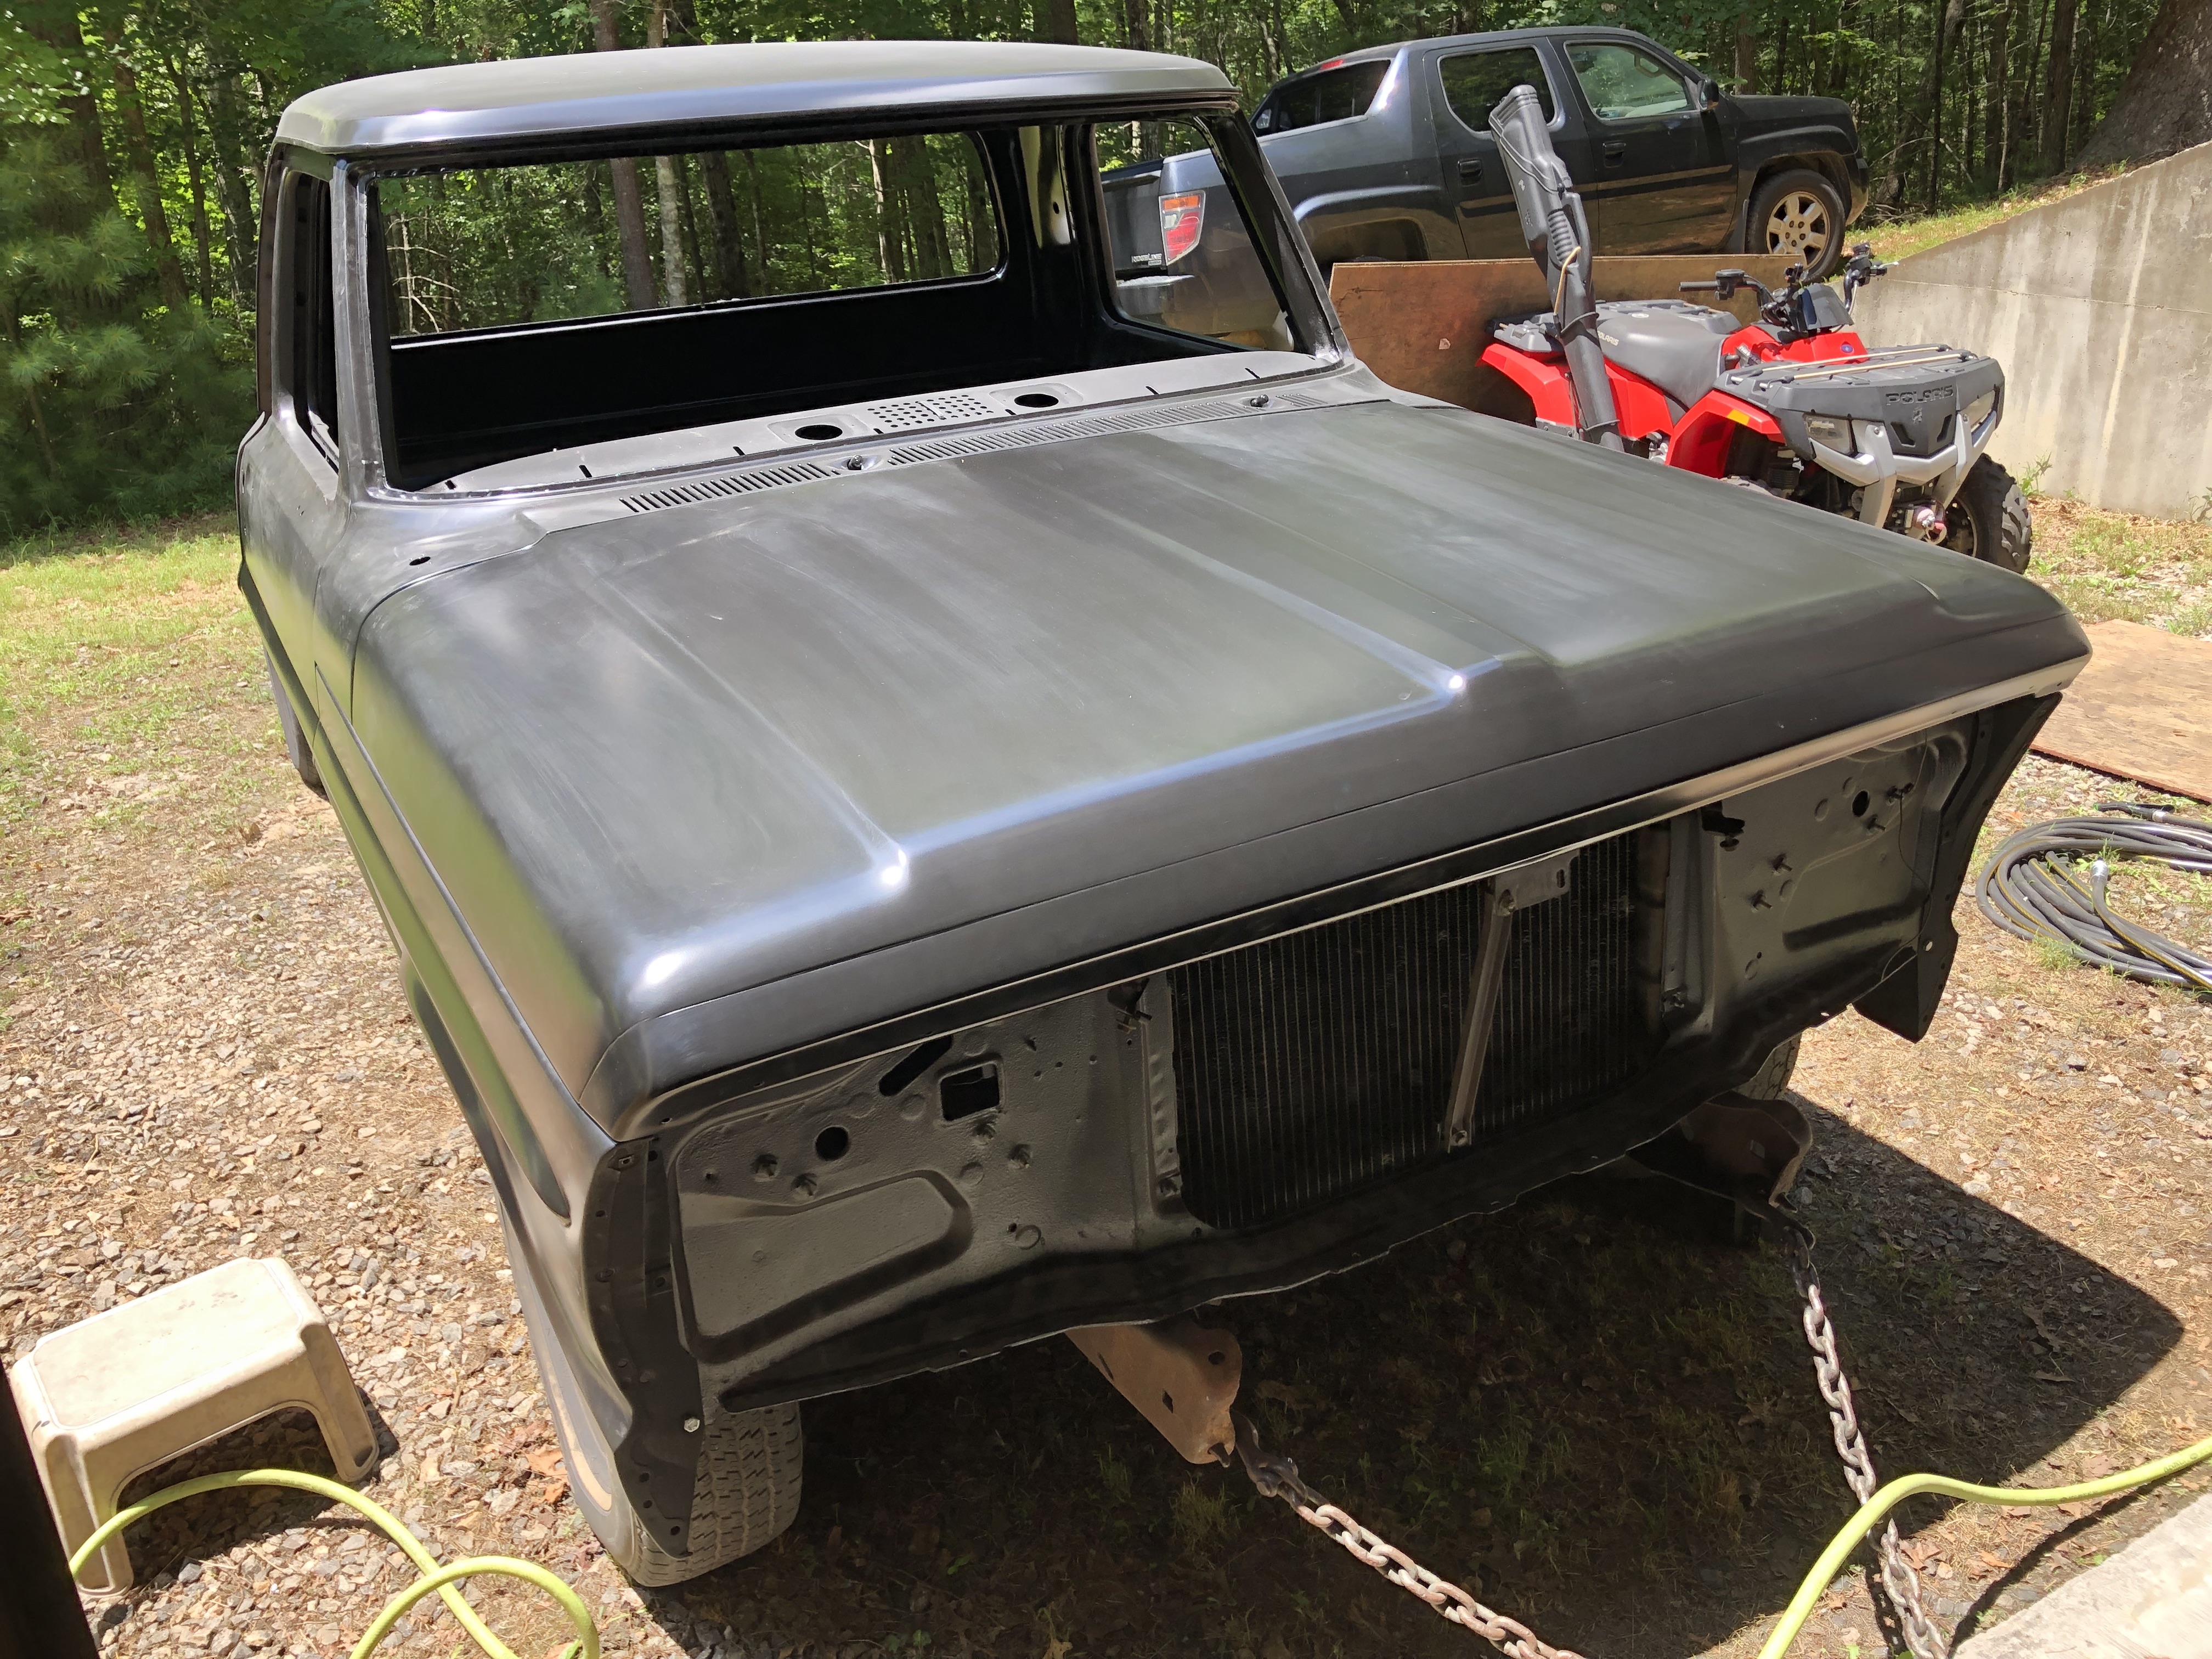
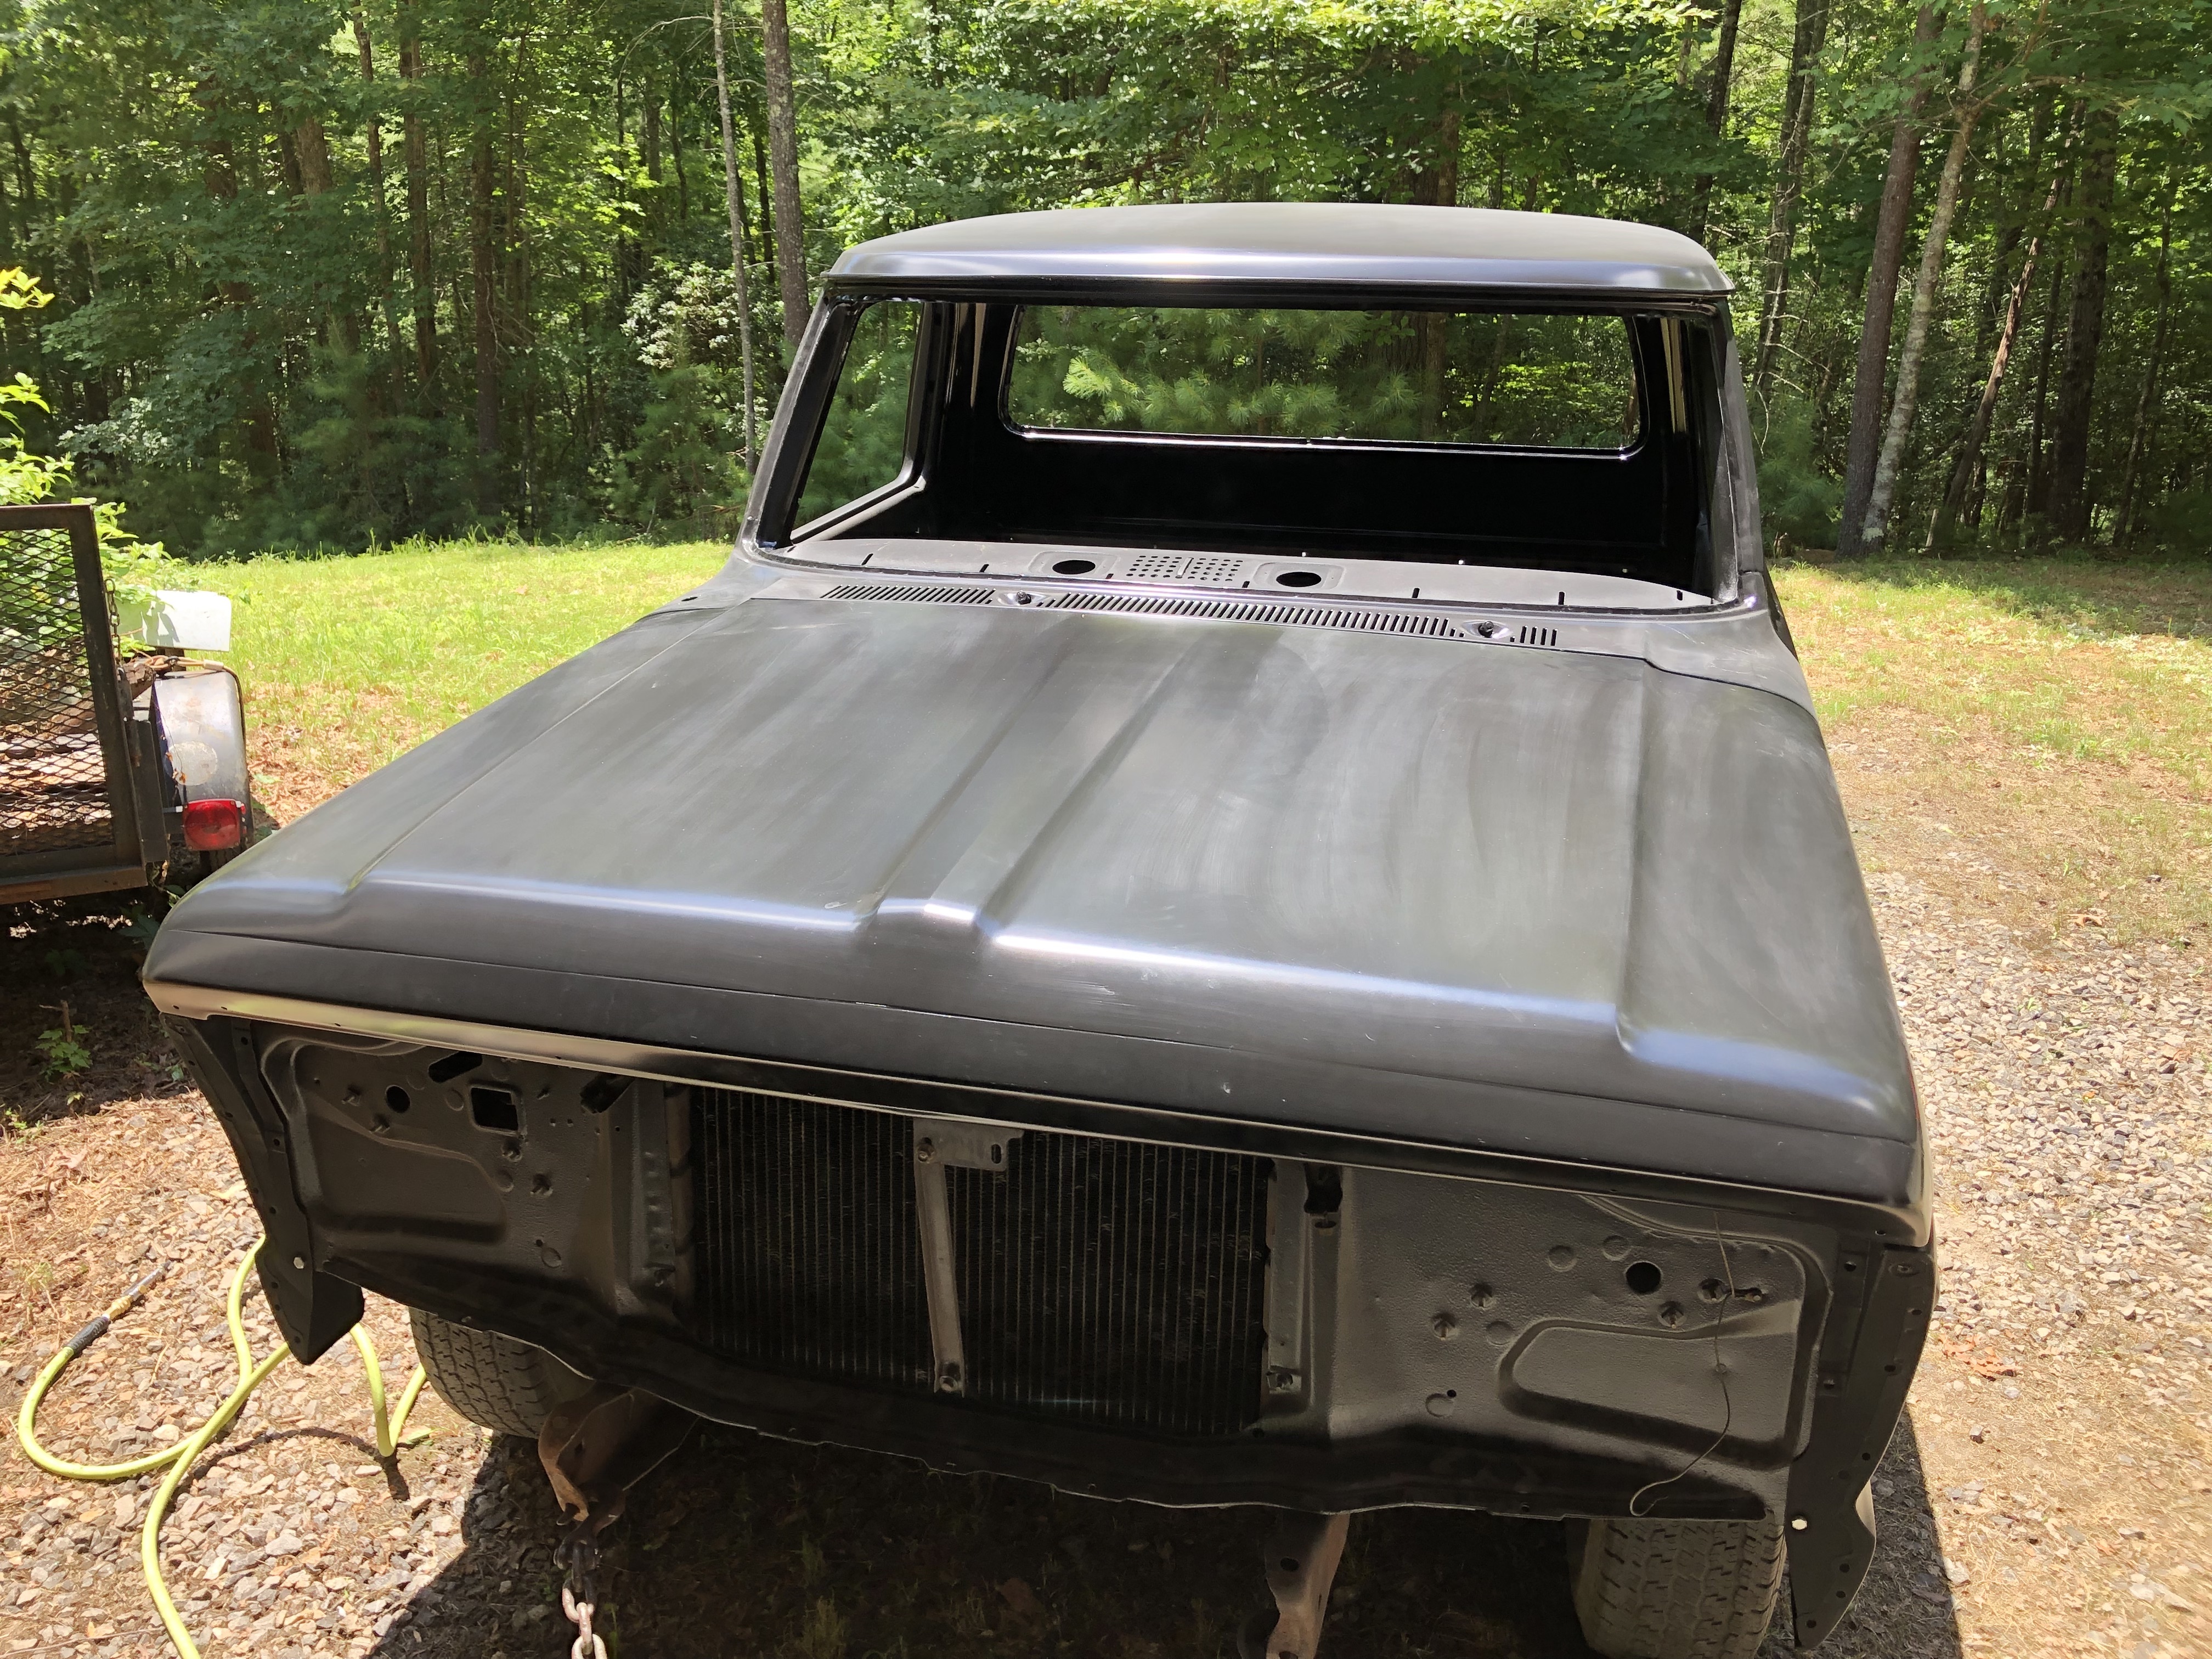
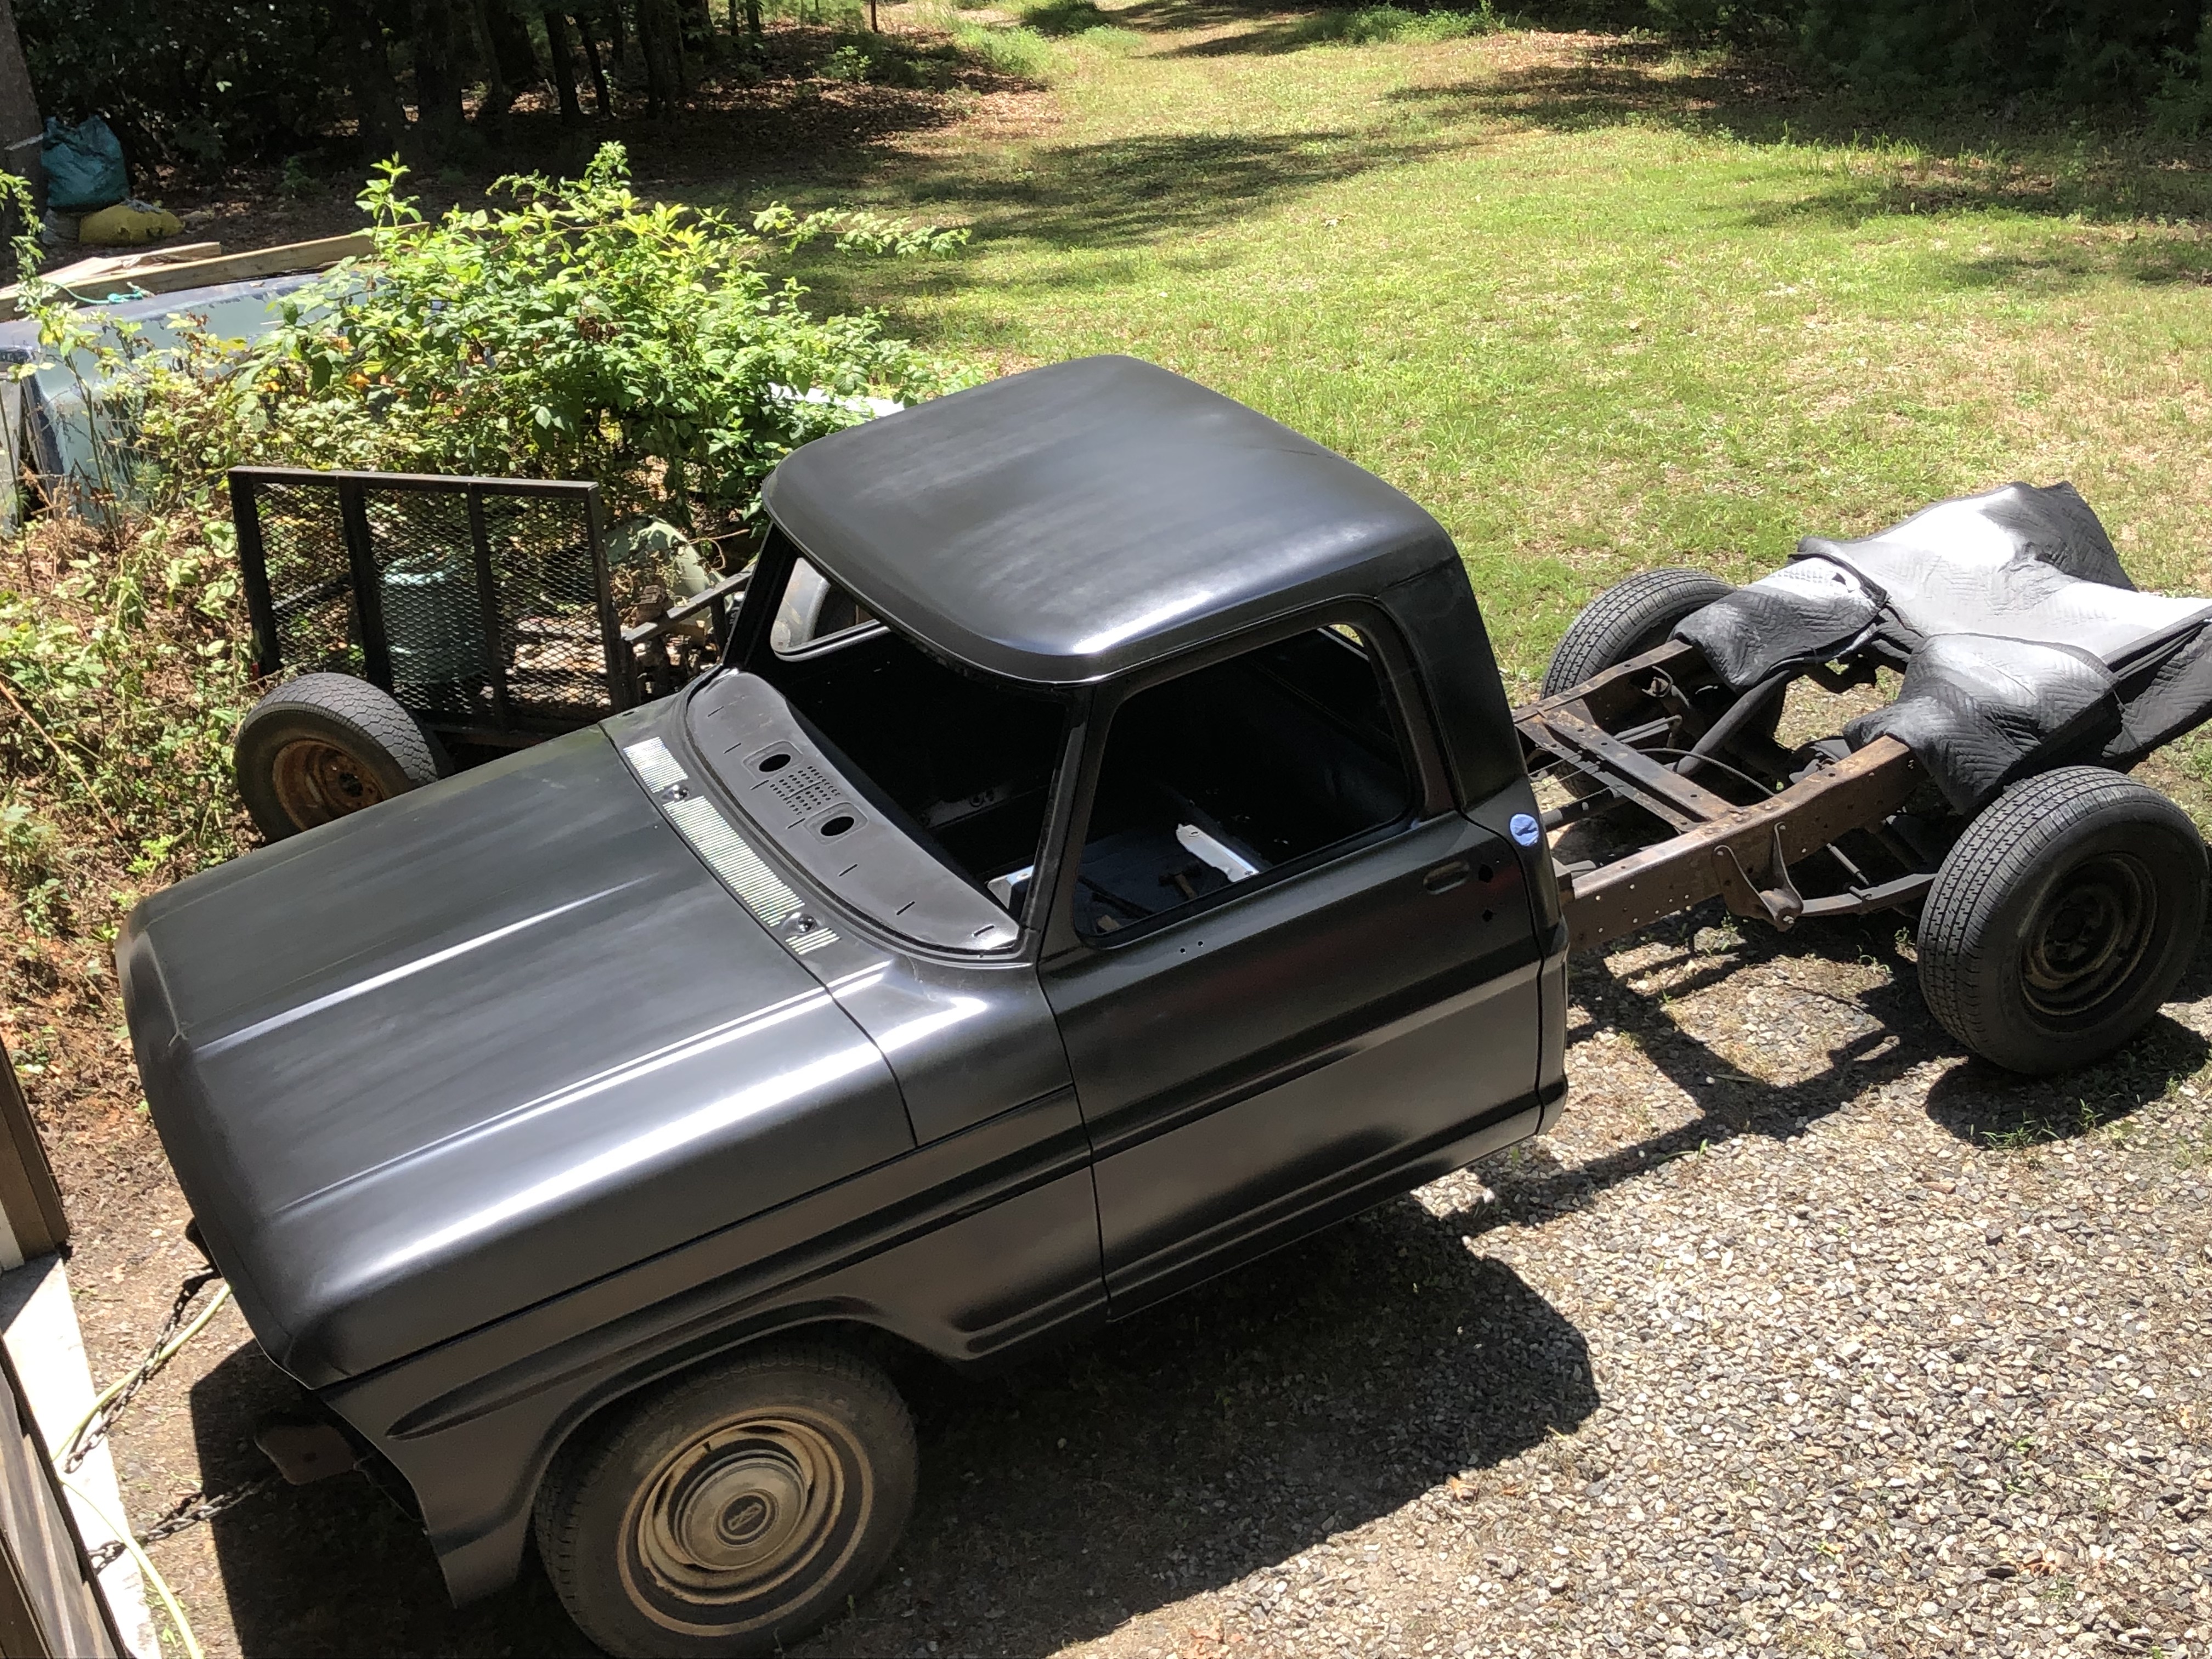
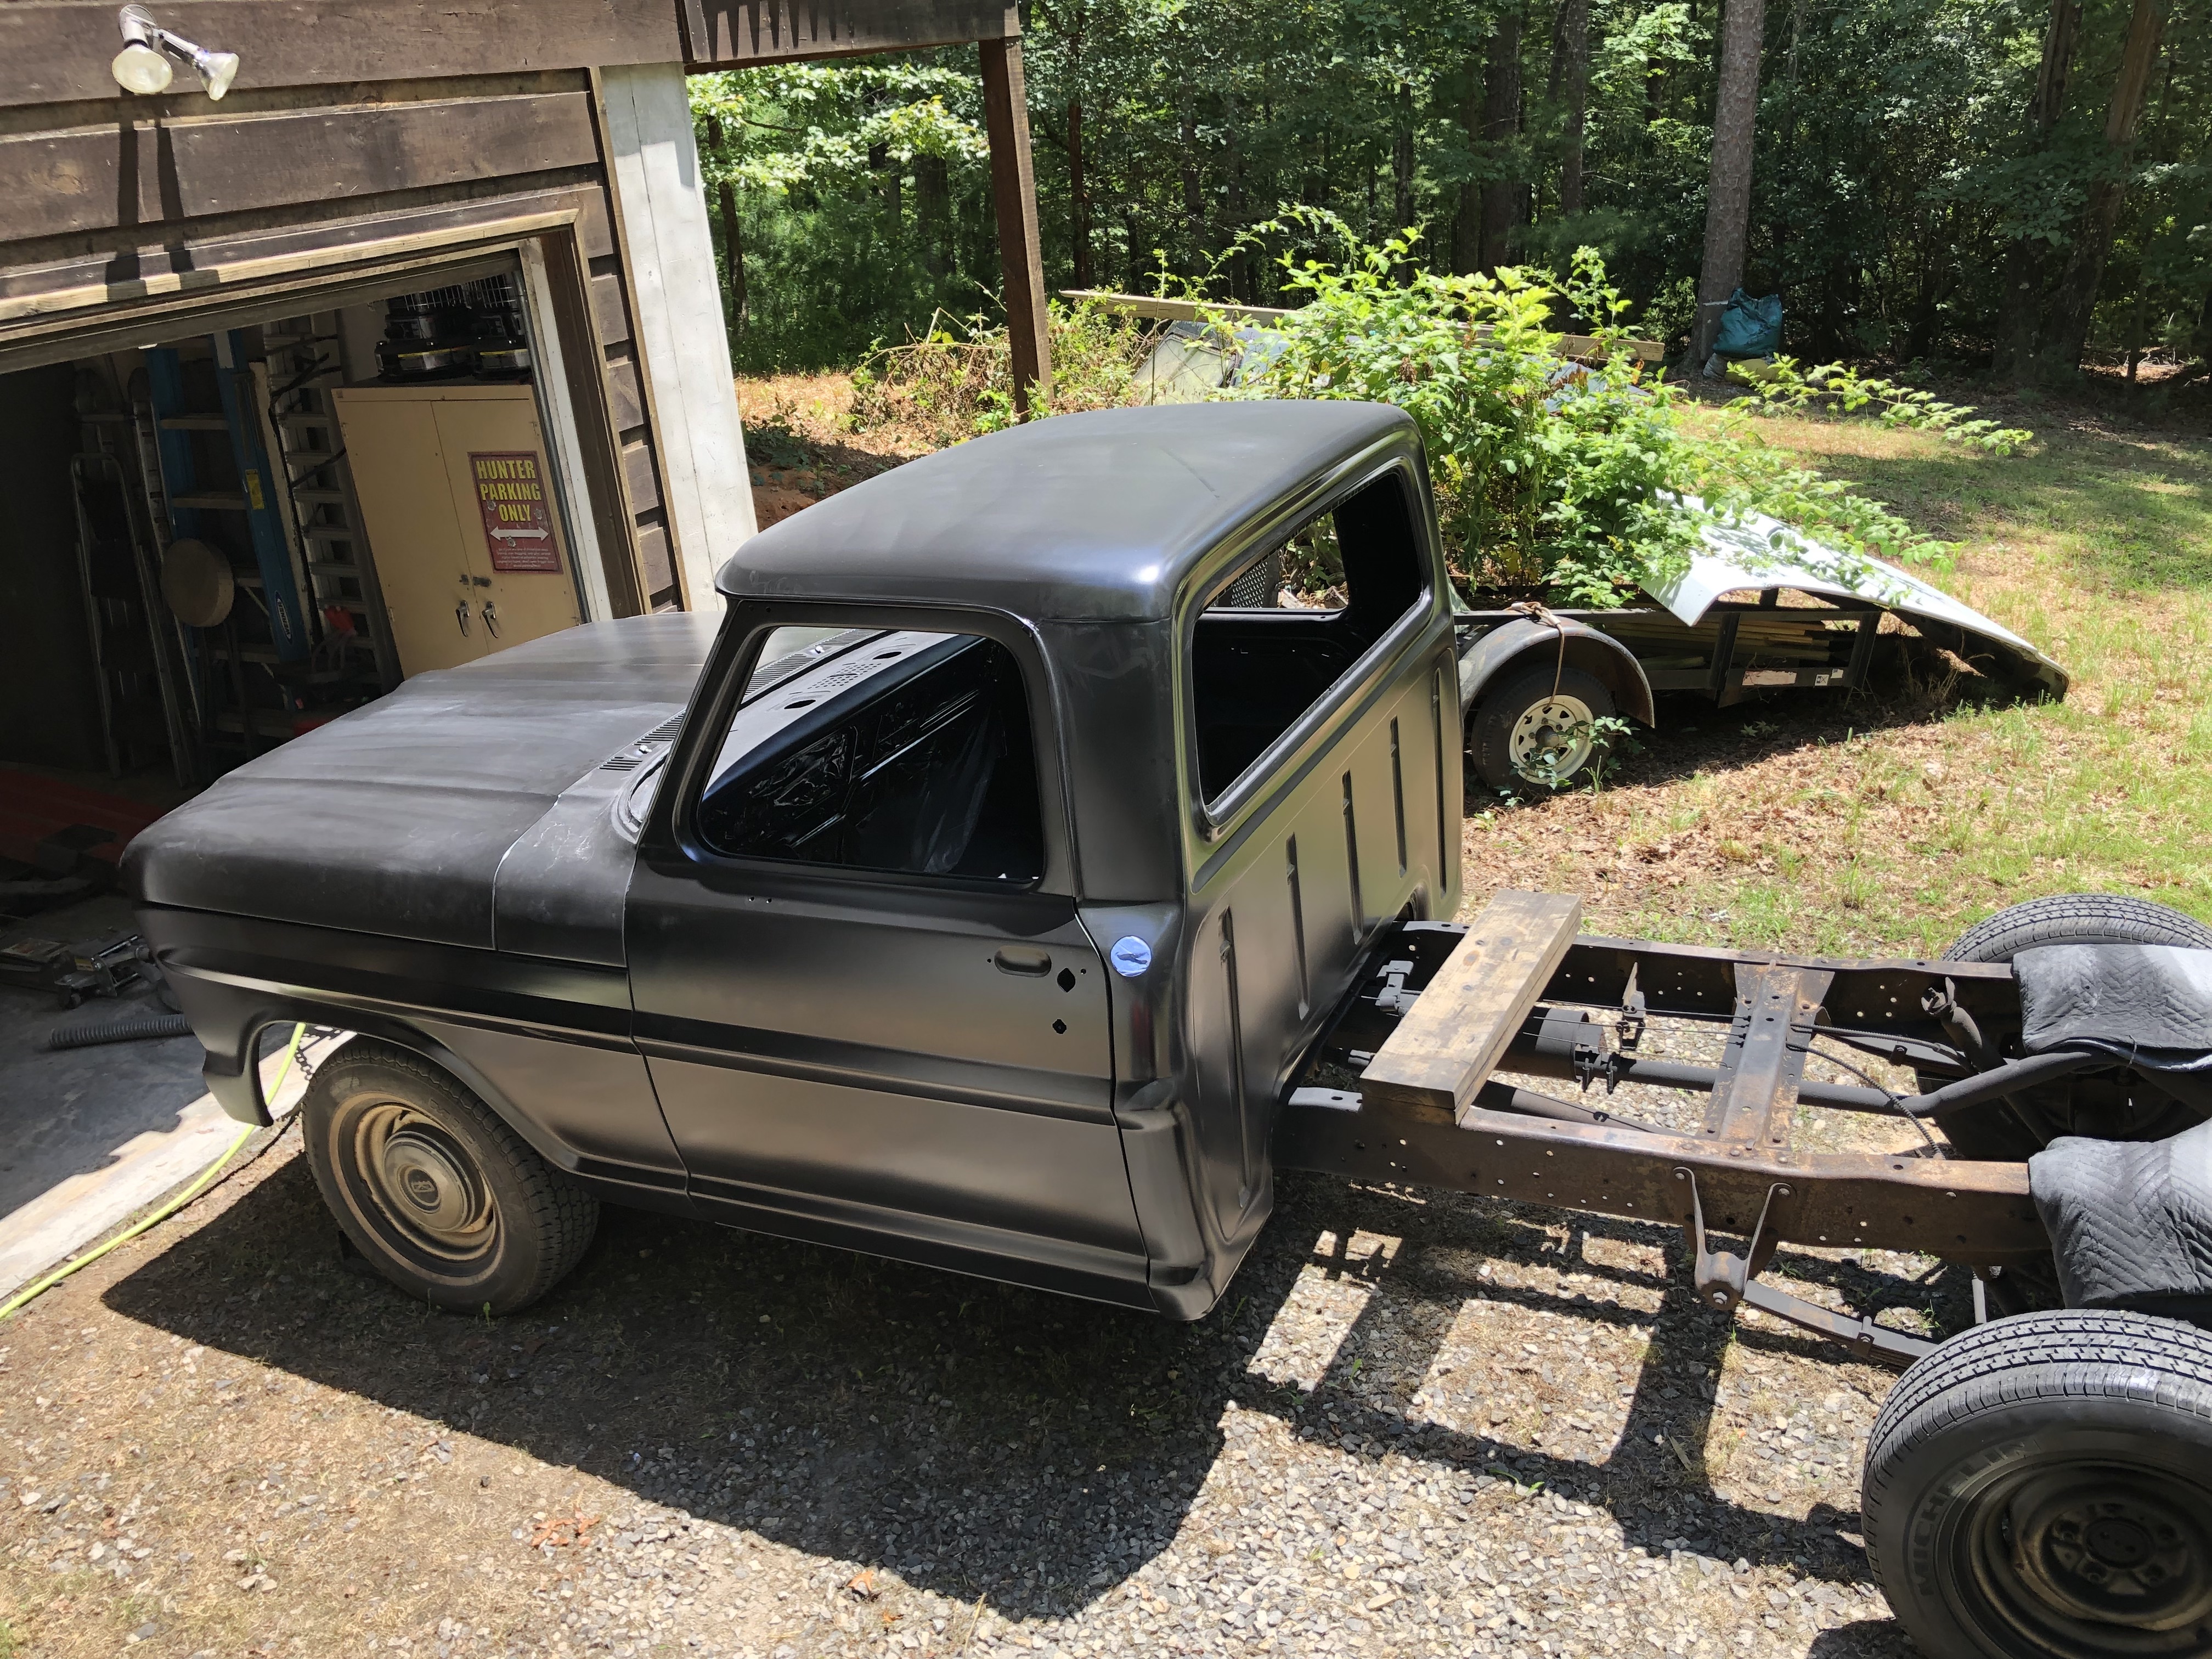
Well it’s been quite a while since my last update so it’s a long one with a truckload of pics in sequential order. Since the last update post a couple years ago I’ve been back three times where I’ve made time to dedicate to the truck. Tough finding time while living in two locations, especially when some months we are there it’s too cold for the paint work or I’m distracted with deer or turkey hunting…. I’ve finally hit the milestone of having all the block-sanding complete with the panels nice and flat. Due to my rookie mistakes and ignorance it actually took many more rounds than expected of sanding, thin applications of body filler or glaze, spraying another layer of epoxy then repeating the process again and again chasing the final low spots at the welded trim holes and everywhere really. It’s certainly been a learning process. On more than one occasion I thought that I was “done”, and that the next coat of epoxy primer would be enough to fill those almost imperceptible lows that the block sanding was leaving scratches but not quite covering like the surrounding area. (This SPI epoxy acts as it’s own guide coat.). Then on another round I would find deep scratches I had missed, or pinholes, or more lows. I think a lot of these “lows” are due to using 16” or longer blocks and not what could be seen in the final spray of color. Using a slightly shorter block would have removed the lows after a few criss-cross strokes too… so how flat is flat enough to not be seen looking down a panel in the sun? I know a lot of the spots that took a skim with glaze or filler were in areas that appeared perfectly flat and looked fine before the original paint was removed. Anyway, I know it’s now flatter then when it left the factory. Had to do some final cleanup to straighten the edges of the “bump” on the passenger side bed where I had to weld in a patch. Also took several rounds of filling, sanding and tweaking on the driver side fender that got crunched when the truck rolled off the Kwik-lift and the door smashed into the fender…. Spent a lot of time working on getting the front underside of the hood back in top shape after dropping it and making a ton of new work for myself. Also noticed that the peak down the middle of the hood wandered a little so I worked on straightening and sharpening that.
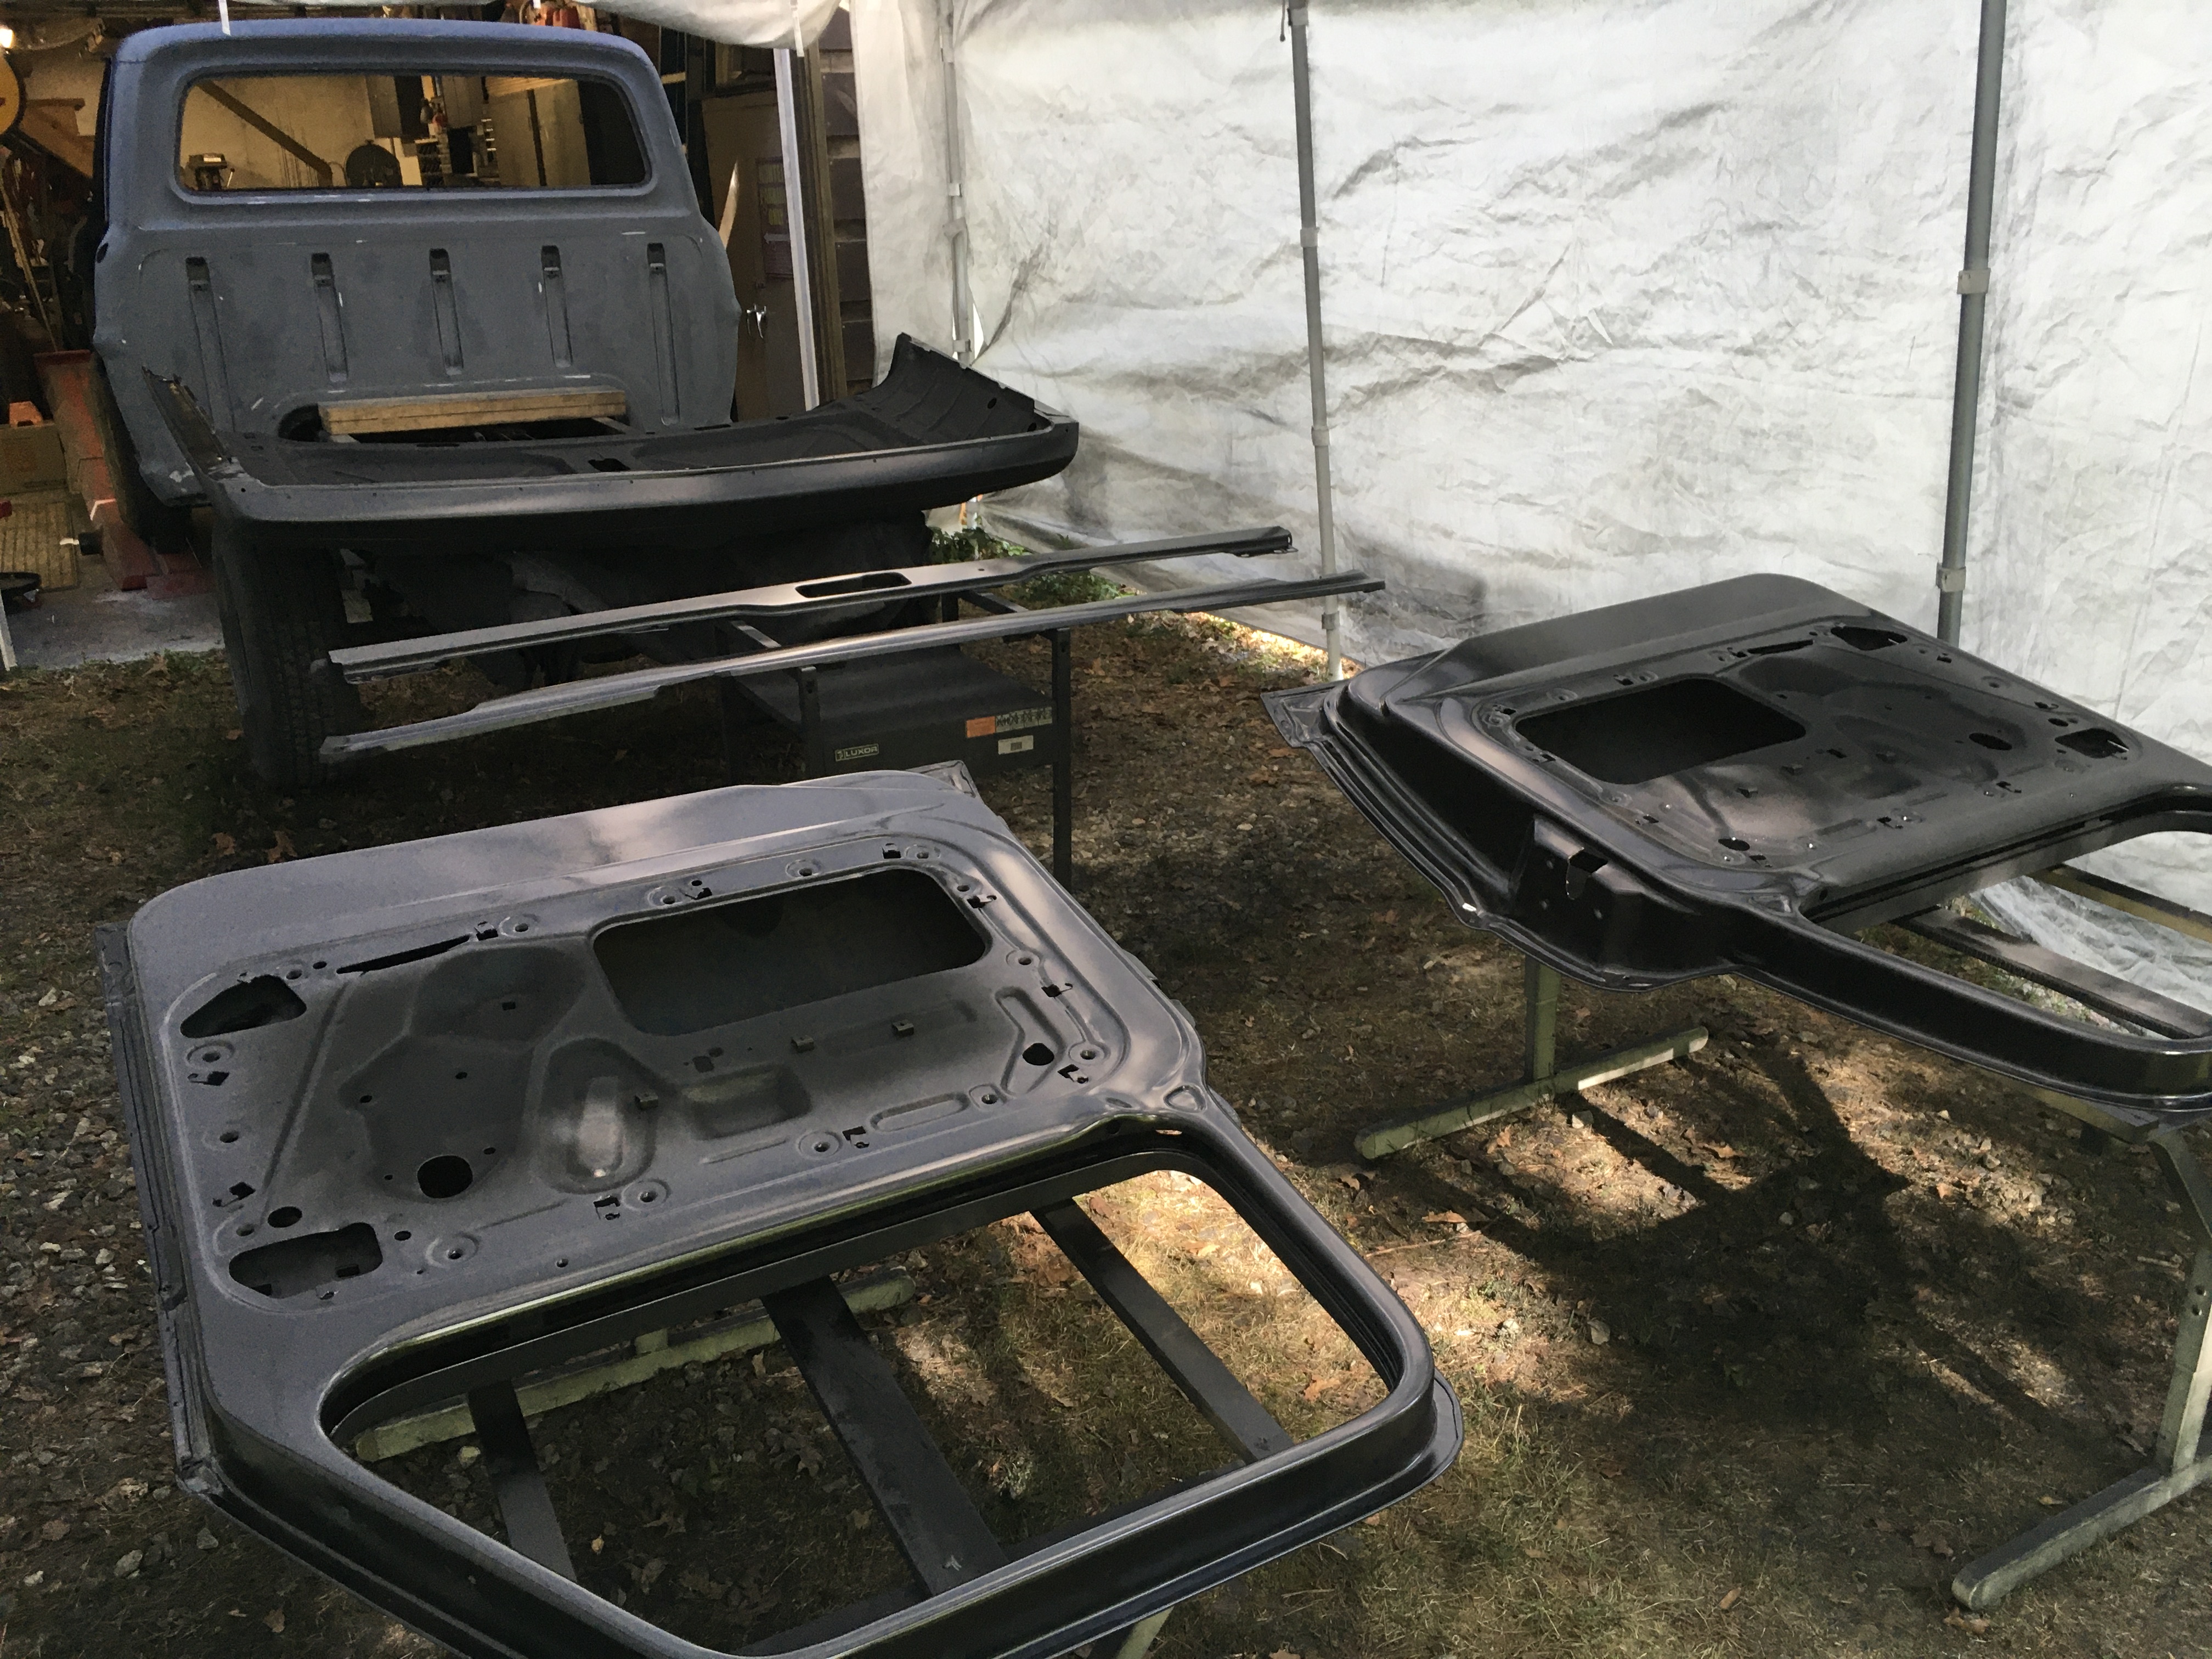
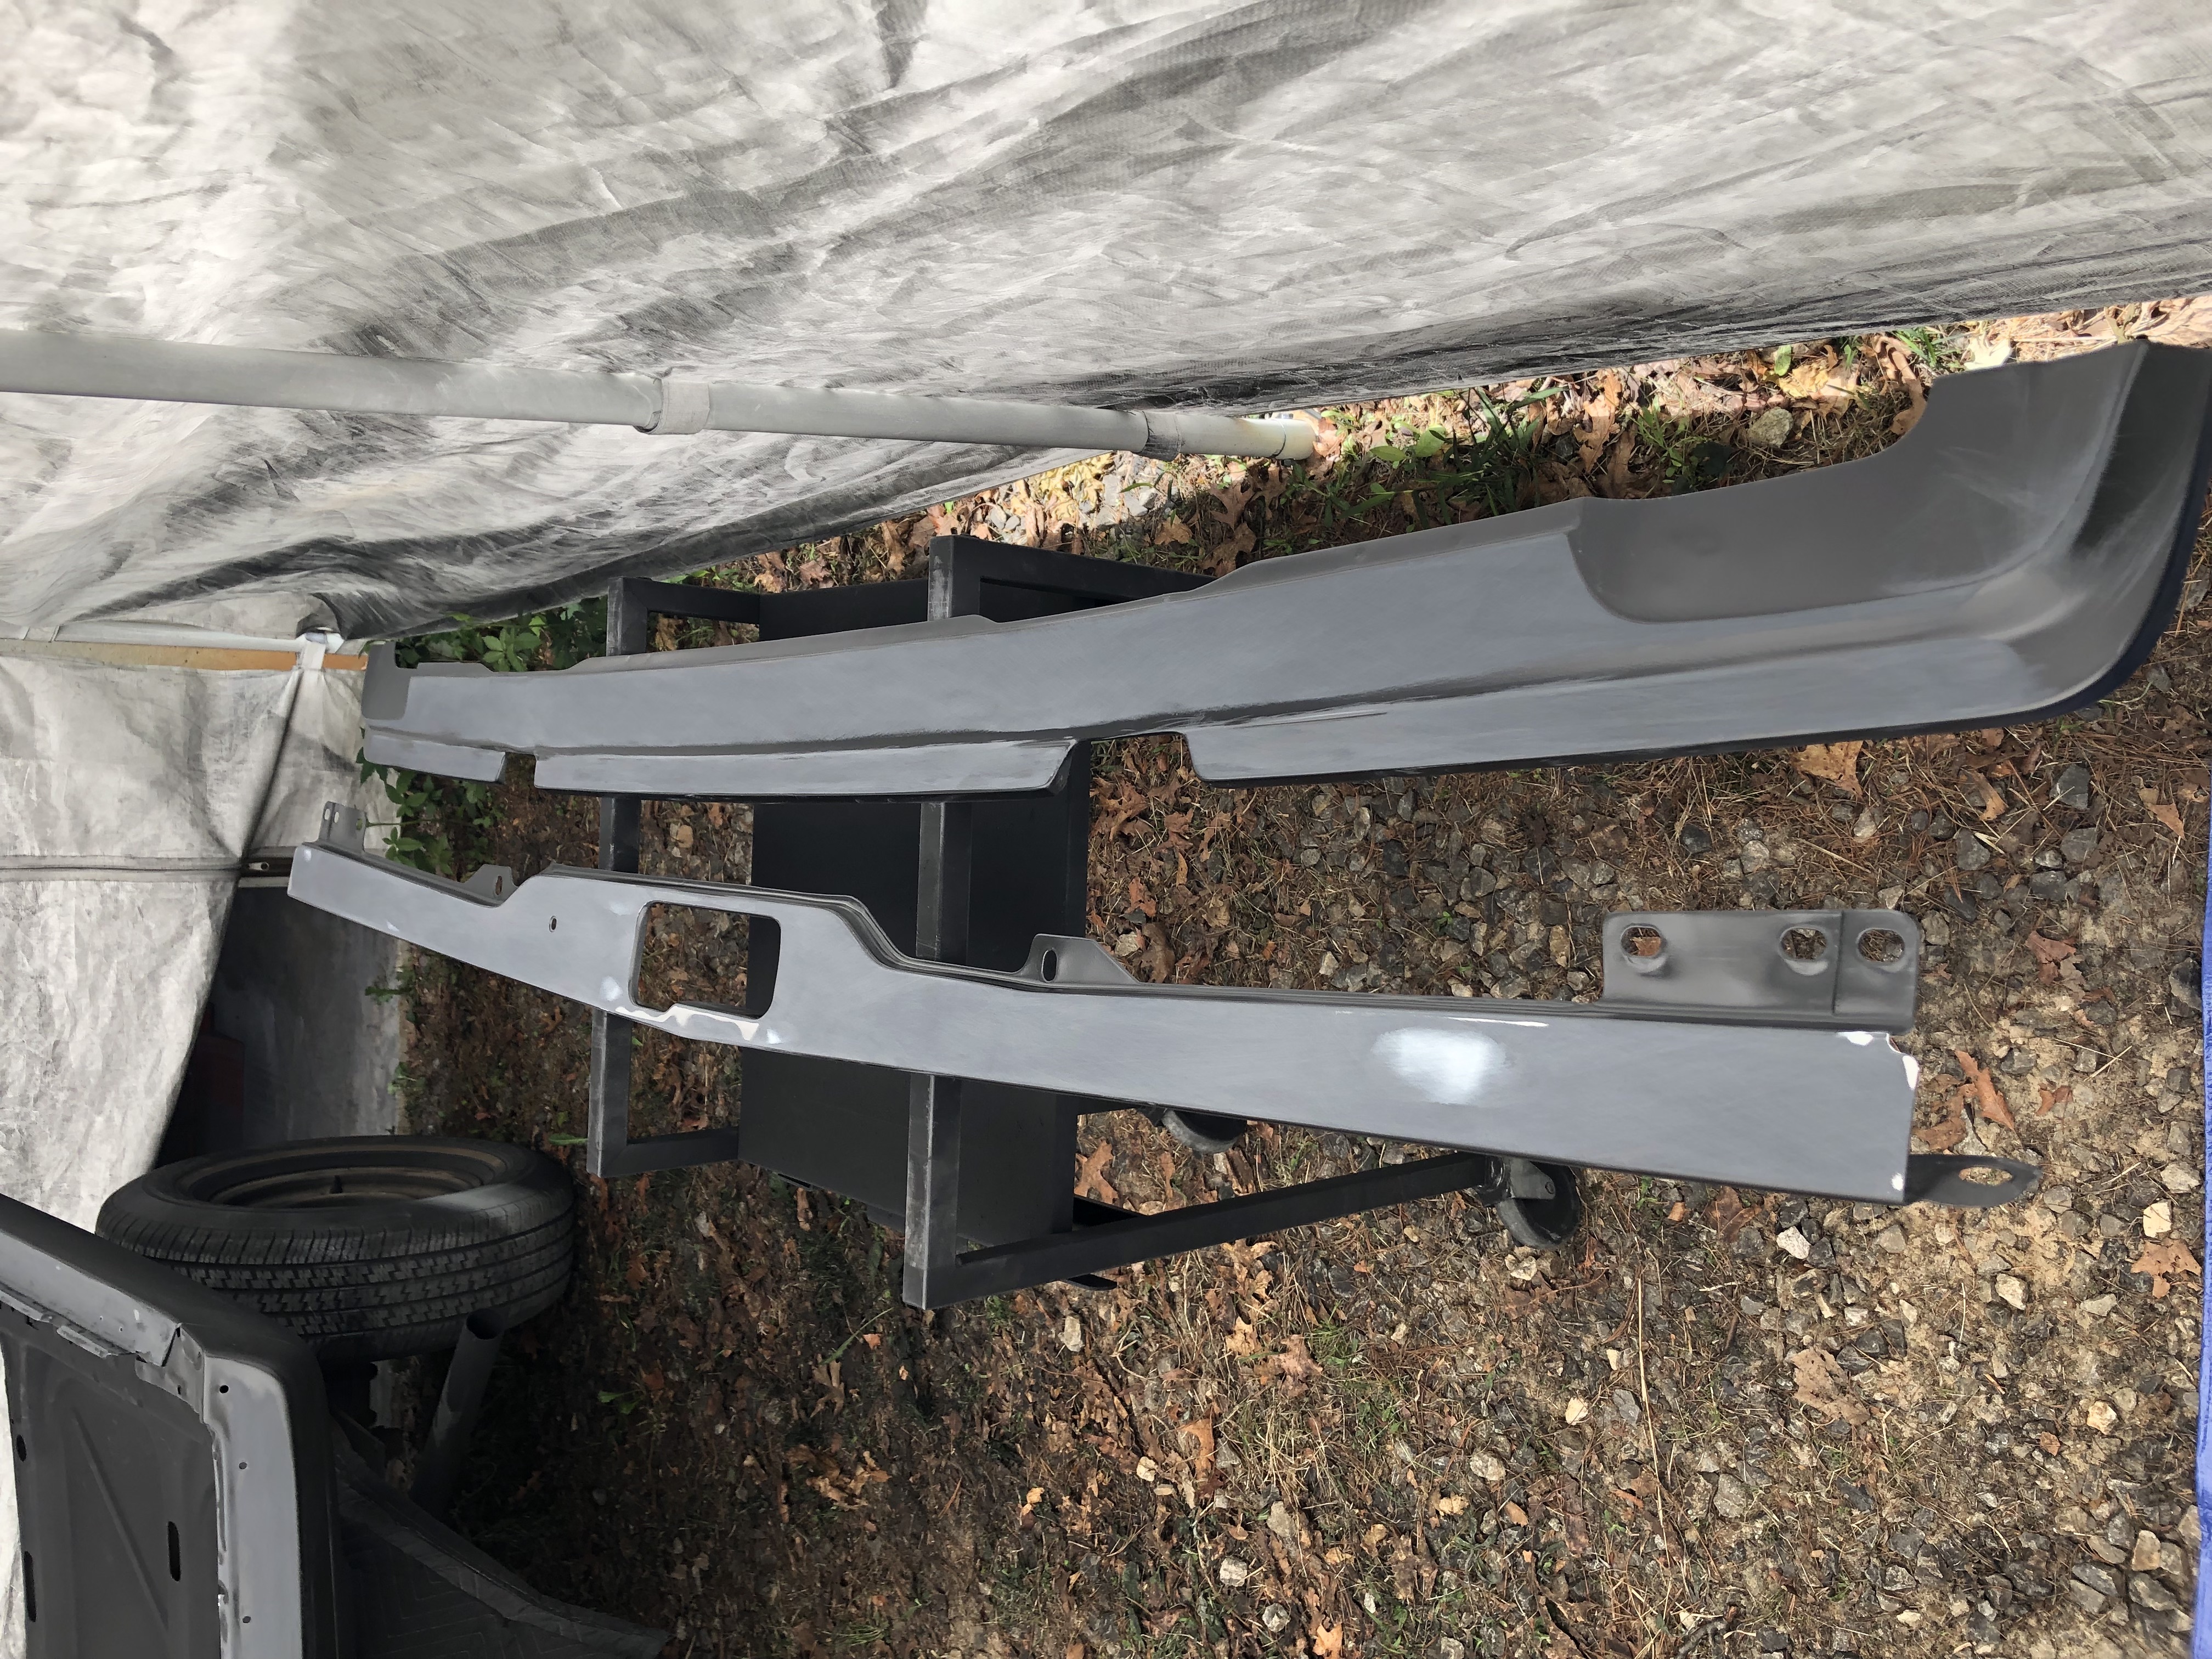
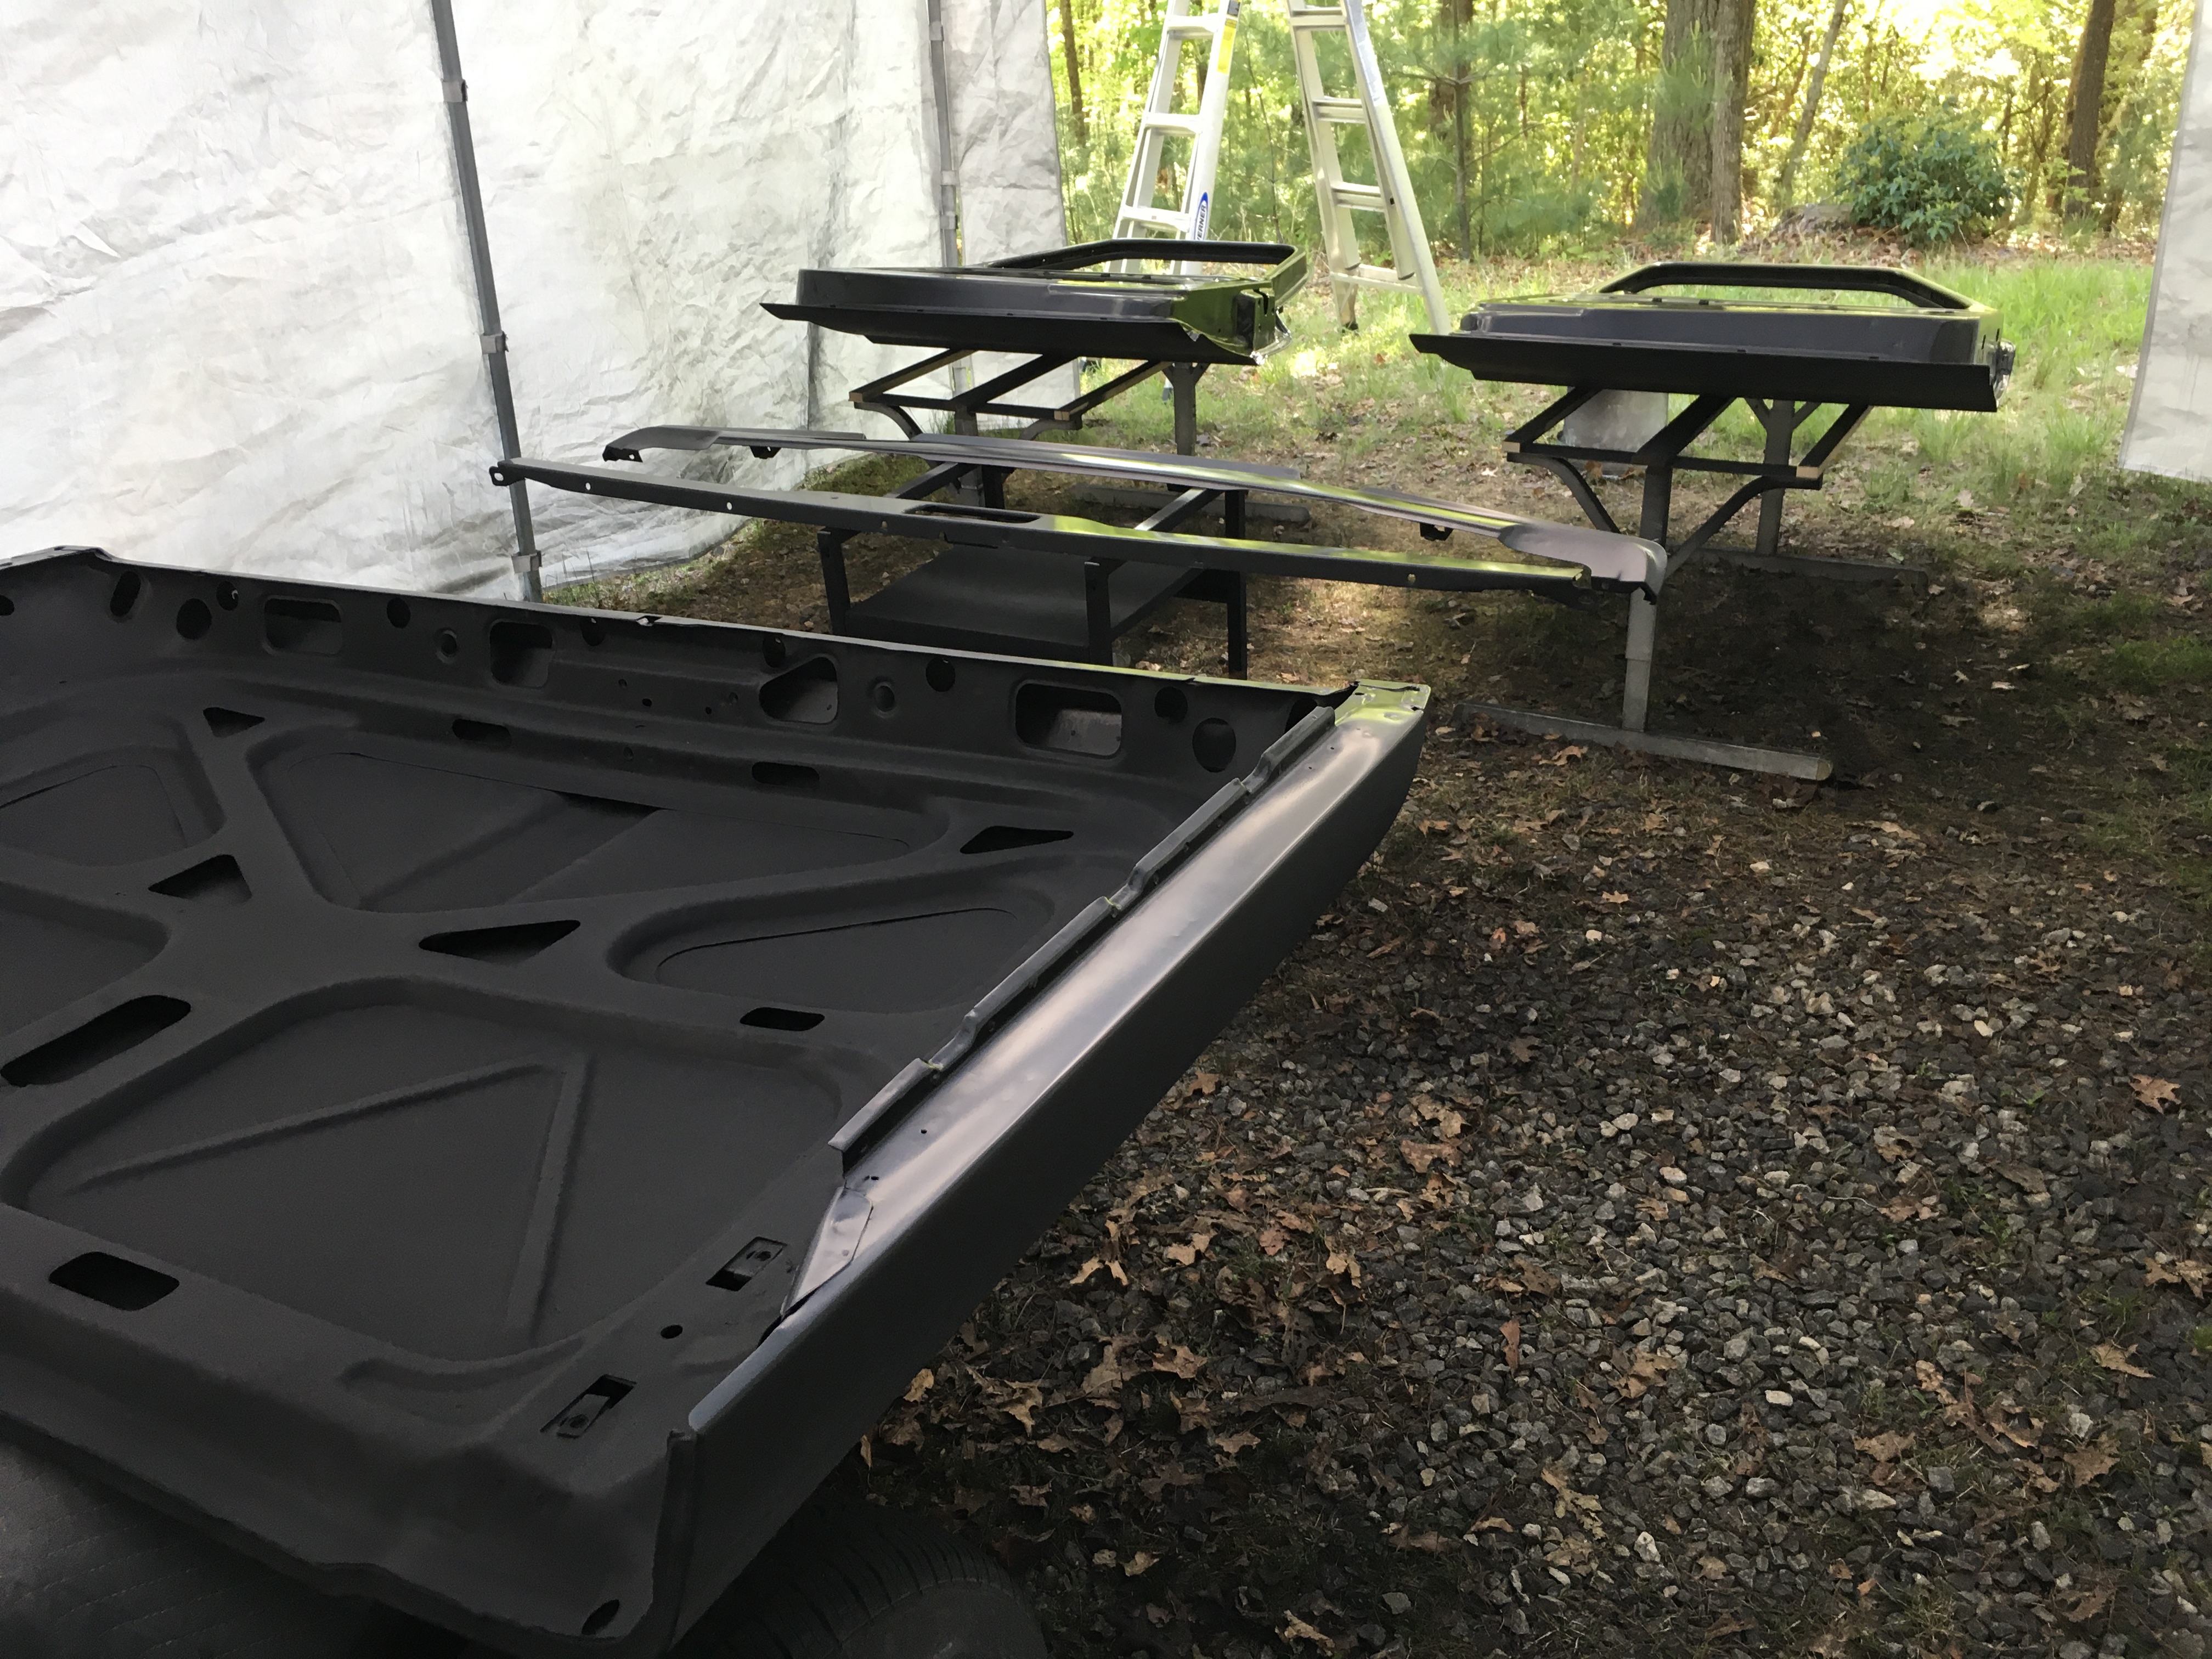
I did the seam sealing on all areas except for the bed interior. I was dreading that process and I made a mess of parts of it as I expected. Next trip it’s going to require some cleanup of the drip rails mostly, especially the vertical portion of the driver side. I used a two part epoxy sealer from SEM which is sandable, so I’ll have to see how that goes. Used a high-build for the regular seams which came out pretty good everywhere. Used a self-leveling in the horizontal portion of the drip rail which was the worst. If I had not tried to go back and fix a couple spots as I was laying it then it wouldn’t be such a mess. As I got all the way to the other end of the rail I saw a couple spots and tried to lay more on top… I guess the first layer had started to kick so the second layer did not level or flow… it just gobbed up like the regular high build. The vertical sections were the worse. Passenger side is not bad. Driver side is a frickin mess. Went to thick and when I pulled the tape it was not right at the edge so left a big gap pulled back along the edge. Hood, bed and roof seams are not bad.
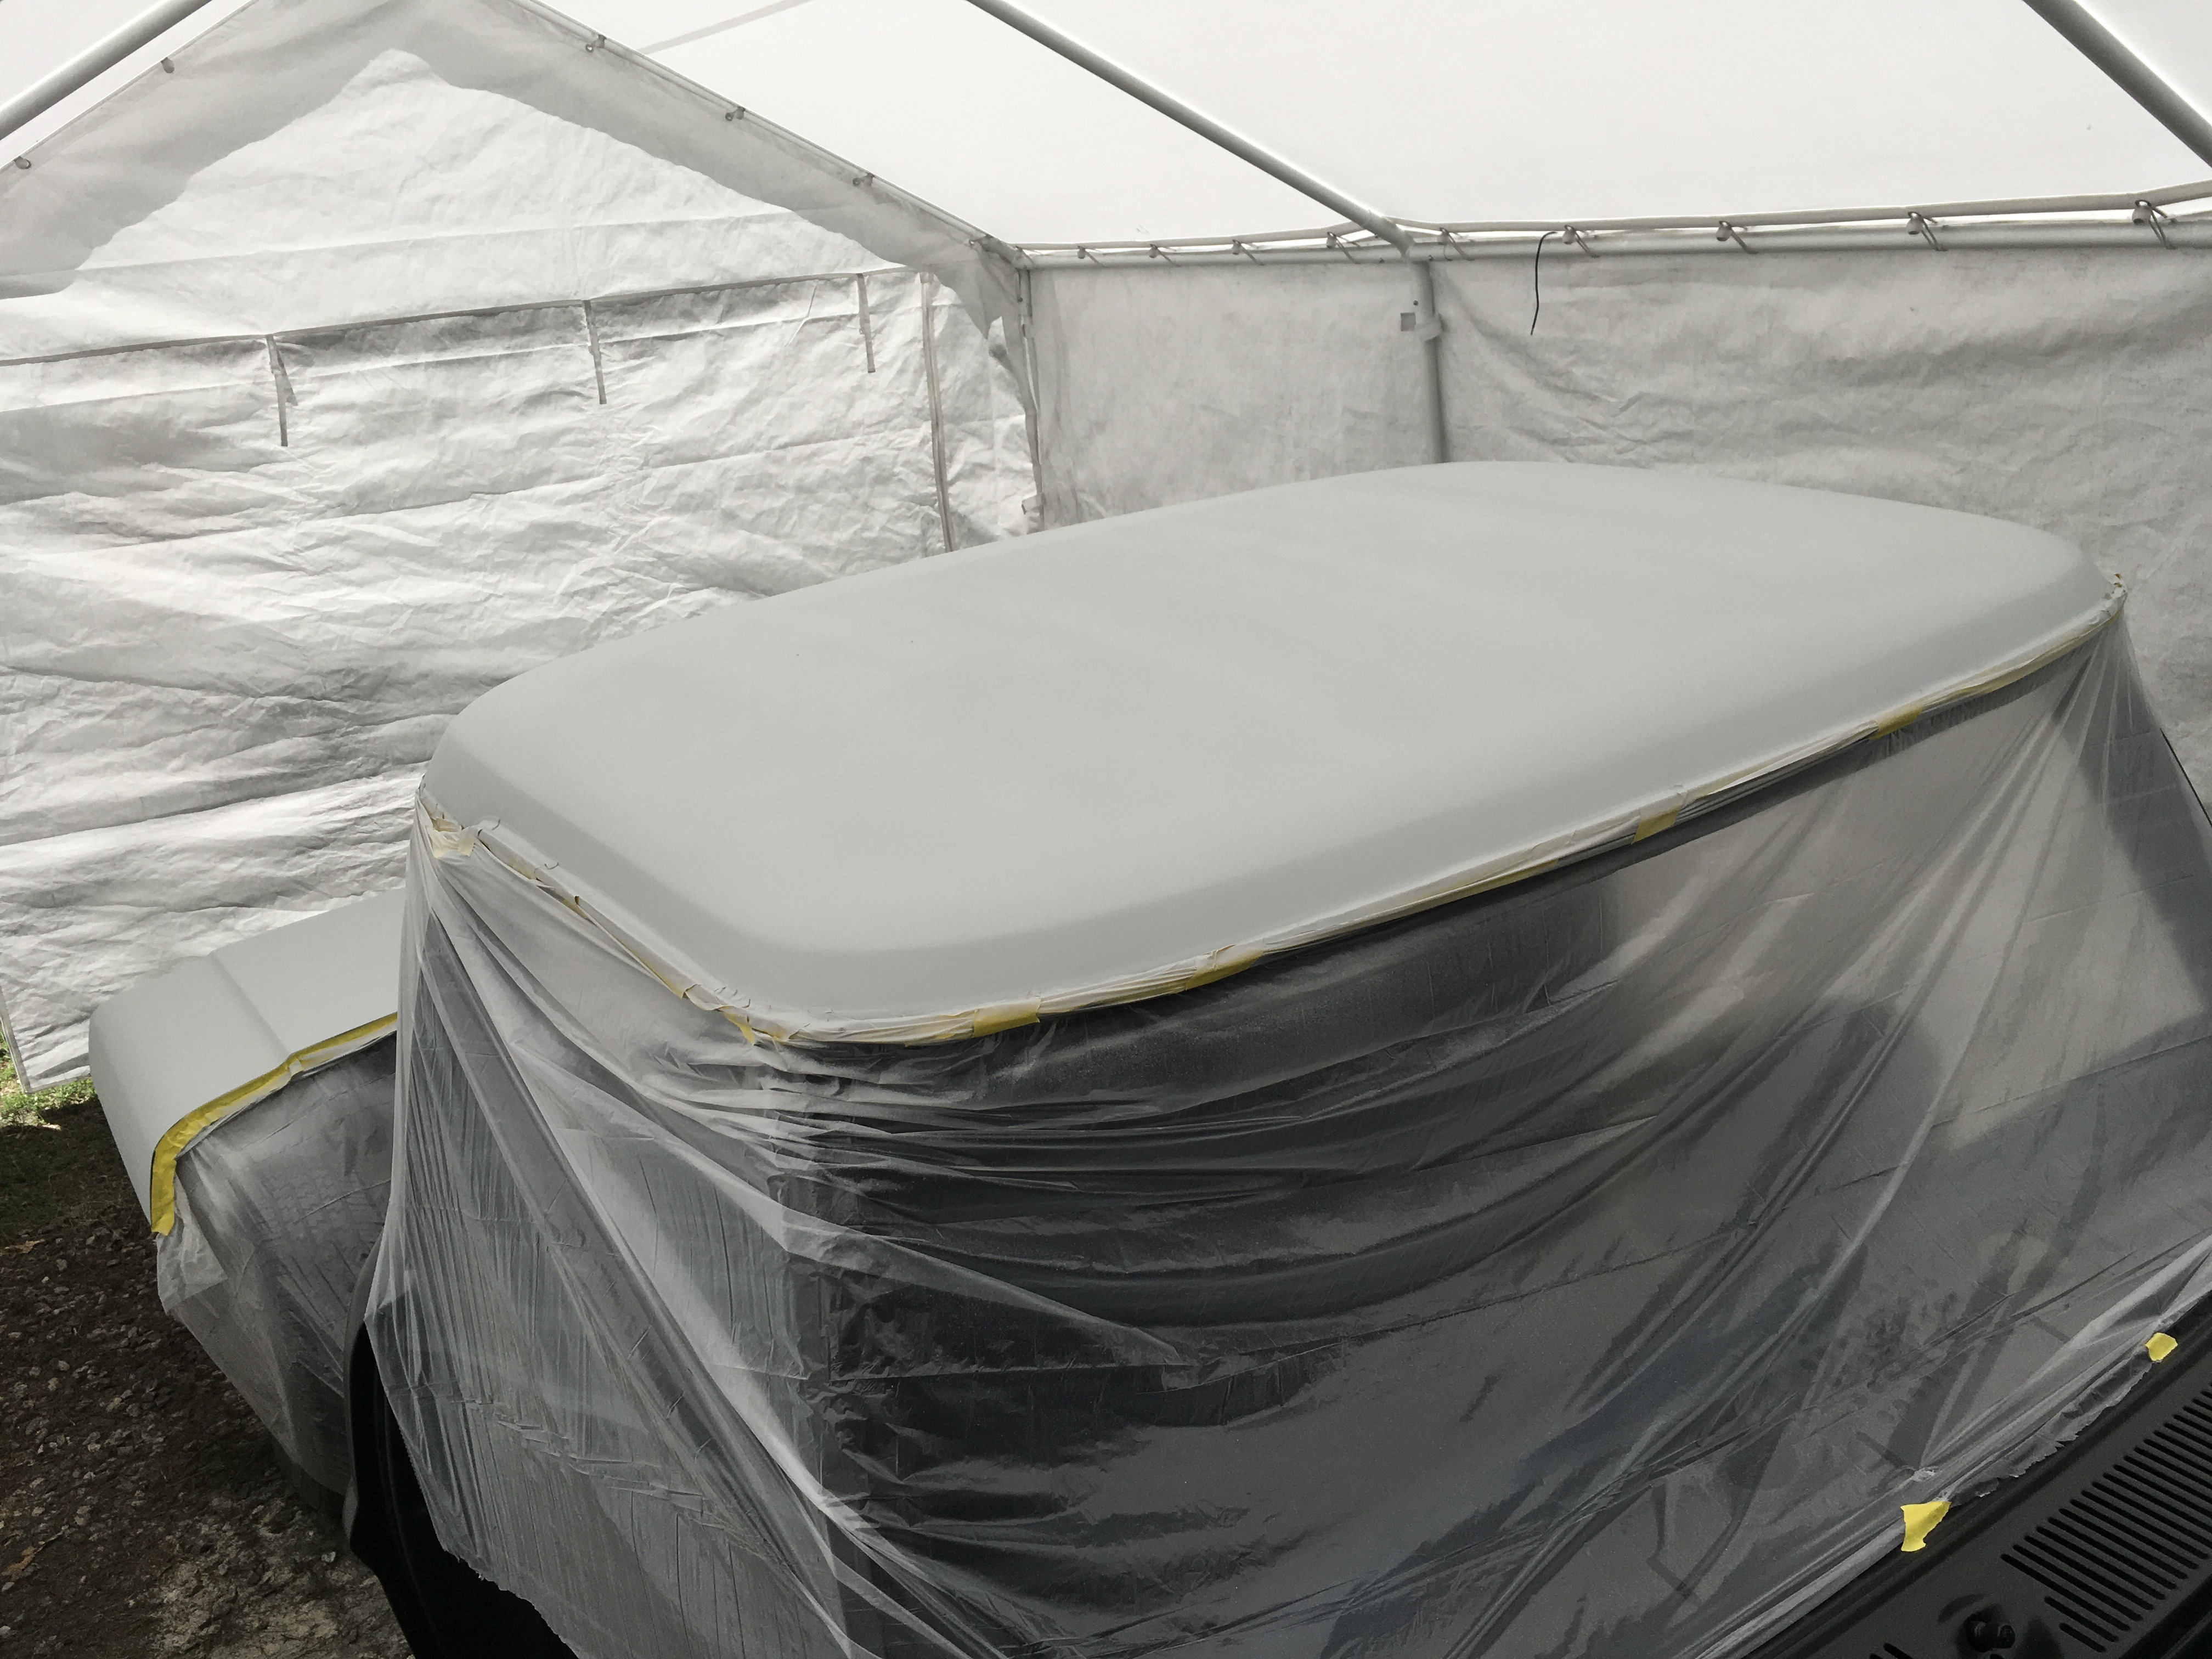
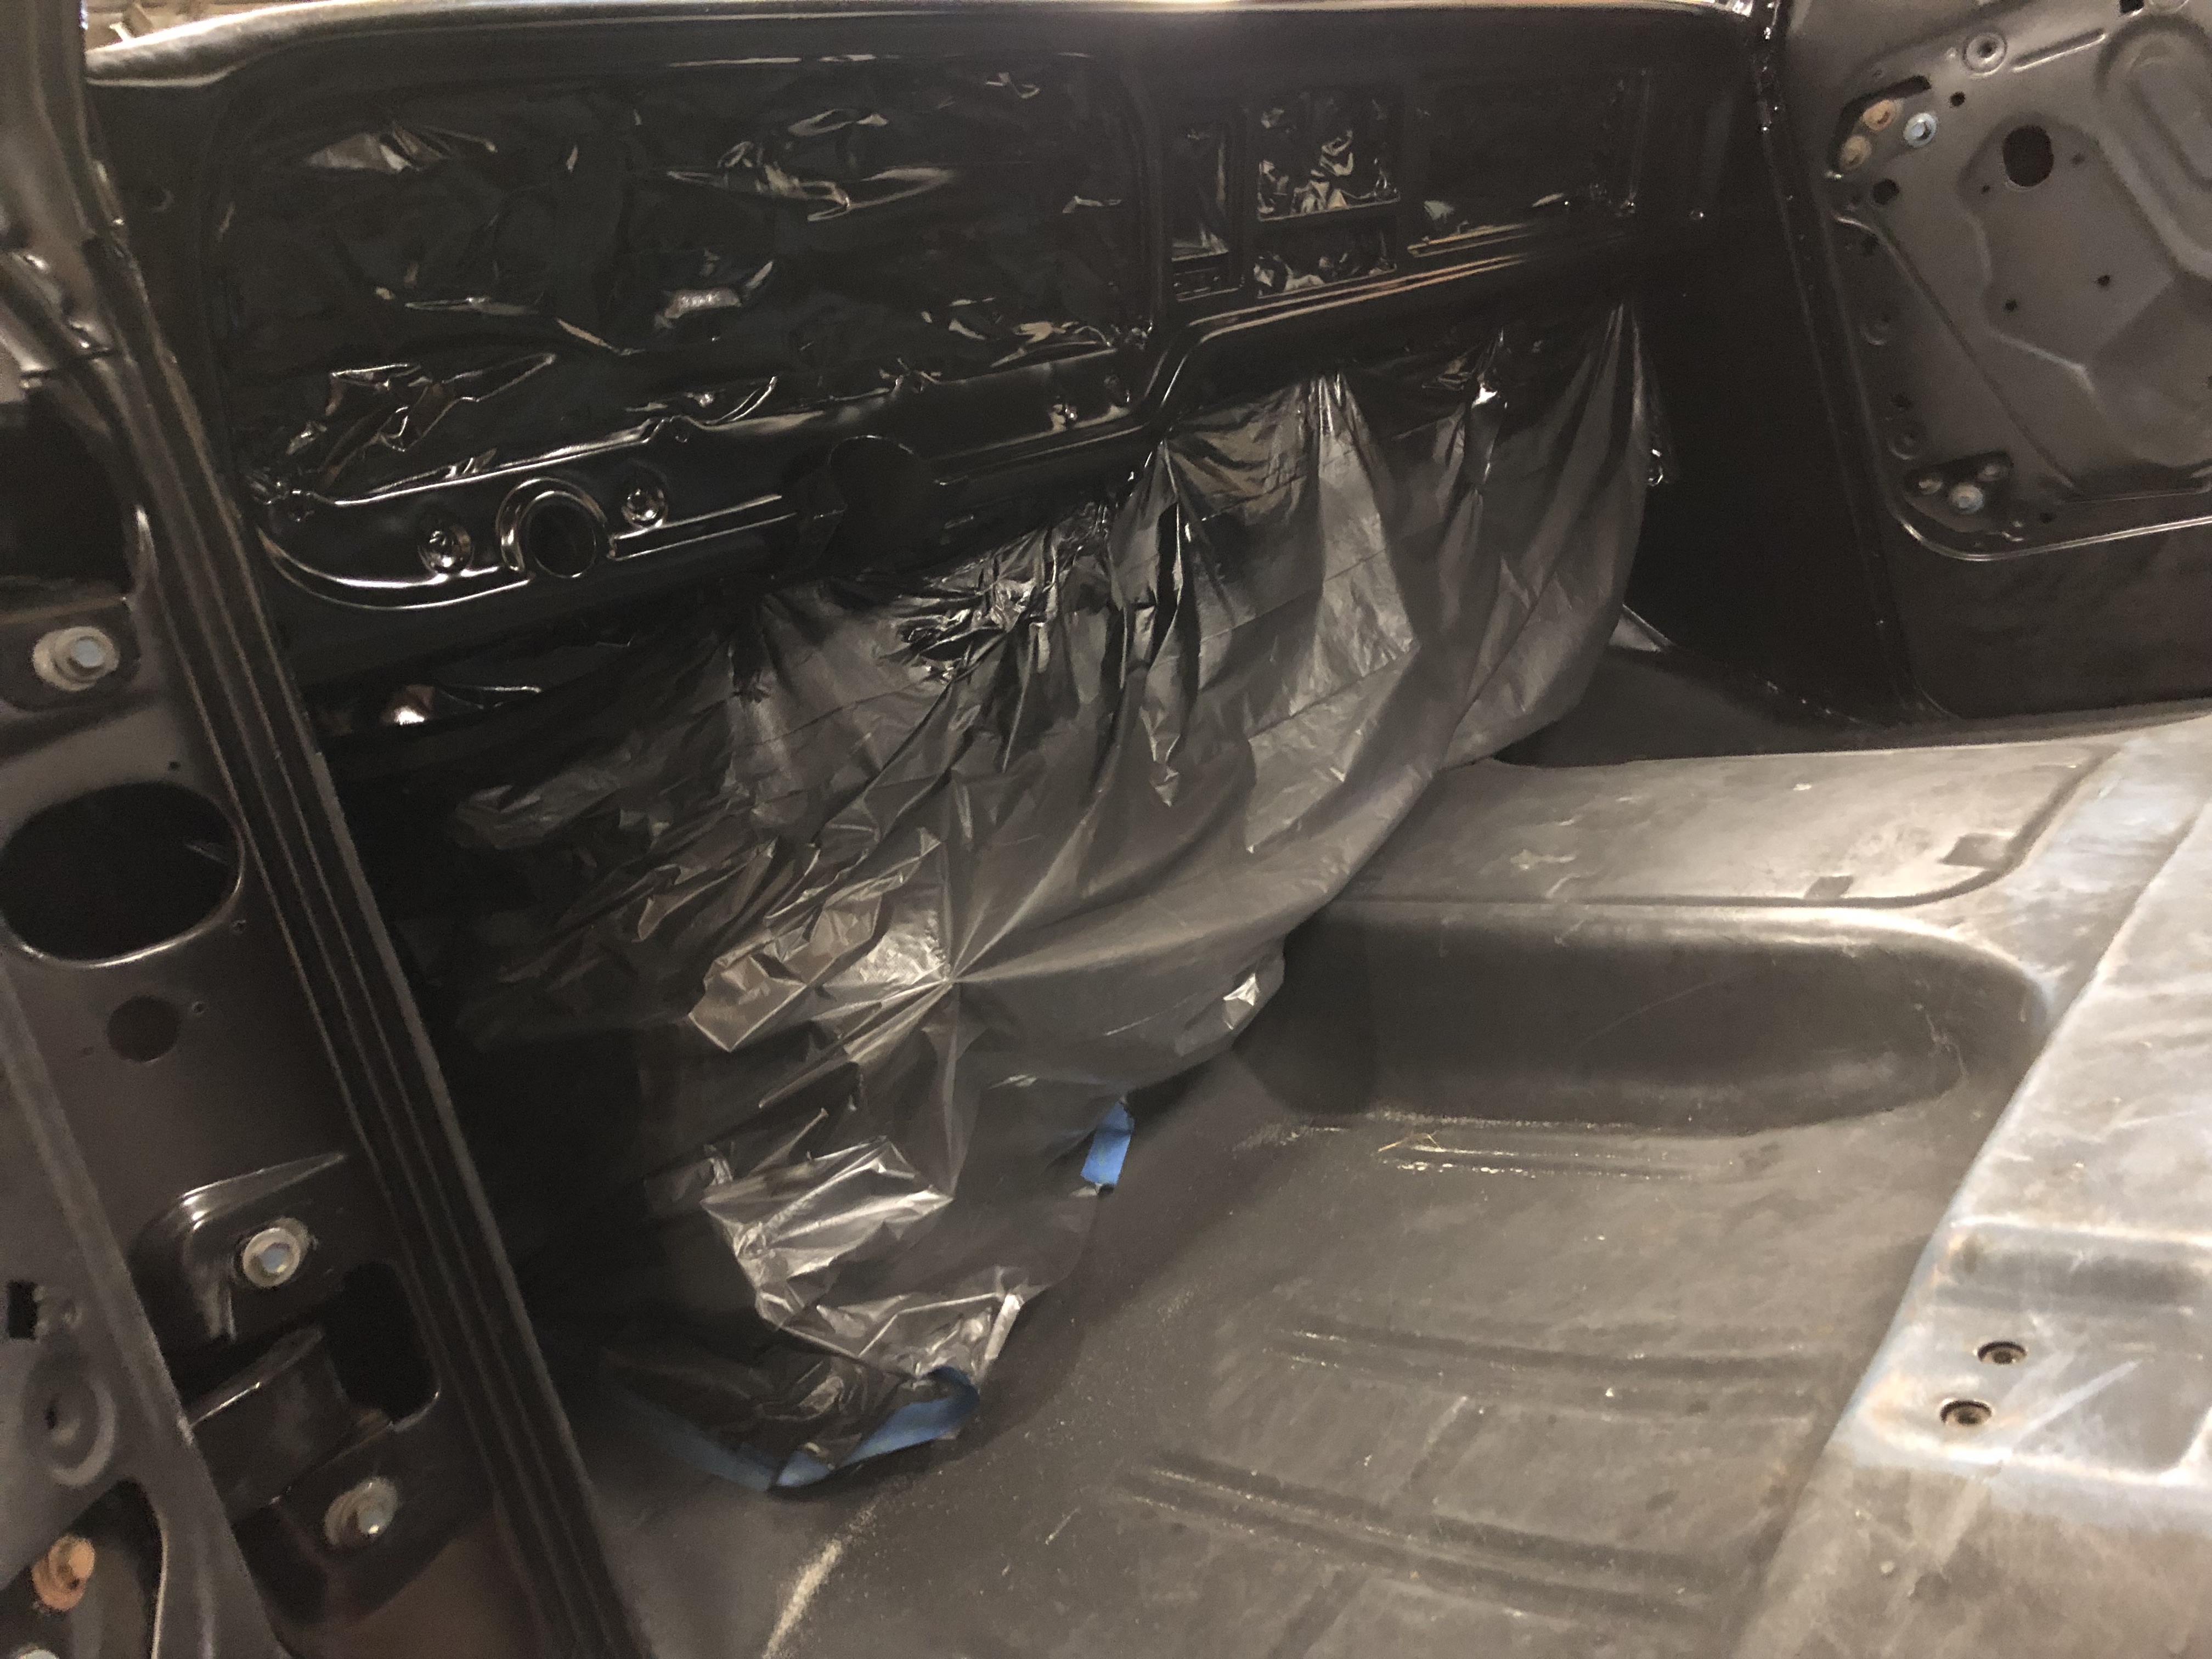
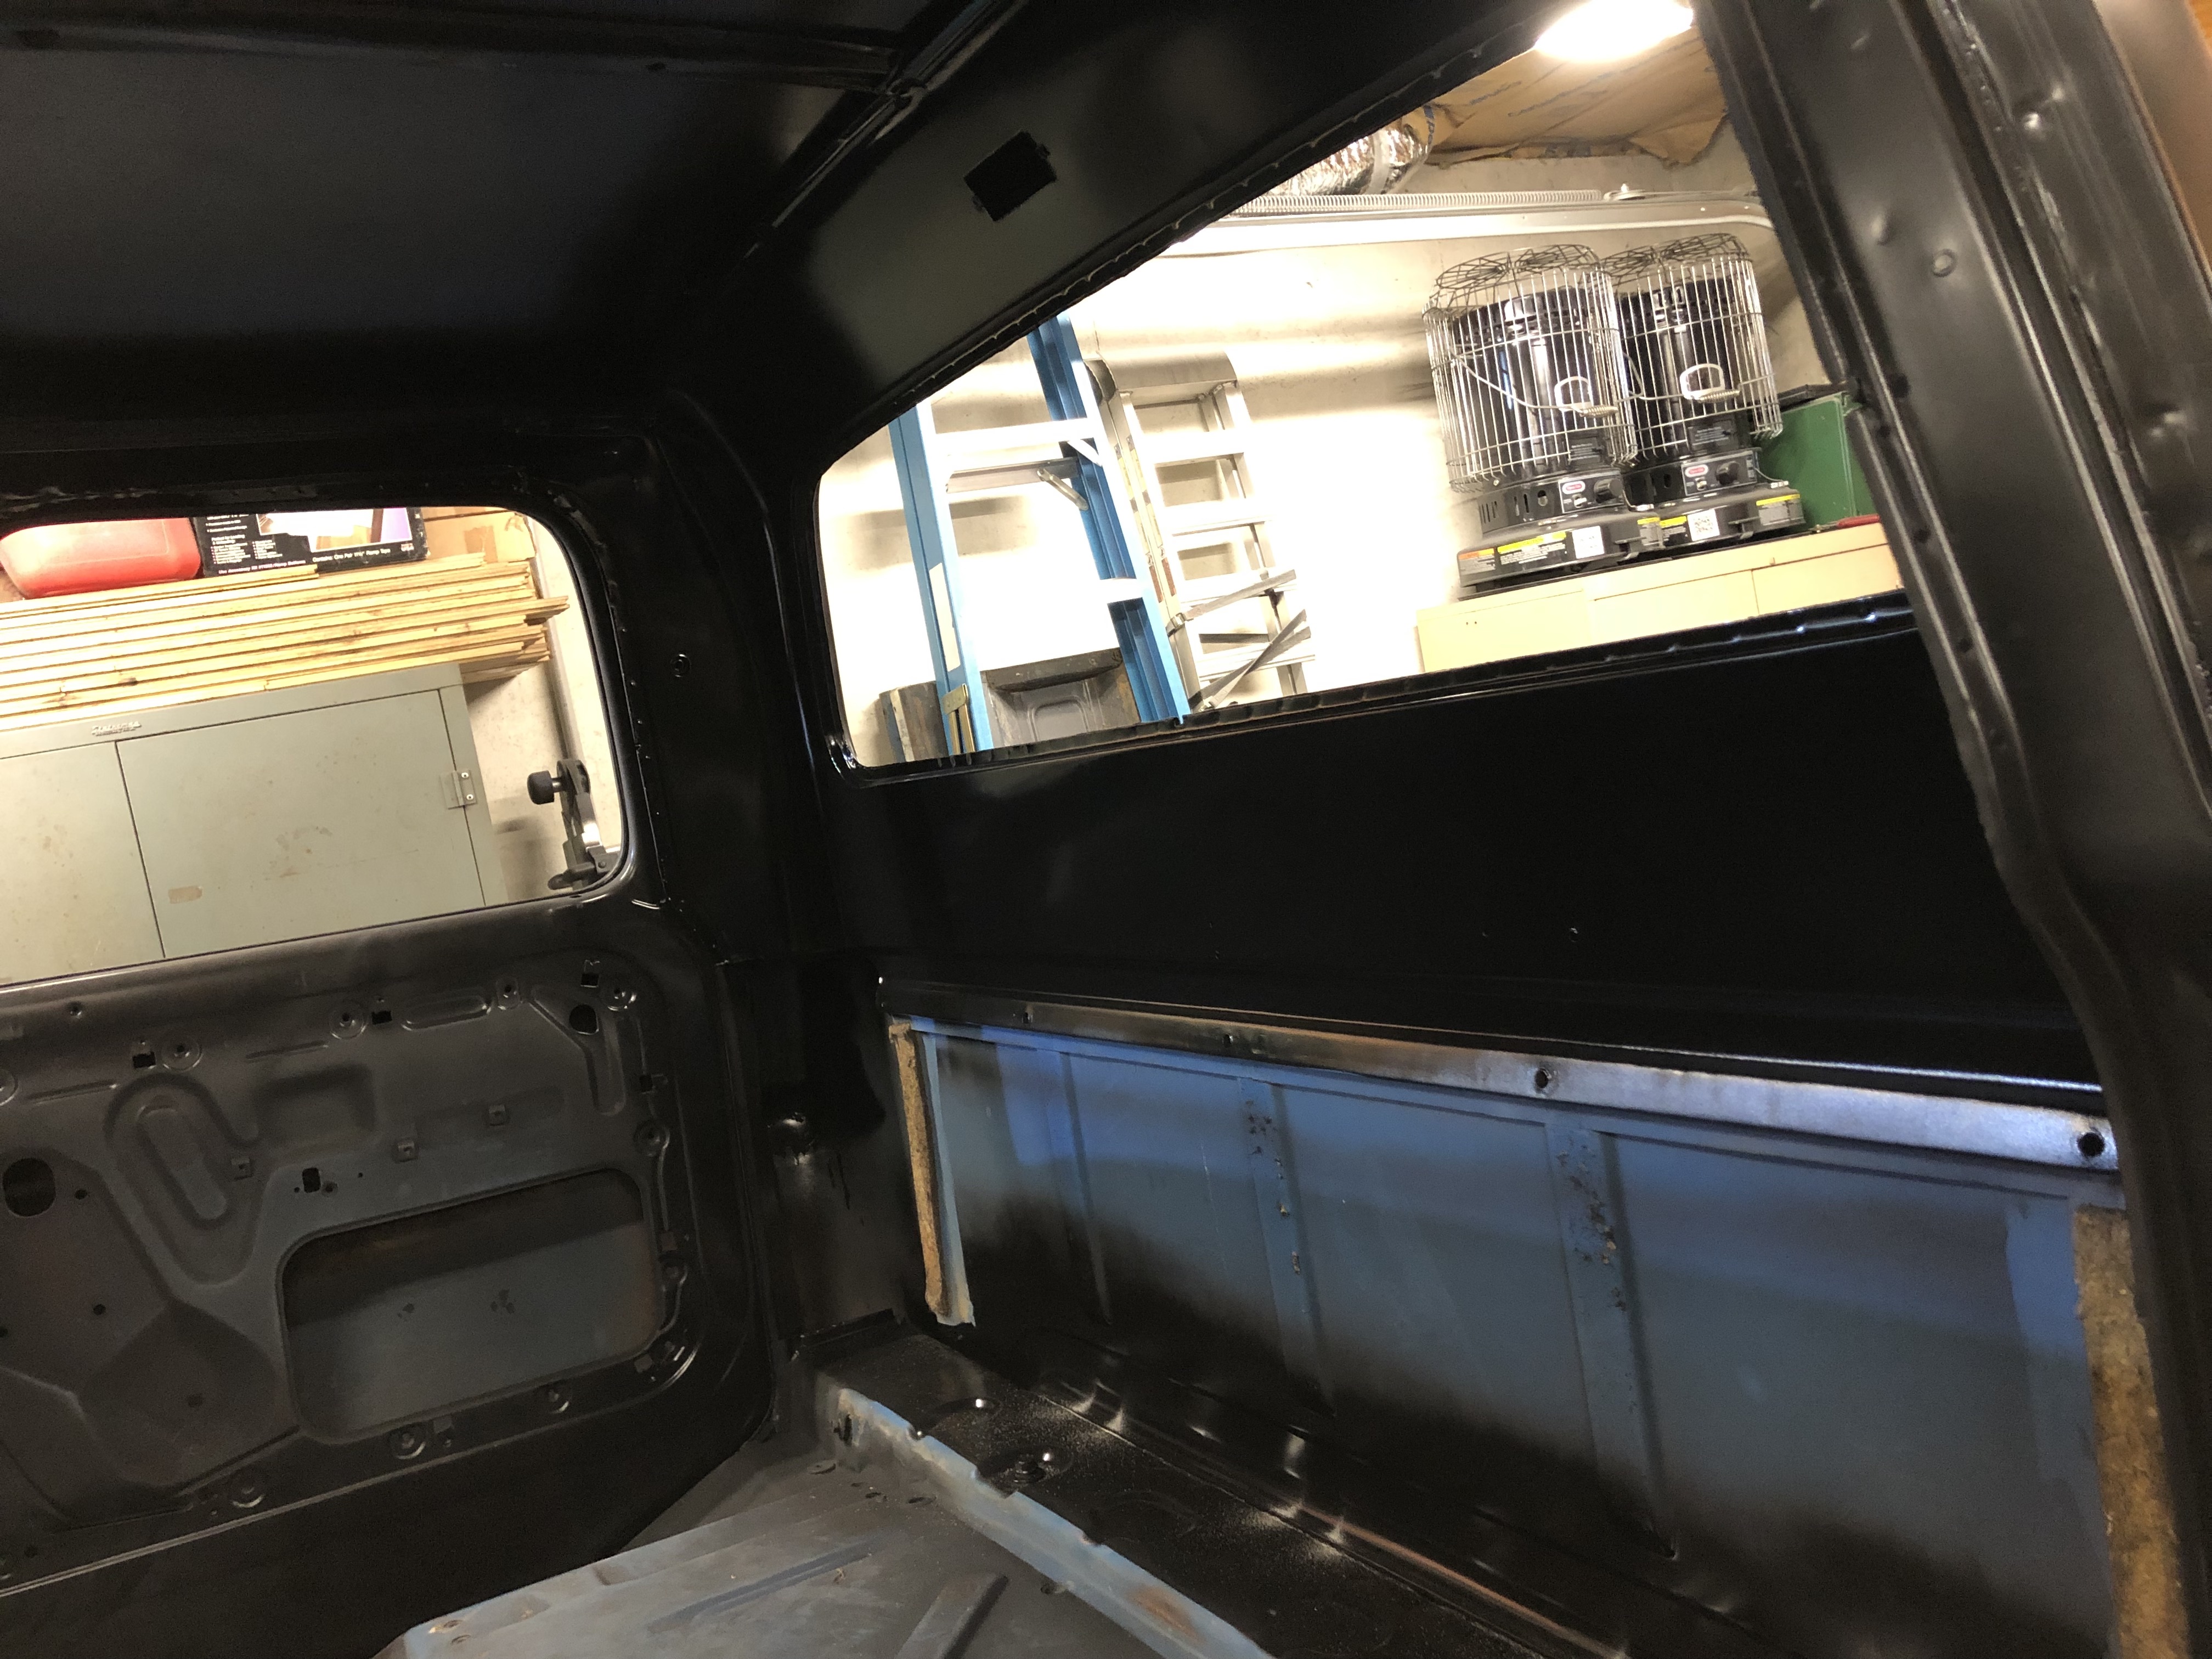
Aside from the seam cleanup sanding I think next steps are a final sanding of everything with 220, then 320, and maybe to 400. With epoxy I have to spray a final thin reduced coat within 24 hrs of spraying the color base coat. Timing that is going to be the toughest part so I’m going to have to do it in sections for sure. I think maybe on my next trip if I can get my ducks in a row I’ll try to spray the cab interior, door jambs, underside of the hood, etc. Still not sure how I want or need to tackle this. Haven’t even selected a paint yet. I want to go with a single-stage, and need something I can put down several coats and then sand-out and buff to deal with dust, bugs and any of my rookie spraying mistakes that are inevitable. I’ll try to seal up my portable painting structure, put plastic on the ground, and setup some exhaust fans and take precautions I haven’t done while I’ve been spraying primer, but it’s still not going to be a super clean paint booth like I need. This last trip I dealt with the worst paint contaminations that I have so far. For some reason my “lint free” paint prep wipes were leaving tons of lint after the wipe-down with the wax & grease remover before each spray. Some of the panels looked like they had been sprinkled with salt right before I sprayed… Need to get a new brand of wipes and add some tack cloths to the process.
This epoxy primer has definitely had some drawbacks which have slowed me down and made me wonder if the advantages outweigh the catches. There is a “7 day window” that once cured it has to be sanded again before more primer can be sprayed or filler applied. It’s also supposed to be sanded within a day or two of when you do that respray… I actually have to check to see if before my color coat if I have to respray another unreduced coat of epoxy before the reduced coat that is applied after the final finish sanding. Ughhhh
Oh yeah, I gave up on the tailgate I had started on. After sandblasting, filling trim holes, primering and struggling with dents along the top edge, I noticed a bow along the length of the gate… No way I can get the bow out of it. So, I’m trying to decide if I’m going to use another gate I have which is good except for the top edge, and then cut the entire perfect top off my original to weld on. My original is straight but badly rusted in the middle and bottom…. I’ve got no problem buying a new Dennis Carpenter repro tailgate but haven’t seen one in-person to judge the quality or construction compared to an original. I’ve heard they are lighter gauge metal and have heard mixed reviews, so I would welcome any input from anyone who has some firsthand experience with them.

Image
Image
Image
Image
Image
Image
Image
Image
Image
Image
Image
Image
Image
Image
Image
Image
Image
Image
Image
Image
Image
Image
Image
Image
Image
Image
Image
Image
Image
Image
Image
Image
Image
Image
Image
Image
Image
Image
Image
Image
Image
Image
Image
Image
Image
Image
Image
Image
Image
Image
Image
Image
Image
Image
Image
Image
Image
Image
Image
Image
Image
Image
Image
Image
Image
Image
Image
Image
Image
Image
Image
Image
Image
Image
Image
Image
Image
Image
Image
Image
Image
Image
Image
Image
Image
Image
Image
Last edited by MAK on Wed May 25, 2022 8:01 pm, edited 1 time in total.
User avatar
hfdco4
Blue Oval Guru
Blue Oval Guru
Posts: 1289
Joined: Mon Apr 01, 2013 1:45 pm

Re: Finally back around to my 72 F100

Post by hfdco4 »

Wow, amazing work!
Paul
:fr: FE390PC
1970 F250 4x4
2016 F150 4x4 2.7 ECO
Gone 1997, 1999 & 2003 F150 4x4s
Gone 1988, 1989 & 1991 Broncs
User avatar
jzjames
100% FORDified!
100% FORDified!
Posts: 1765
Joined: Sun Jan 09, 2005 2:59 pm
Location: Washington, Windy Point

Re: Finally back around to my 72 F100

Post by jzjames »

It’s going to look great. :thup: :thup:
User avatar
MAK
Blue Oval Fan
Blue Oval Fan
Posts: 515
Joined: Tue Dec 21, 2004 9:35 am
Location: Georgia, Blairsville - Florida, Flagler Beach
Contact:

Re: Finally back around to my 72 F100

Post by MAK »

Well, still learning and still making rookie mistakes. It’s getting rather depressing… :( This trip I had planned to be able to at least get a color coat of single stage applied to the cab interior, underside of hood, door jams, etc. That plan fell apart, but I at least thought I would be ready for paint on the next trip. I was feeling good about that and it was looking good at the start of the reassemble and test-fit of all the panels. Then that too blew up in my face and snapped be back to reality…
First, after I had spent a lot of time sanding and trying to smooth and blend the seam sealer I had applied at the end of my last round of work, I found it still looks like crap after I sprayed a fresh coat of epoxy. All the inconsistencies in depth, radius, and transitions between the panels were no longer hidden by the dull sanded finish once it was glossy…. The rain gutters look good now, and the long bed seam above the bumps looks good. However, the seam along the cab roof still looks like crap, as do the vertical ones on the bed. Hood is close but still needs some work too. Going to have to get back after them with the right diameter round rat tail files or some tiny dowels or drill bits wrapped in abrasive paper.
Second, I should have had all the panels reassembled way before now and been doing the final block sanding and body work while assembled. Panels all still need a bit of tweaking for better alignment and gap, but they are close. Found the passenger side door upper-front window frame needed to be bent out, and the lower portion bent in so that it was more parallel to the A pillar. Looks like it had been warped out of shape from years of folks hanging on and bumping the western mirror bracket. The most depressing find was a couple spots along the passenger side lower edge of the hood. Not sure how I missed it until now using those long sanding blocks, but I can now see some lows as it sits parallel to the top of the fender. Side is laser straight but right along the bottom (an area I obviously wasn’t paying attention to) has some warps from where I had welded in some patches…. Only notice it and it looks bad when eye-level with that gap and looking down the side of the truck. Plus, when I was trying to bend the driver side in about a 1/4” to line up perfectly with the cowl, I screwed up and made a tiny depression that looks like a hail ding. (Using a clamp stupidly without a wood block). So… another round of filler work to the lower sides of the hood. At least the top is still looking good.
Also seam sealed the floor of the bed this trip so that will all need to be sanded and cleaned up. Not looking like I will be getting back up there to work on it again before it’s getting too cold for paint work, but at least I’ll be able to work on that sanding to get it ready.
Image
Image
Image
Image
Image
Image
Image
Image
Image
Image
Image
Image
Image
Image
Image
Image
Image
Image
Image
Image
Image
User avatar
jzjames
100% FORDified!
100% FORDified!
Posts: 1765
Joined: Sun Jan 09, 2005 2:59 pm
Location: Washington, Windy Point

Re: Finally back around to my 72 F100

Post by jzjames »

Very nice. You’re on the home stretch with the panels.
Post Reply